Leaderboard
-

KeenShrimp
Members6Points270Posts -

Zebra
Members4Points294Posts -

Letsgetsteve
Members3Points5Posts -
jayc
Moderators3Points6248Posts
Popular Content
Showing content with the highest reputation on 01/04/17 in all areas
-
For those of you that are unsure of the differences, I thought the below might help shed some light on these products. Most Asian manufacturers do not disclose the composition of their products unlike the German manufacturers, so there is a lot of uncertainty out there as to exactly what one puts in ones tank once the packet is opened. Firstly a bit about aquatic bacteria: most aquatic bacteria are slow- growing. This means that biofilm is produced slowly. Biofilm is a gel-like mucoid substance secreted by bacteria that they live in. Biofilm in aquaria are almost always gel-like. Because aquatic bacteria is often slow growing, the shrimp outstrips the biofilm faster than it can regrow. There are biofilm promoter products and direct biofilm products and combinations thereof. Genchem Biozyme is a biofilm promoter: if you look at the ingredients, it does not contain bacteria at all. It is partially digested starch and cellulose and enzymes which are utilised by bacteria to form biofilm. Shrimp eat the Biozyme directly as well. It is basically a food source for your aquarium bacteria and is also fine enough for baby shrimp to eat directly. Mosura BT-9 appears to be a mixture of bacteria found in aquariums to supplement your contained ecosystem to prevent sludge, increase ammonia-Nitrite-Nitrogen conversion cycle and to outcompete pathogenic bacteria for food by established colonies that are present rather than growth speed. Because none of the ingredients are disclosed it is impossible to say what is in BT-9, but based on my experiments, it is the slower growing aquatic bacteria, but it does form a nice biofilm over time if you do not have large shrimp populations that strip it bare. I cannot comment on other ingredients in the product as it is not disclosed. Overdosing fouls the water. Queue the new generation products: someone asked the question wether it is possible to add an ‘artificial’ bacteria that grows fast enough not to be outstripped of biofilm faster than the shrimp can eat it? Pediococcus Acidilactici is a lactic acid bacteria that is temperature stable, grows well in pH 1 -6.2 ( grows a bit slower in high pH but still grows faster than natural aquarium bacteria) and is an ideal food source for shrimplets and the cell division rate of this bacteria is fast. It does not naturally occur in aquaria. Bacillus Subtilis is a bacteria found in nature from your intestines to plant leaves and outcompetes pathogenic fungus and bacteria for resources. It is very heavily used in agriculture like mango farming. It is not a direct food source for shrimp, but undoubtedly keeps your aquarium healthier based on controlled trials. Glasgarten Bacter AE contains both the Pediococcus Acidilactici and Bacillus Subtilis as well as amino acids, enzymes and vitamins to activate the bacteria. When used as directed, it grows lactic acid bacteria biofilm fast and greatly increases shrimplet survival as result as there is constantly biofilm available as a food source. Overdosing fouls the water. A similar product available is ShrimpyDaddy Revive Vita that definitely contains a lactobacillus. Genchem Polytase does not contain Lactobacillus, but does contain Bacillus Subtilis, so does Dr Tim's probiotic. Why is there a possible shrimp death warning on the Bacter AE container?: if you do not use an Oxydator in your aquarium and you add a large amount of Bacter AE to your tank, the bacteria will grow extremely fast and use up most of the oxygen in a poorly oxygenated tank, possibly leading to shrimp death. This will not happen if you follow instructions and aerate your aquarium well. This is only a risk if you add a very large amount of Bacter AE.3 points
-
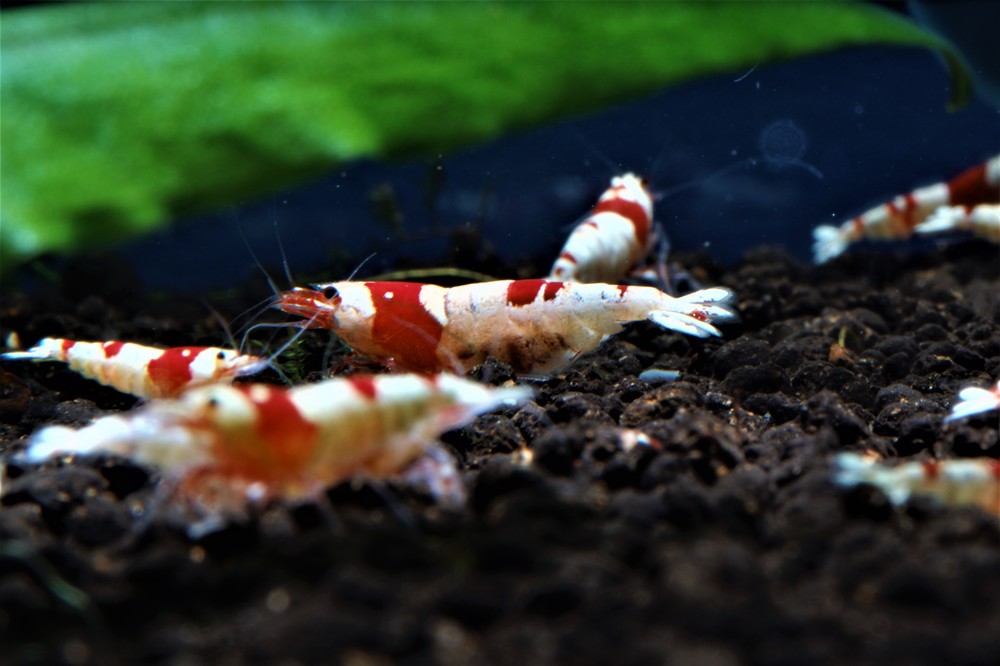
2 pointsSo we started keeping shrimp at the beginning of the summer and are doing well with our Caridinas and I just got stuff to take some pictures of them. Really good information on this board (sorry that we are more the lurker peeps then super active) as well as some great help from some locals who are now our friends really helped with our success! We are still sorting out issues with our neo's but now that we found our phosphate issue (over 20ppm in the tanks!) we should have those colonies kicking pretty darn soon. Let me know what you think and any tips on photographing the shrimp would be appreciated!
 2 points
 -
2 points
-

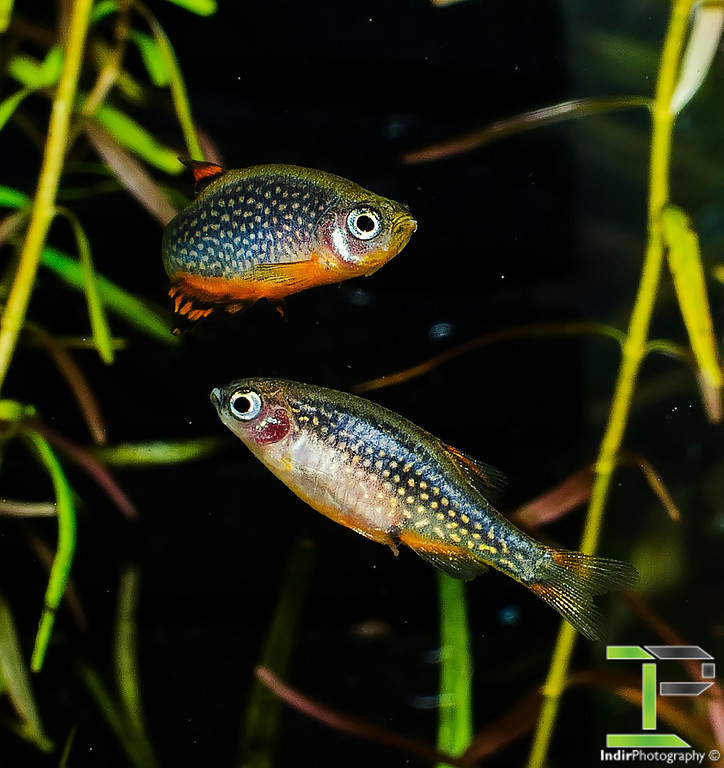 Breeding Celestial Pearl Danios (Also known as Galaxy Rasboras) Firstly I will start by saying that these are a fantastic little fish that show no aggression to any other species nor within their own species. Males will spar with each other sometimes and often display to females, no damage is ever done. They are shrimp friendly, but will take down shrimplets if they get hungry. So they can be added to a mature and established shrimp community tank to ensure maximum shrimp numbers surviving also. These fish prefer a nice planted tank with a dark substrate, this helps reduce skittishness and bring out their colour even better, it also gives refuge for fry that will pop up in the display tank! Feeding Celestial Pearl Danios will need to be fed small foods, due to their small mouth size. Though they are always excited to see live black worms (2-3 of these will make them VERY fat). Mine love grindal worms so they get this often, as well as baby brine shrimp and cyclops regularly. They will readily take dry foods of small size, I have had great success with Sera Vipagran Baby. To keep them in shape for breeding on a regular basis, I feed them twice a day with baby brine shrimp and a higher protein food like grindal worms, black worms, and so on. I find live high protein foods keep them in better shape and increase egg numbers. Sexing CPD Celestial Pearl Danios are fairly easy to sex, especially when they are of mature/breeding age. Females will have a much rounder body shape, when they are younger they will also have a taller body (older/more mature males develop this also, usually 6+ months old). Females also have a prominent black spot in front of the anal fin, the difference becomes more obvious as they mature more. Males are more slender in the body but will have much better colour in the body and fins, they develop a nice blue to purple colour to the body with nice orange fins and often the under belly too (the under belly colour can also be the case in females though, so isn’t a guarantee). In the below photos you will see the younger male has a slender body and orange under belly, as well as better colour than the female. However, as you can see in the older pair, the male has developed the deep body also and the female has a light orange hue to her under belly. The male in the second photo is a prime candidate for breeding as he is quite nicely coloured and has developed good body/fin shape and colour. Young Pair – Male on the bottom right and female on top left: Older/More Mature Pair – Male on top and female on bottom: Breeding Celestial Pearl Danios will start breeding from as young as 3 months old if fed well and have clean water throughout their short childhood. However, I find they are usually all mature by 4 months old. You will need at least one pair for breeding, however I have better experience breeding a trio as this gives females times to recover between breeding sessions as these fish are “constant” (usually daily) spawners. Spawning is induced by males, where they will hover over a specific area they like (moss, spawning mop, etc) and when a female is nearby they will begin to shake their bodies and flare their fins in hopes of attracting the female. They will do their dance and display, but the spawning comes when the male has his head pointed down and shakes, following the female behind closely. These fish will often spawn in a display tank and you will get fry popping up now and then in a well planted and mature tank. However, celestial pearl danios will readily eat their eggs and fry in my experience so this method will result in minimal fry numbers. There is another option which can work well if you have spare tanks, or enough room to rotate breeders. This method is basically using a bare tank with some java moss and keeping a trio in here for a 5 to 7 days, then moving them to another tank while the eggs hatch in the first tank. Then you keep repeating this process until you have enough fry or forever if you have the space… I have not tried this method myself, but have heard of others using this method with success. I personally don’t have the tank space for this method. The final method which has worked the best for me has been a dedicated breeding tank. In this tank all I have is a sponge filter and an acrylic yarn spawning mop (make sure it is 100% acrylic otherwise it will eventually rot in the tank). I keep a trio of my best fish in here, one male and two females. The male I use is the “older” pair from the photos above for his colour and body shape, as well as two nicely coloured and sized females. I call this the “permanent breeding factory”, because I am able to get on average 20 eggs per day with this method. To collect the eggs in the factory, I use a turkey baster purchased on eBay. I stop the sponge filter and after about 5 minutes or so when everything has settled down I slowly lift the spawning mop up and shake the mop, to make this easy I tied a long piece of yarn which comes out of the tank onto the lid for easy lifting without having to drop my arm into the tank. I then use a light on the front half of the tank, placing the light from the side helps in seeing the eggs easier as does a dark base (my tanks have black bottom panels). Using the turkey baster I suck the eggs up and collect them in a plastic cup for later use. With the eggs in the cup I then fill the cup most of the way and use an air stone on a very low bubble rate to keep circulation over the eggs to prevent fungus. Another option is to put the eggs in a fine meshed breeder box or poke some tiny holes into the cup and float it in the tank to keep fresh water circulating over the eggs. Eggs take about 3-4 days to hatch on average, and the fry will now be wrigglers which cannot really swim yet and are not ready to be fed. This wriggler stage will take about 3-5 days before they are free swimming. They will often be holding onto the side of the cup, or laying on the base. This is nothing to worry about. Once fry are free swimming they will be quite small and very thin in body thickness. You will need very small foods to have the best success, such as paramecium, spirulina powder, fry powder foods like sera micron and so on. I find that I get a MUCH better survival and growth rate when the fry are fed live foods so I only use paramecium for feeding them. The fry will need about 10-15 days before they can readily eat baby brine shrimp, I don’t bother with foods larger than paramecium until this stage mainly because micro worms and similar are a pain to keep going and requite too much maintenance. Once the fry are on baby brine shrimp, they will grow much quicker. Around the 5-6 week mark, I start introducing sera vipagran baby or similar small sized foods. I however prefer to give them live foods more than dry foods as I find the fry grow much quicker and are healthier and develop colour earlier. Fry will grow fairly quickly and at the 6 week mark will be around the 15mm mark and should be showing some slight purple/blue to the body and their golden spots should be readily visible. From this point on the fry will slow down their growth as they reach their adult size but colour will come in much quicker. By the 12 week mark the fish should be very close to looking like full grown adults, with the deep orange colour developing quickly after this point. Fish should also be reasonably easy to sex from this point on as the body shape has already developed and the colours are coming through quickly. Now I hope you enjoy the photos of the fry below, which should help you gauge age and so on of your fry! As a comparison, the first two photos are of fish the same age but the first shot is of a fry fed solely dry foods like spirulina powder and similar from hatch while the second photo is a fry fed on live foods from hatching. Young fry (most likely female) at 12 weeks old – Fed solely on dry foods from hatching. Young Female Fry at 12 weeks old – Fed on live foods, with dry food at the later stage in life Most likely a nice young female, but could be a male. Young pair of CPD, approximately 7-8 weeks old. Young female, approximately 7-8 weeks old Thank you for reading along and I hope you find the information useful, or at least enjoyed the article!1 point
 -
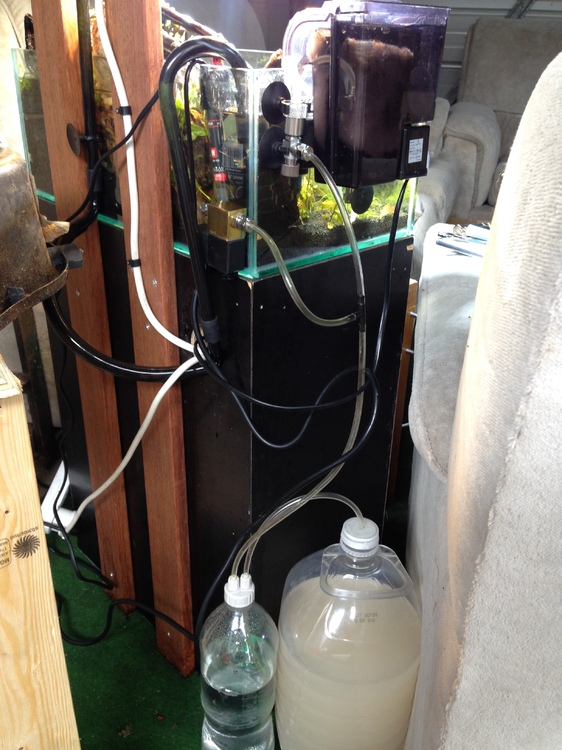
1 pointHello, So I made this little tank and stand a few weeks back to go in my shed. It gets way to hot in here to have a normal co2 cylinder and I don't have a spare one floating around anyway, but I have lots of bits and pieces, So I made this: The reactor, Filter, night time shut off and proper needle valve to ensure the co2 level is constant and never rises. A diy wooden diffuser I made producing very fine pollen style bubbles. The only thing I would add if I could is a pressure relief valve, you can buy cheap kits off eBay that have one of these and a gauge, but this system doesn't seem to need it. Im also using a recipe I adapted from mycology research utilising sugars with more complex carbohydrates to give a more stable long term reaction, I started this recipe on the 28th of dec and it's still going strong. I had to remove the built in check valve from the other side of my needle valve (cause it's made for high pressure) it prevented co2 running to the diffuser at start up, and caused pressure to build up. I just used a standard air line check valve that requires less pressure to open and it's all working fine again. Atleast now I know standard airline push fittings hold up under the pressure, literally. I have used proper co2 tubing throughout, it's probably not needed considering this is a "constant" system but I had it laying around. The the solenoid valve which runs my "night time shut off" operates a bit different to a standard pressurised co2 system. I designed my solenoid on a T to the main line, It opens at night just venting co2 into the air instead of running into the tank, this is so pressure doesn't build up and wreck the whole system. My fav part is the diffuser TBH, I'm so fascinated by wooden diffusers. enjoy.
 1 point
 -
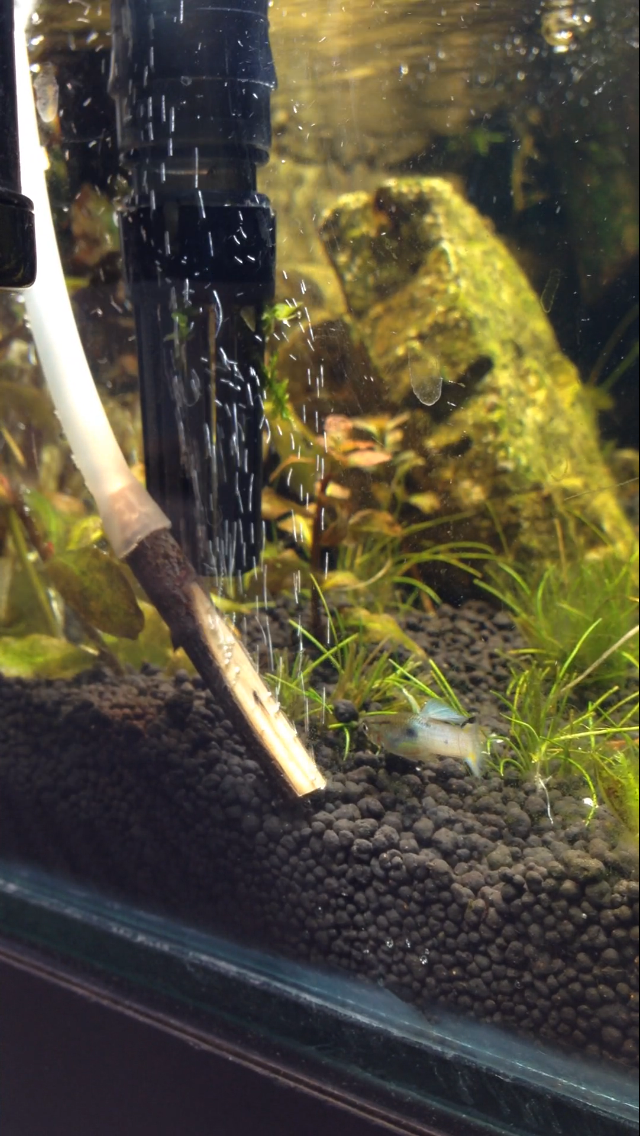
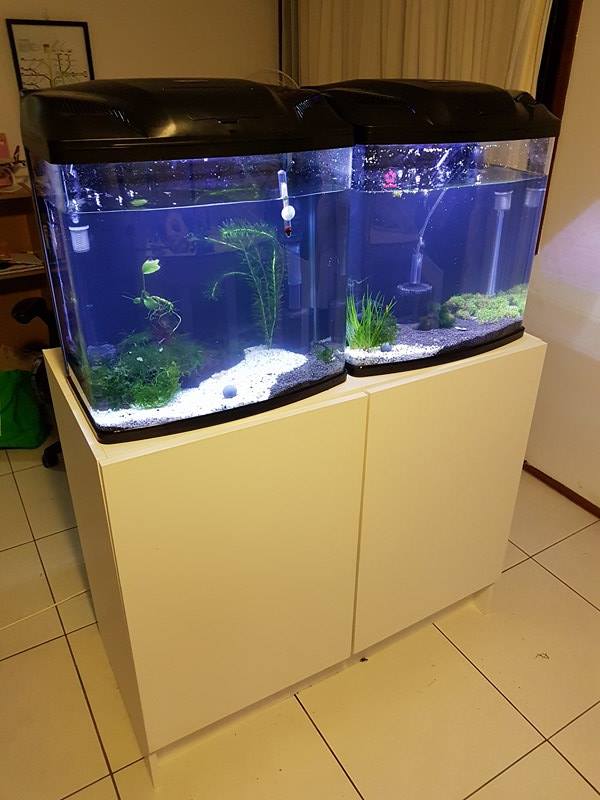
 1 pointHi everyone, After several days of work I have completed my shrimp display setup. As promised I will do my write up on how I built this, steps taken to during construction as well as recommendations for suppliers of those 'hard to get bits'. But as I am excited and proud of my handiwork I will drop a few pics here and do my write up later on in this thread :)

 1 point
 -
1 pointHaha not sure yet mate, I'll see how it tastes when it stops producing co2 lol Maybe add some lemon next time.1 point
-
1 point
-
1 point
-
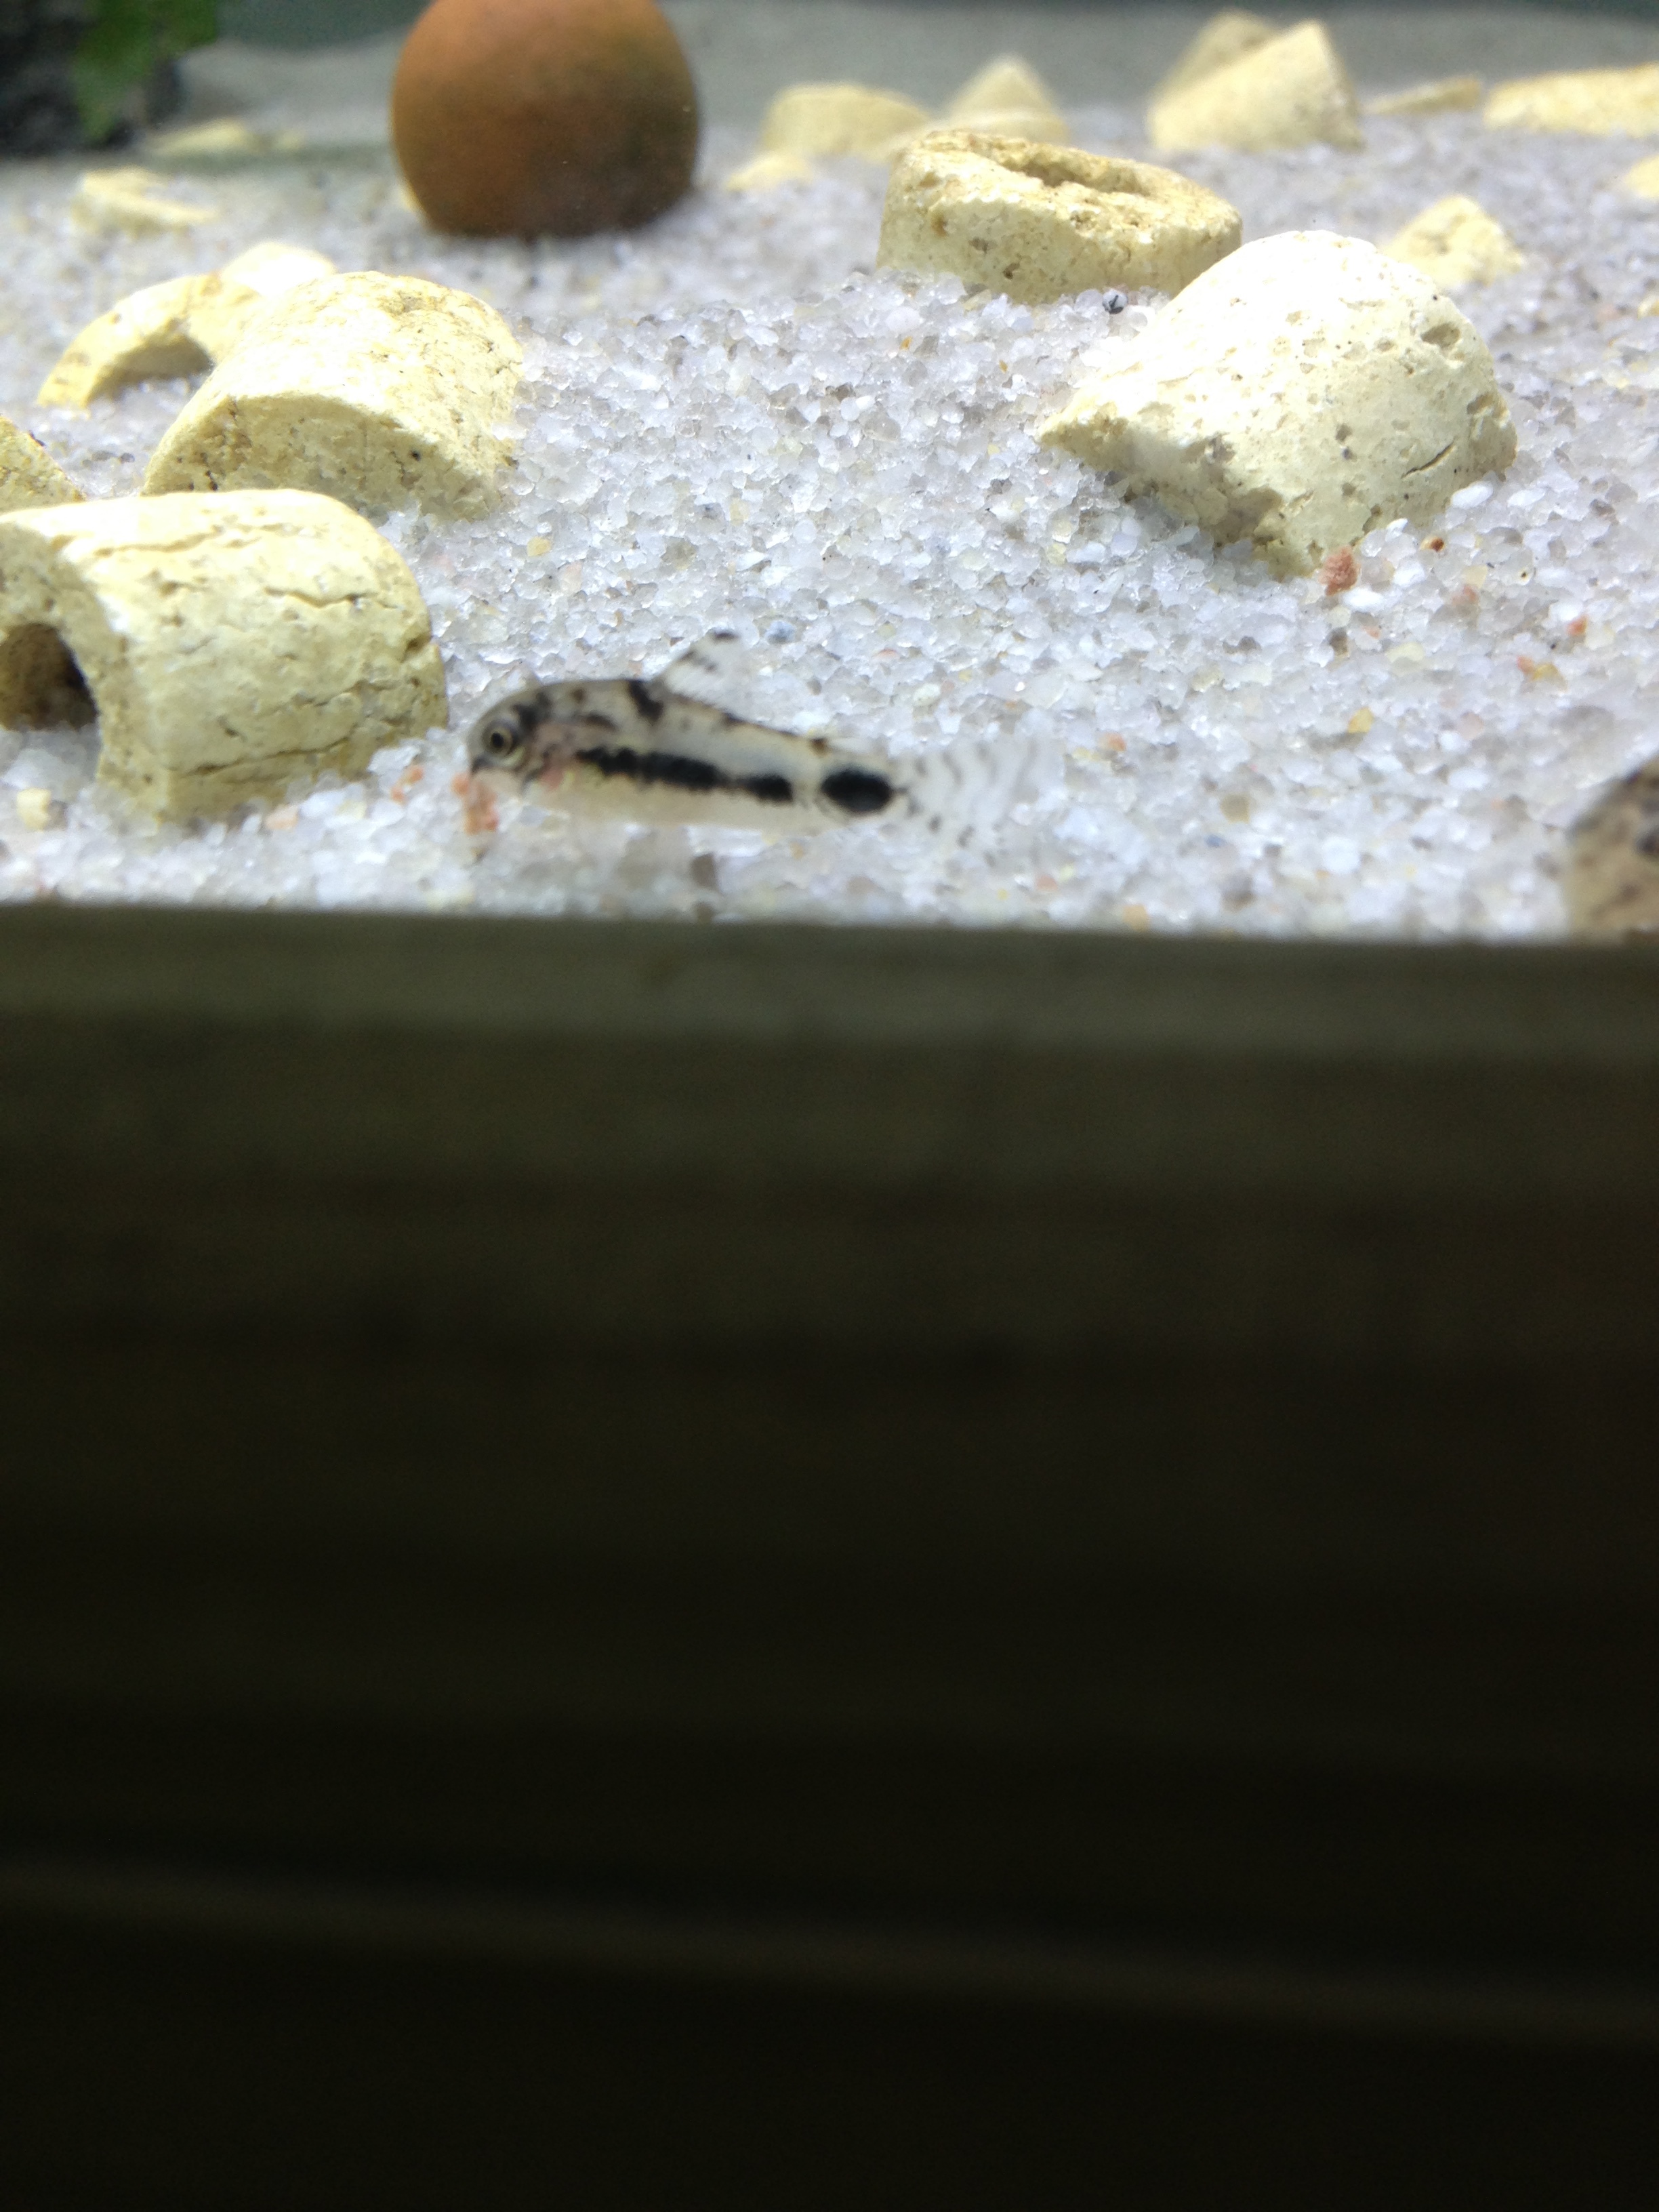
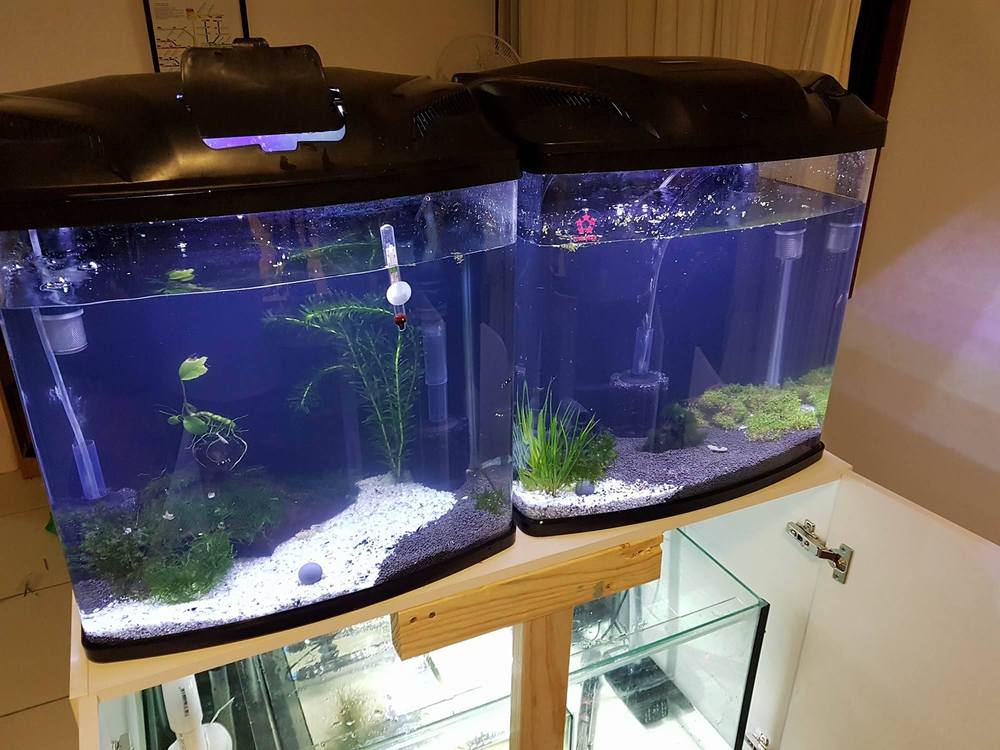
To be honest, I really don't know what your feeling like putting in that tank. Any of the ones you mentioned should work and I would think the ottos would be fine, just maybe not breed if you get too far our of their "fun zone". I think the chameleon shrimp would be very pretty but I would keep one thing in mind that I'm sure you are aware of... If you ever feel like changing what shrimp your going to have in there it will be forever to catch all the old ones! That tank is very beautiful and that sump setup looks awesome, you would hate to have to rip it apart digging for shrimp that you stopped loving in there! Great work!1 point
-
 1 point
 -
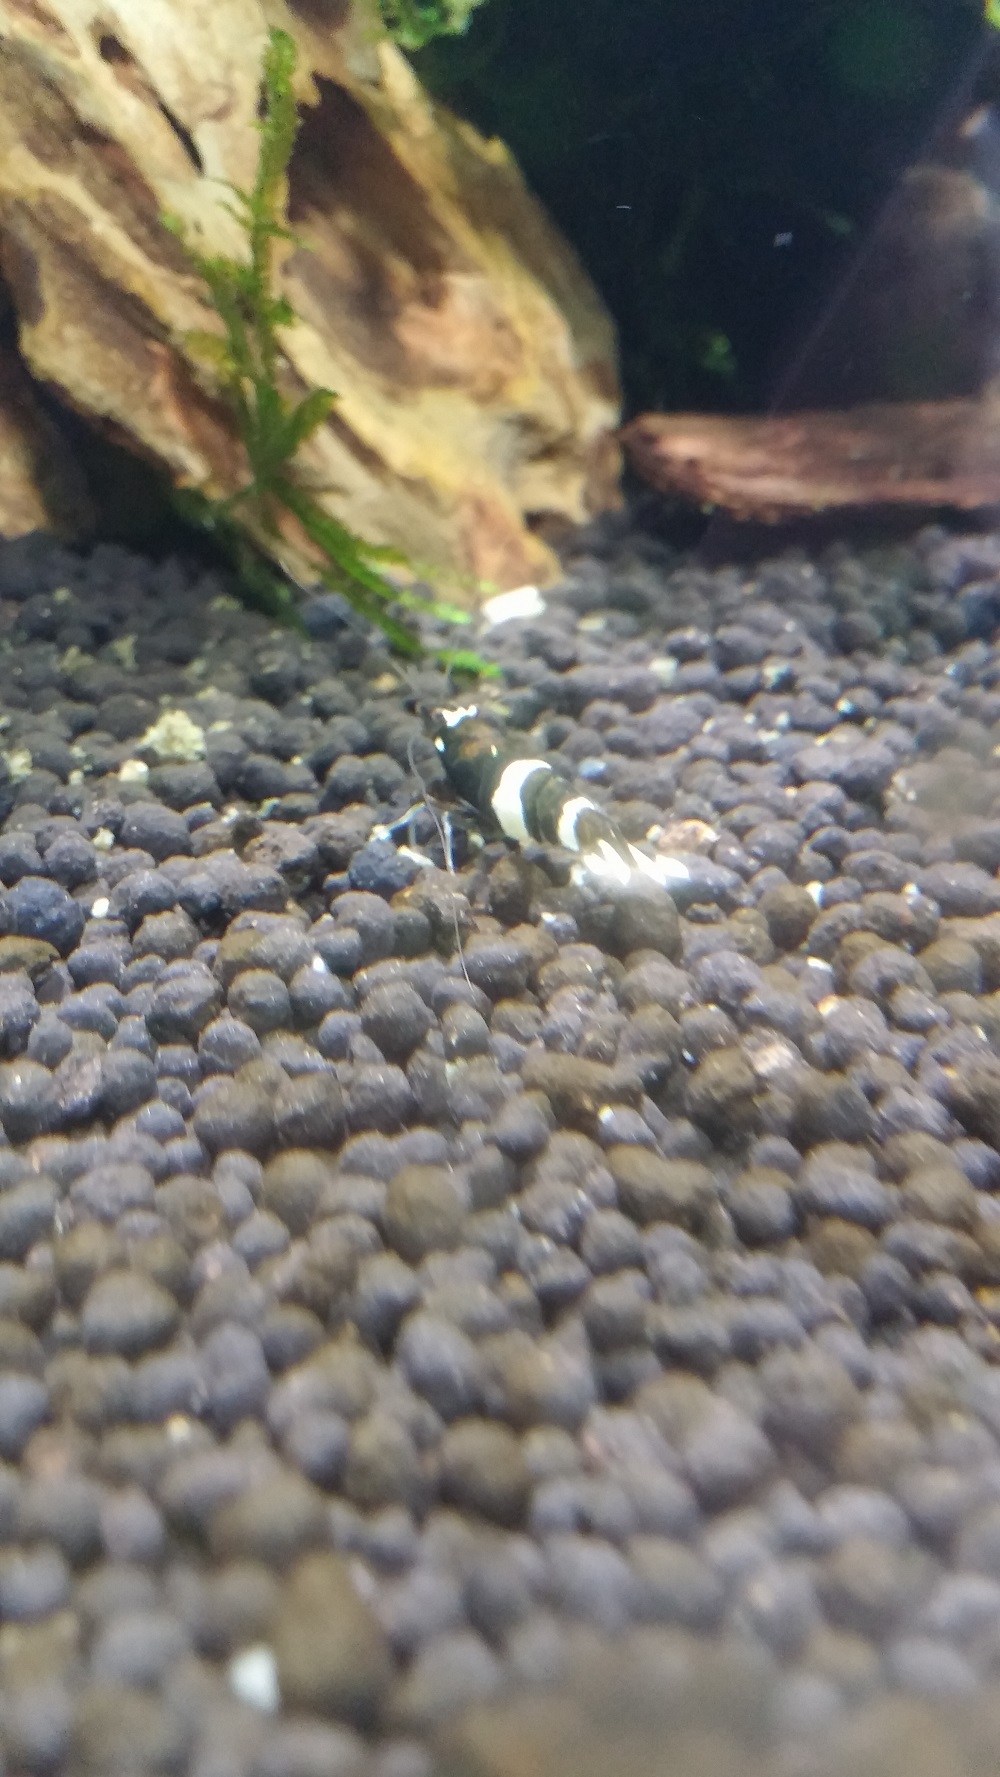
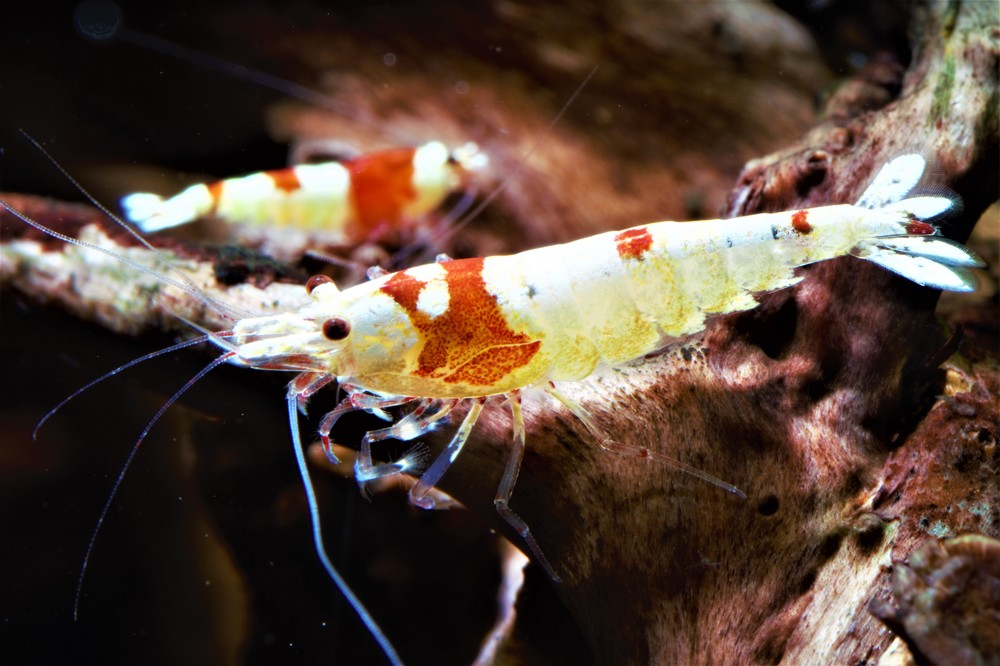
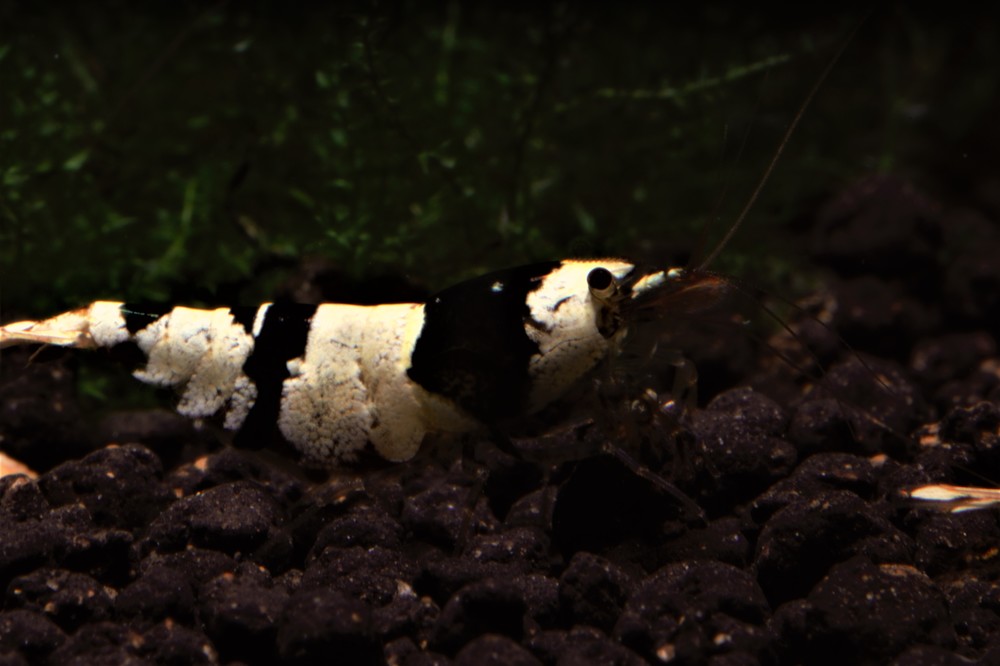
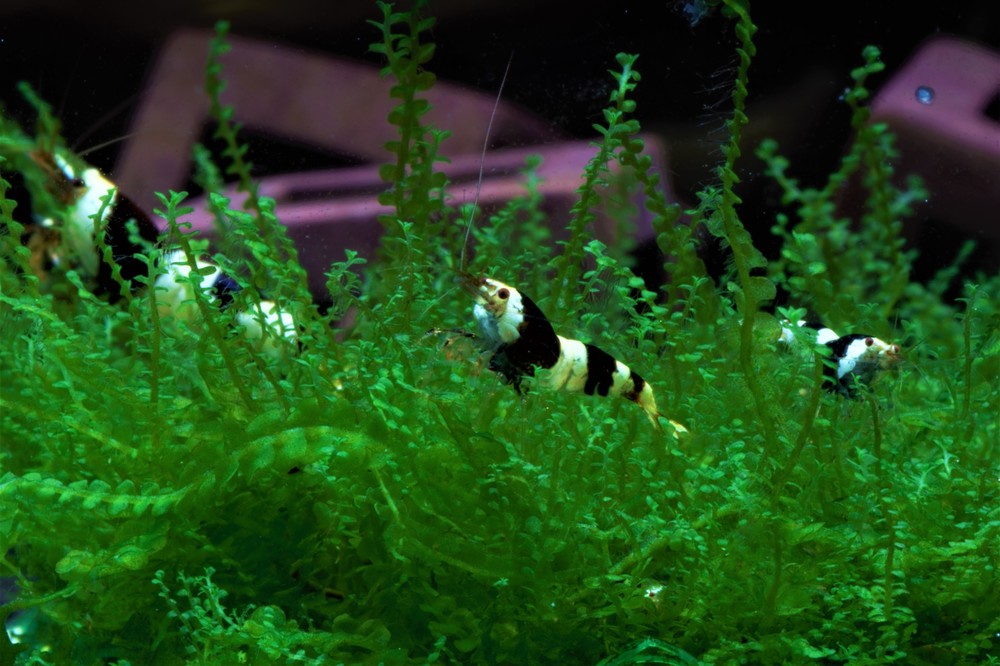
 Hello Guys! As I promised, here are some photos of my shrimps (kk blue ghost, Hulk, CRS, CBS, Babaulti caridina, Atya gabonensis etc..) My Channel ------>https://www.youtube.com/channel/UCkELtQBjdBsOBqlINmd25iQ KK blue ghost and Hulk -----------> You can Like and suscribe if you like and ask questions ^^ Thx
 1 point
 -
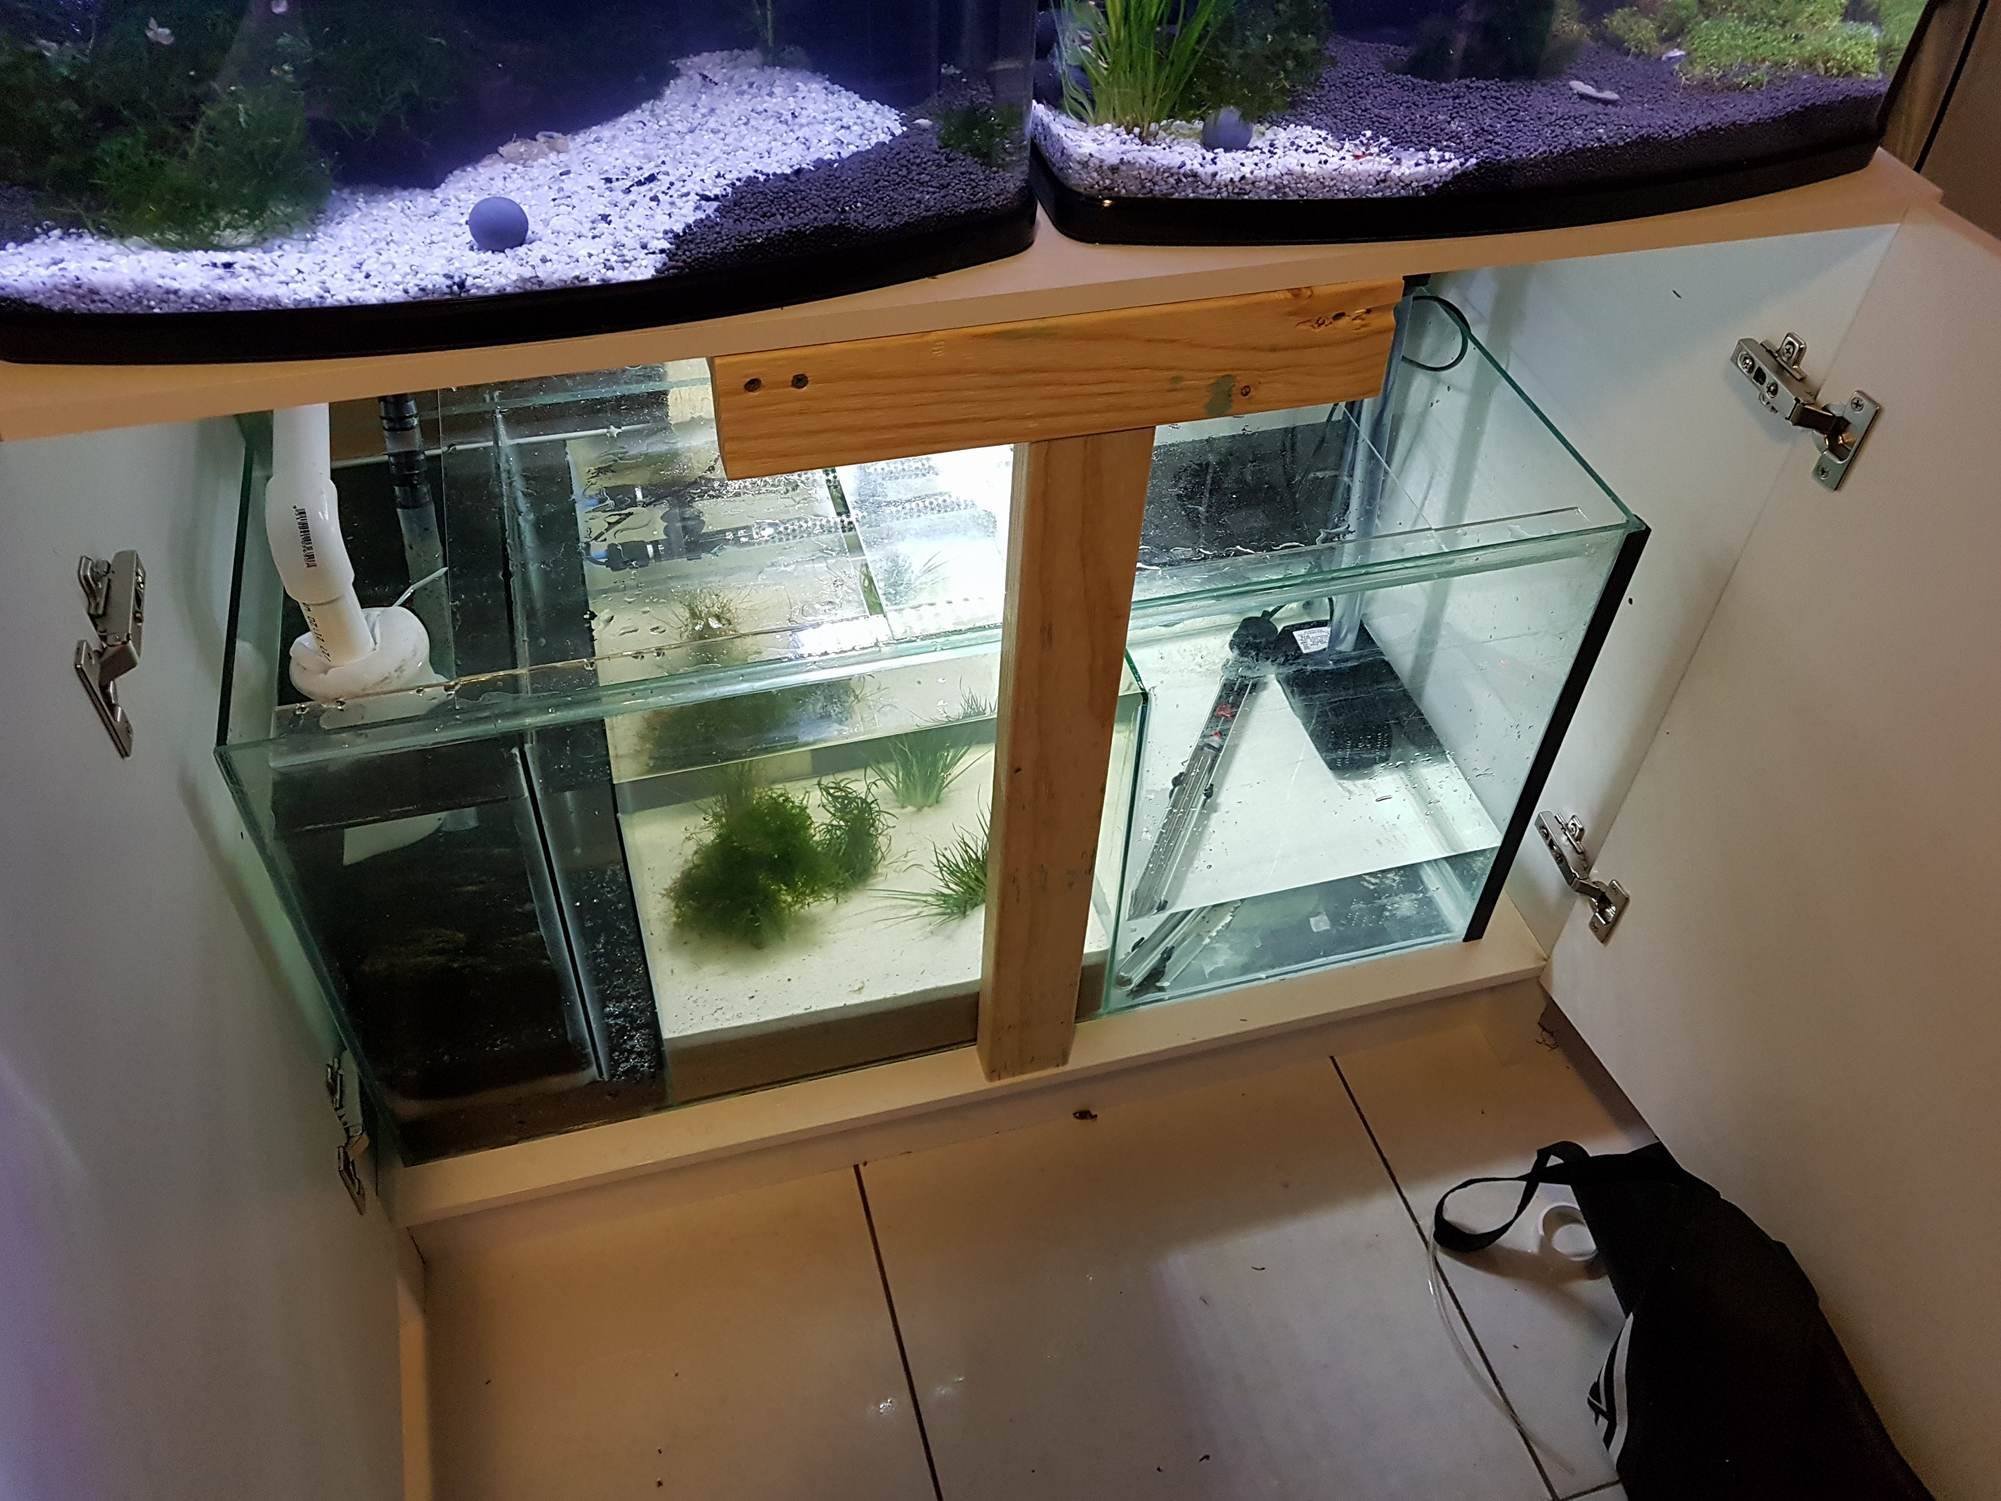
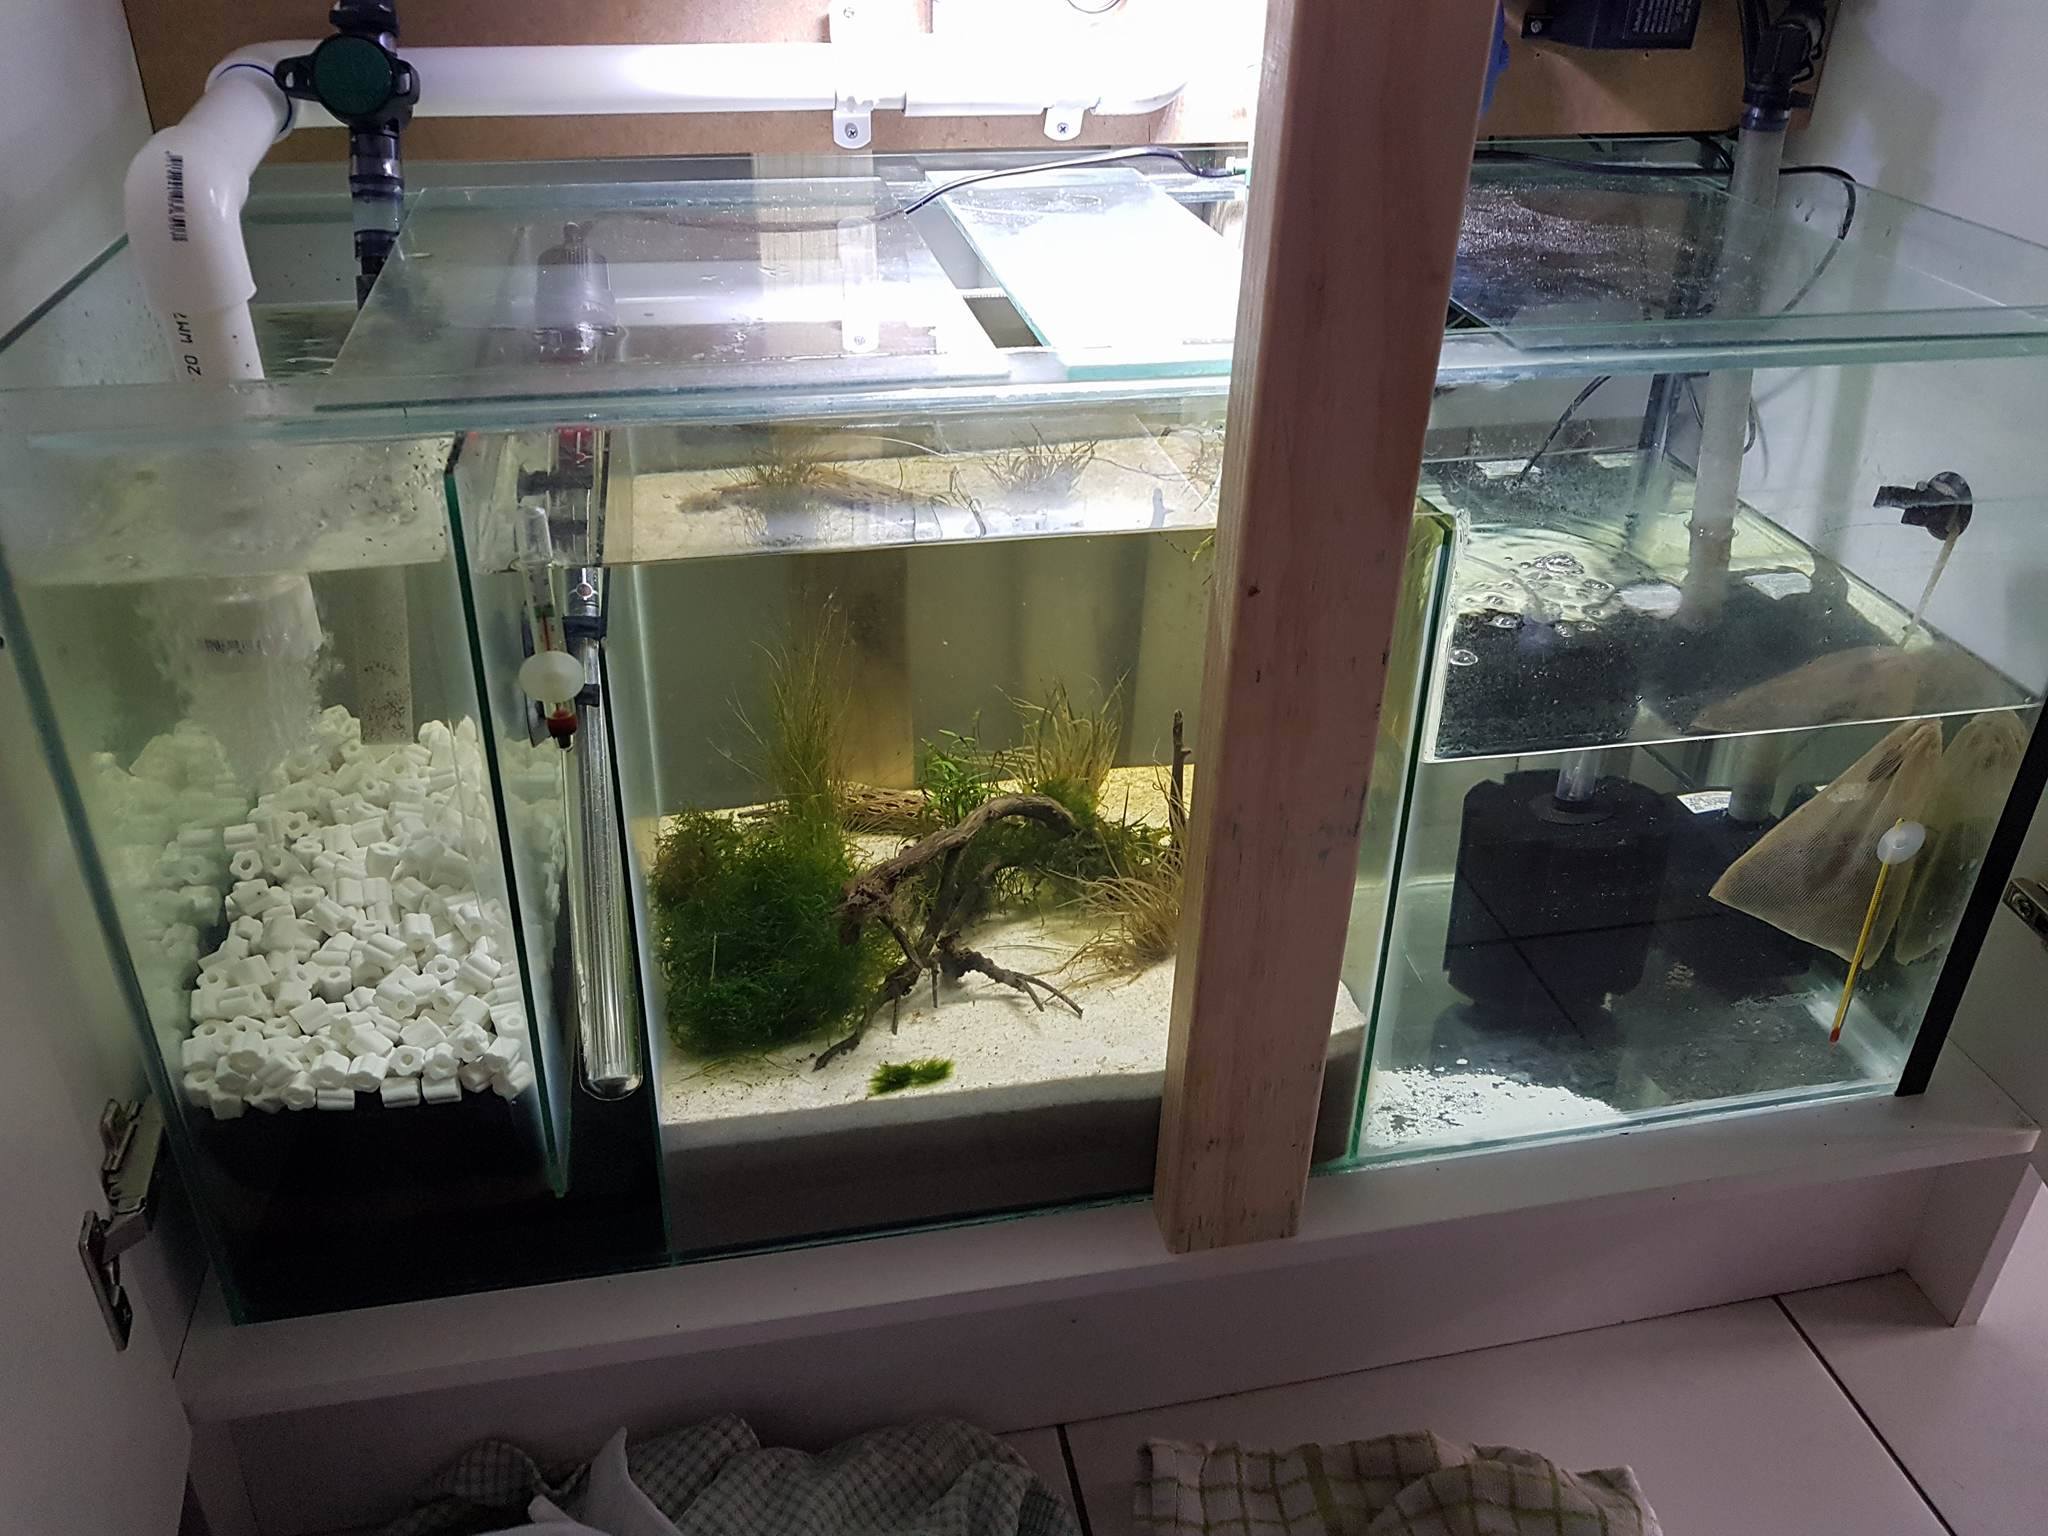
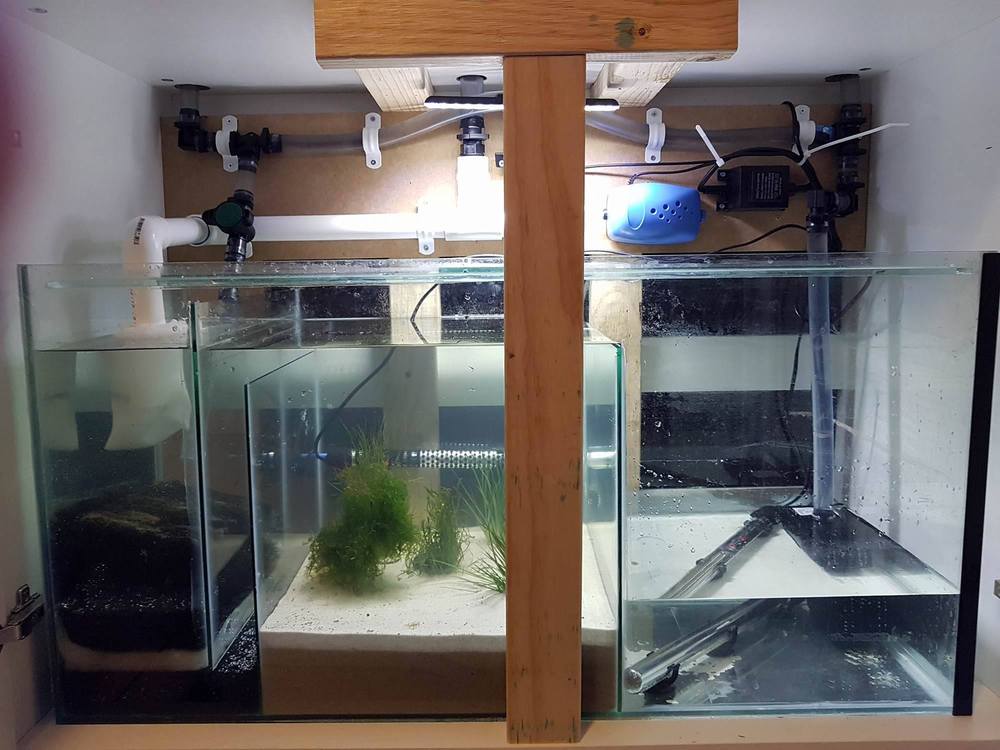
1 pointWell the sump is maturing well, Getting some nice growth and the plants are taking off, Now all I need to do is put some mesh in so I can put some shrimp in there
 1 point
 -
1 point?That's right, and don't forget it. ? Shall we elaborate on the reason or shall we keep everyone else guessing?1 point
-
1 pointMakes sense now seeing the back. Yeah, that's a good idea that. Are you running opposite day/night cycles between the tank and sump?1 point
-
 1 pointRegulating taps on the inlets I'm all for. Taps on the drains however is asking for trouble. If you one day have a brain fart and close the valve you'll flood the tank. I'd put a wrap of duct tape over the taps on the drains so you can't close them unless you really want to. Otherwise it looks great and I like the idea of having extra grow space in the sump.1 point