Leaderboard
-

jayc
Moderators3Points6248Posts -
Disciple
Platinum Members2Points2092Posts -

s1l3nt
Members1Points116Posts -
Unagi42
Members1Points61Posts
Popular Content
Showing content with the highest reputation on 02/07/16 in all areas
-
3 points@Filter Systems Australia Hey Cody, It's great that you guys are asking for suggestions. I have a few. I have the GT1-70DIALK model. Others here might also have the GT1-70DI model. It's time for cartridge replacement soon. But I find it difficult to locate the correct replacement cartridges on the web site. You have the following replacement cartridges on the page for the GT1-70DIALK, but it's added to the the Whole RO unit. I don't need a whole new unit, just need the cartridges. Would You Like Replacement Filters? Pre Filter (6 Months) +$15.00 DI Resin Refill Only (Life may Vary) +$14.95 12 Month Pack (Including Resin +$59.95 Full Pack (All Filters) +$99.99 1. It would be useful for us newbies, if FSA could provide a link to purchase replacements easier: Pre-filter Di Resin or All Filters. 2. Provide an explanation on what is included in the 12 month pack? 3. Provide an explanation on what is included in the Full pack? What if I only want the DI Resin replacement, cause that usually expires first. Give us an option to repurchase single replacement cartridges or a full set to replace the existing. Right now it's too hard to locate the right parts. 4. If replacement cartridges are provided, instructions on how to replace it would be very, very helpful too. 5. If DI Resin refills are sold, then instructions on how to refill would be helpful as well. Step by step for each Aquarium RO model and with pictures for us dummies. What do we do with the old resin? 6. I know you also sell TDS and pH meters. I was in the market for some pH pen storage solution. The options for getting it is either a hydroponics store or make my own. I resorted to making my own - which is probably not the most precise. It would be good if you guys stocked pH pen storage solutions. 7. You already have pH 7.0 buffer solution. pH 4 buffer solution is more useful for us Aquarist. It would be good to add this to your stock. 250ml bottles are a good size. 8. In regards to the TDS solution 342ppm you guys already stock, I suggest providing a smaller, cheaper bottle for hobbyist who don't use much. TDS pens don't need recalibration very often, so 250ml of TDS solution @ $20 is kinda overkill. A 100ml bottle at $10 is way more than required. A 50ml bottle at $5 also much more than needed, but I would get it without even batting an eyelid at that price. Almost every single shrimp keeper on SKF has a TDS meter. But not a lot of us have recalibrated their TDS meter because 1) TDS calibration solution is difficult to find, and 2) when we find it, it comes in a bottle way to large and costs equally as large.3 points
-
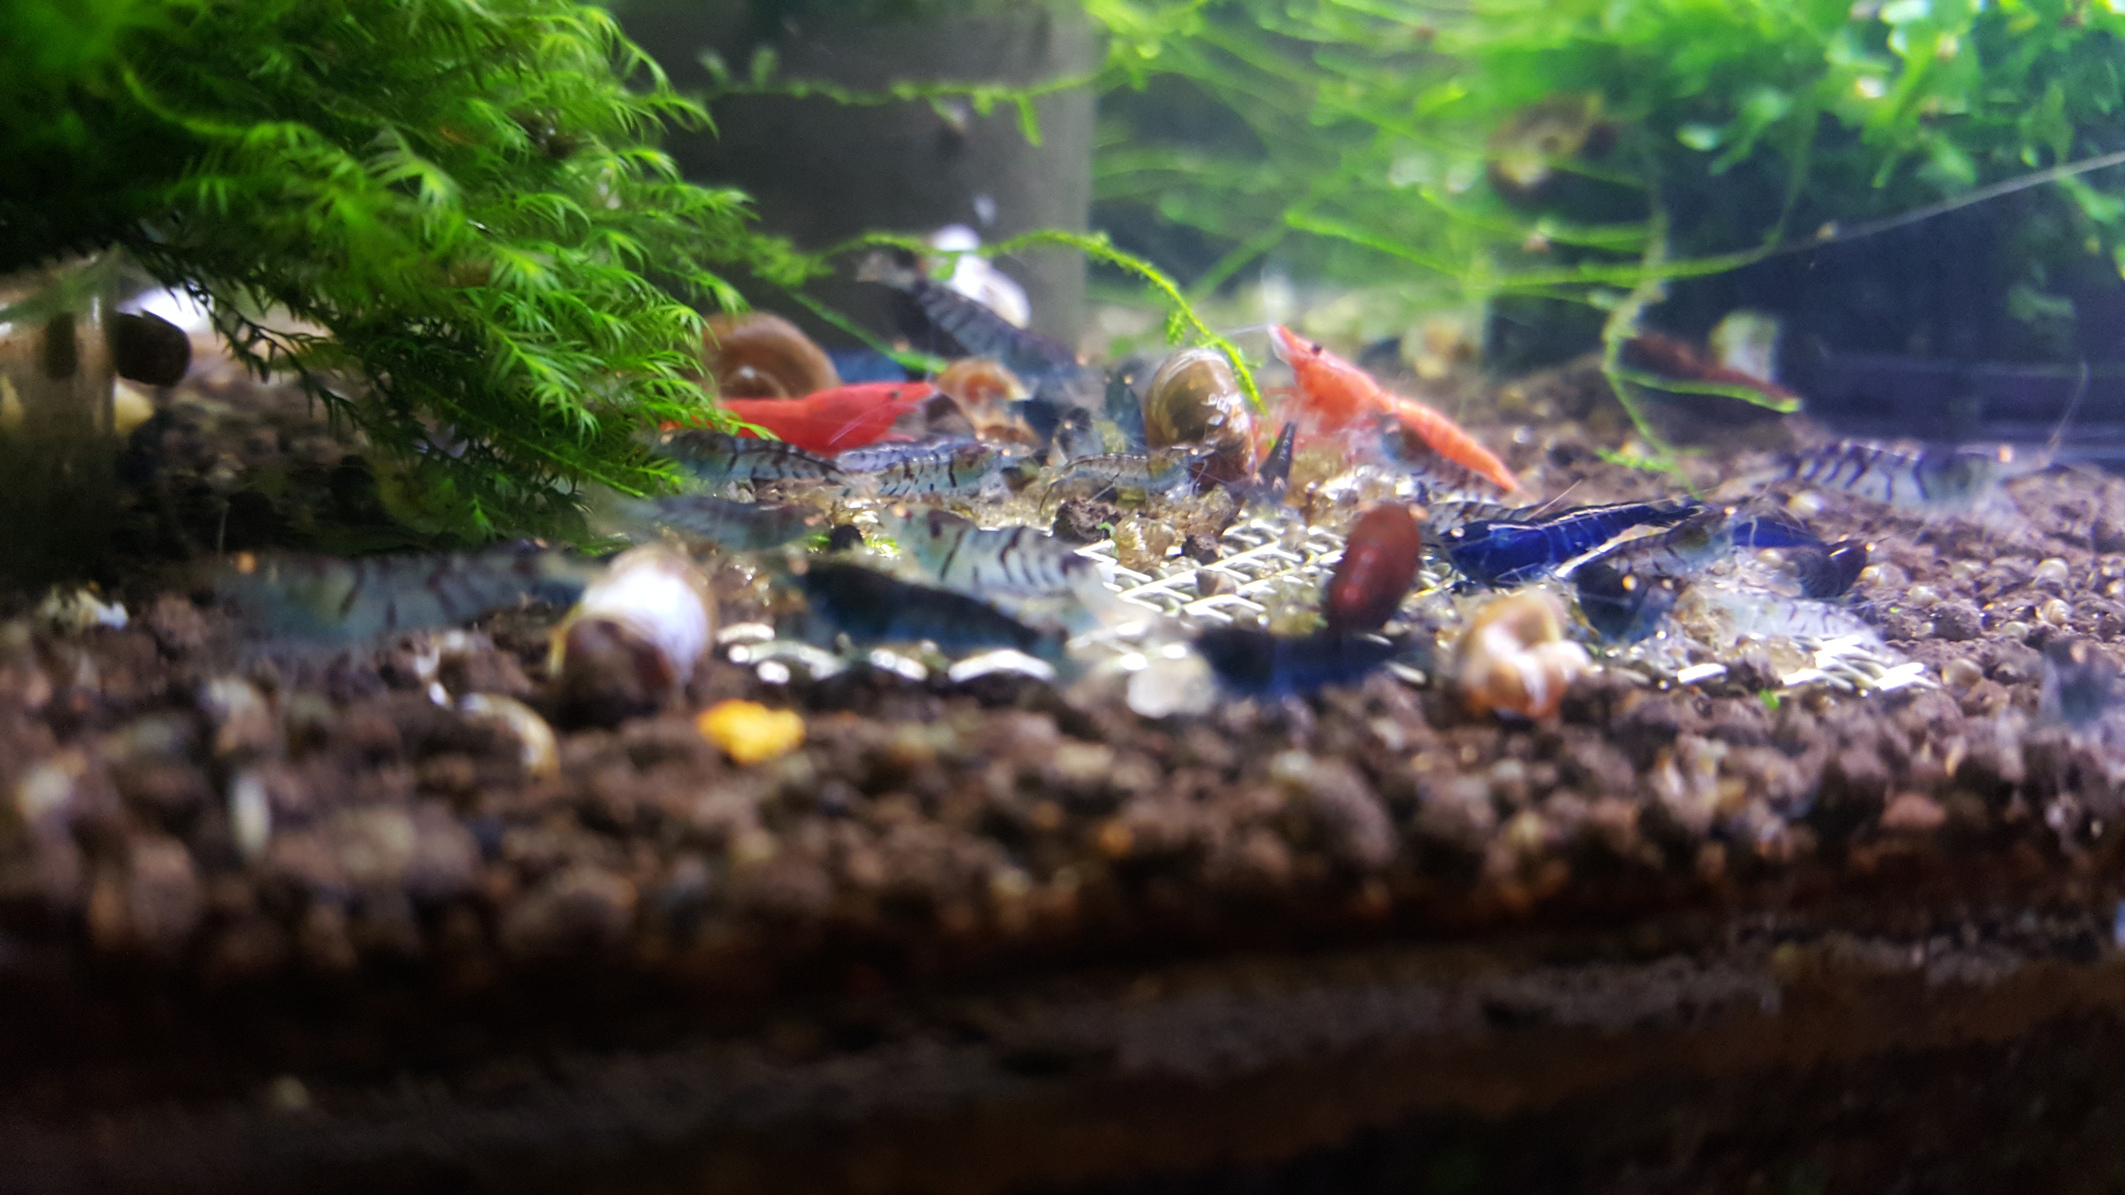
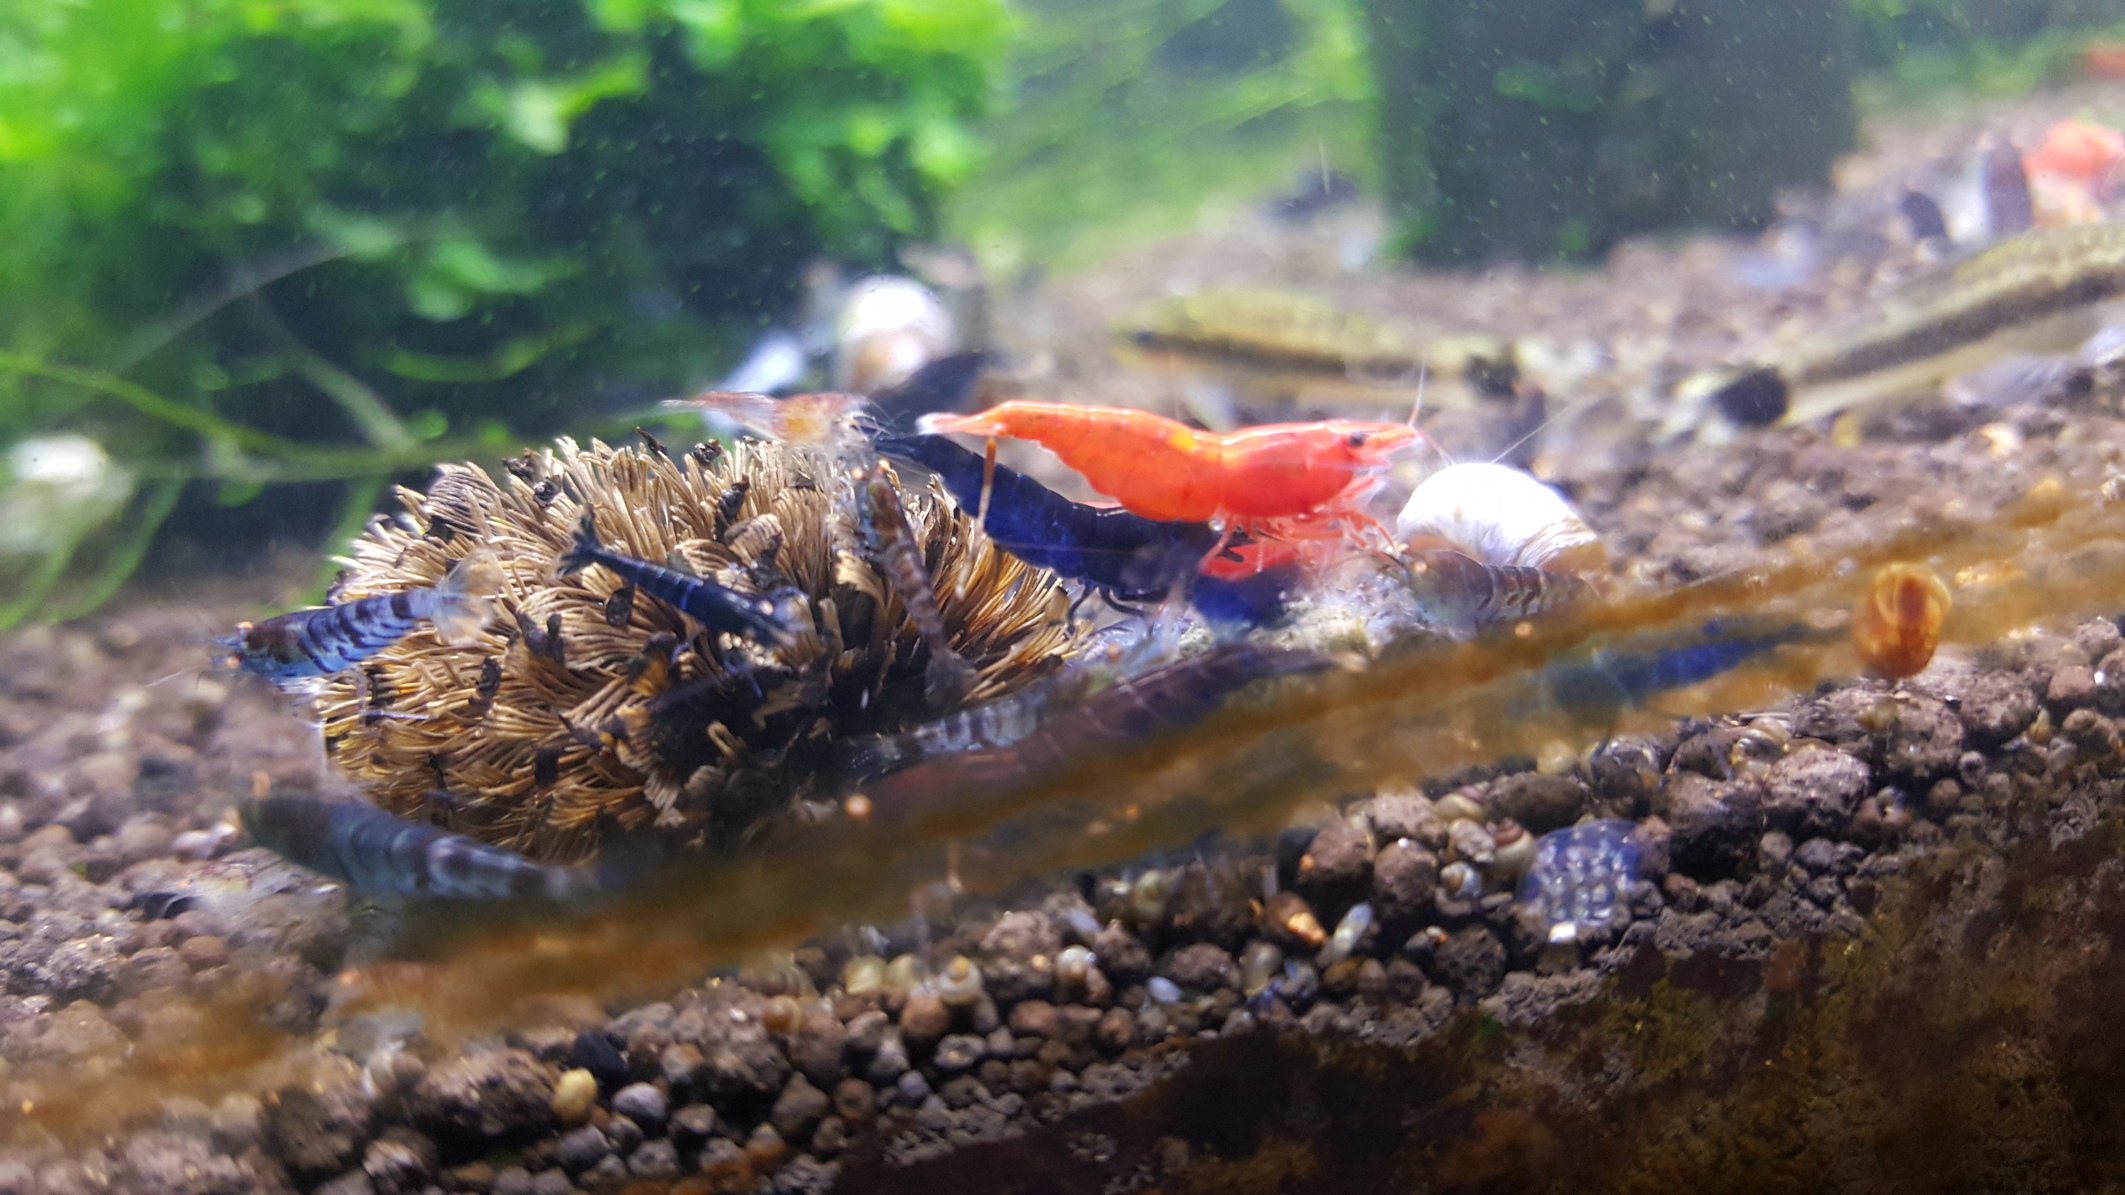
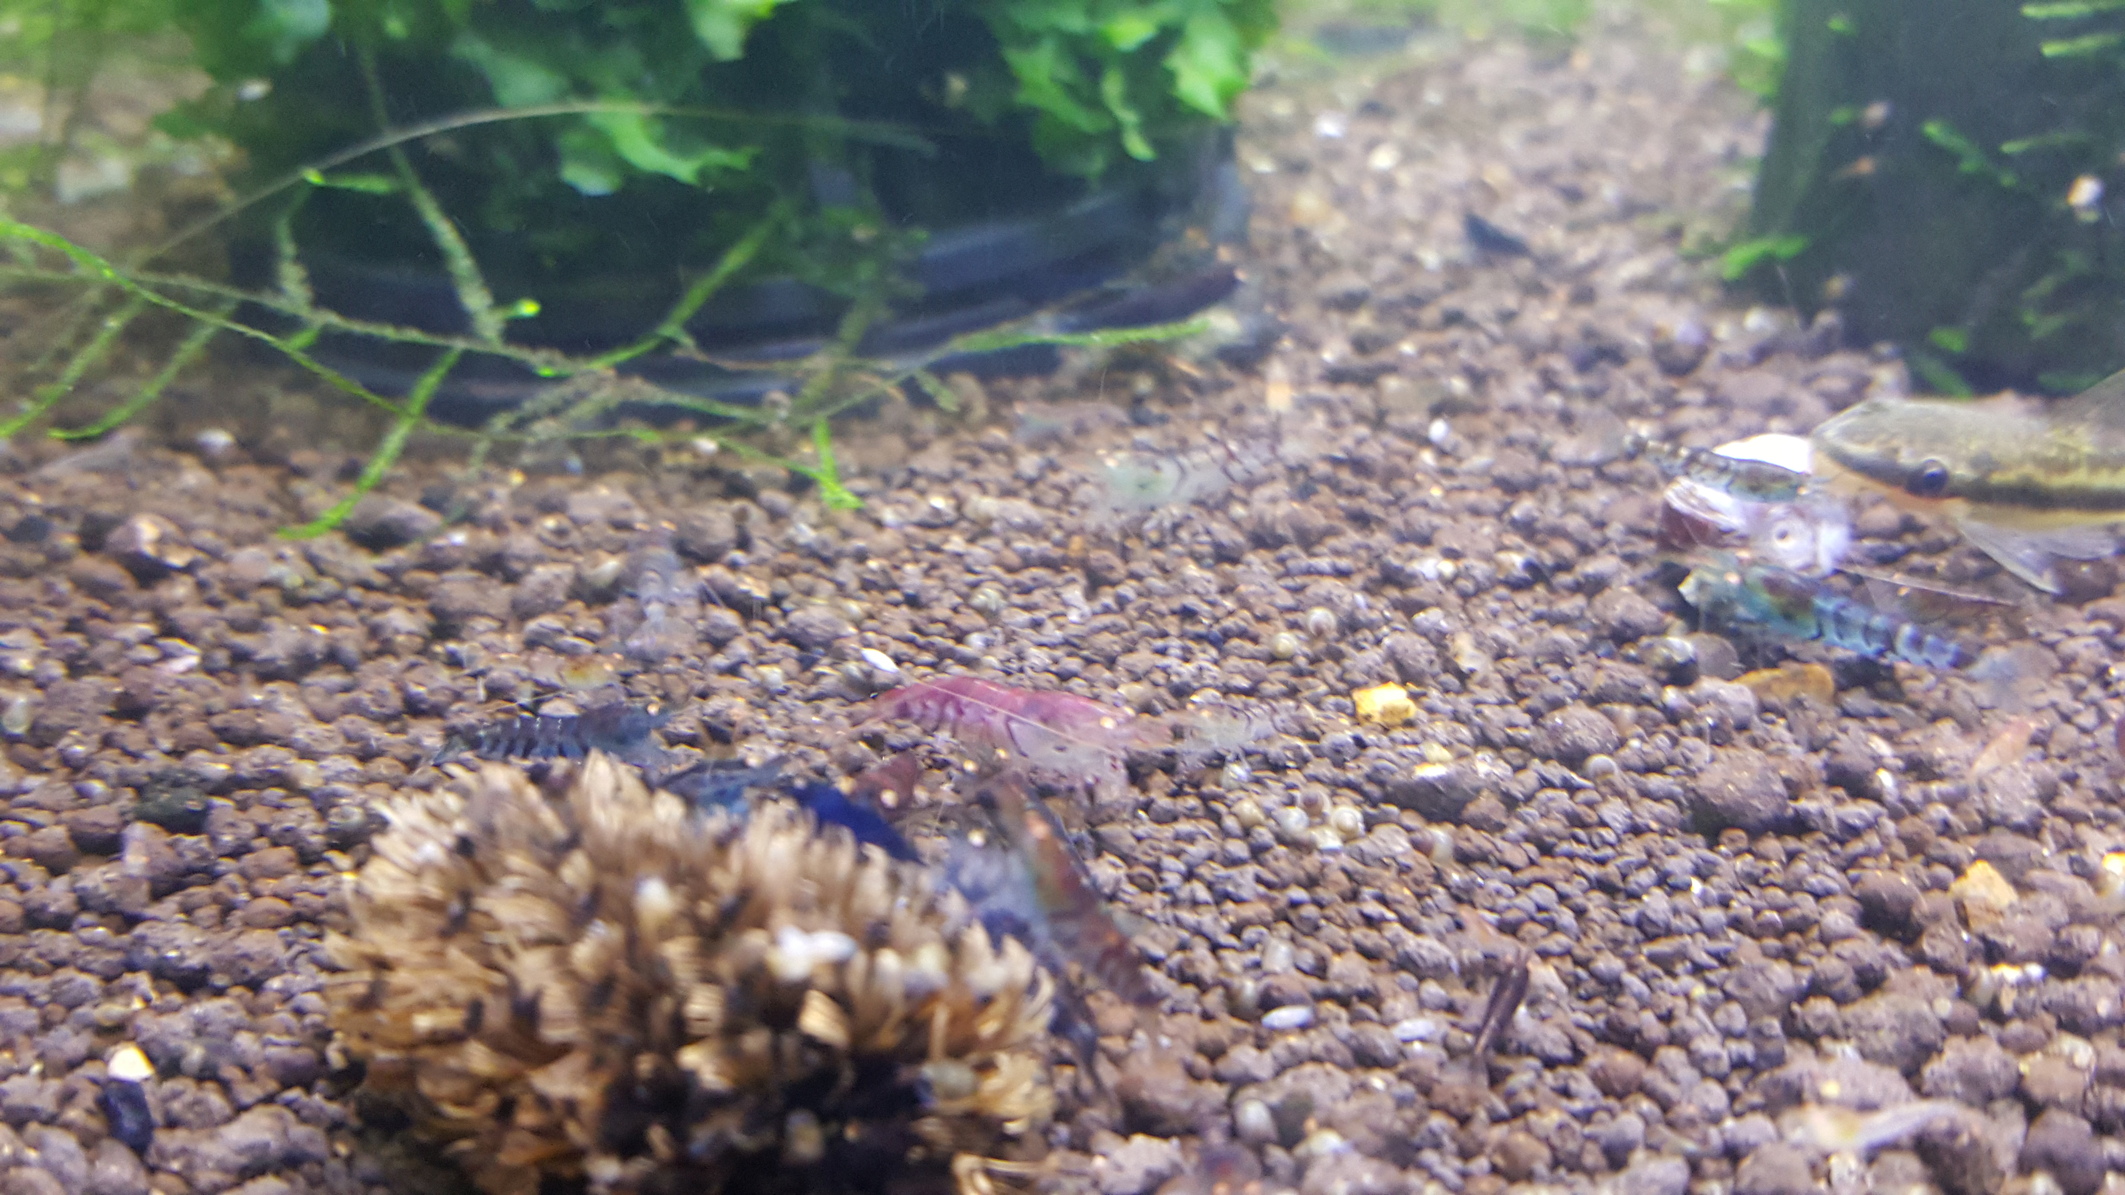
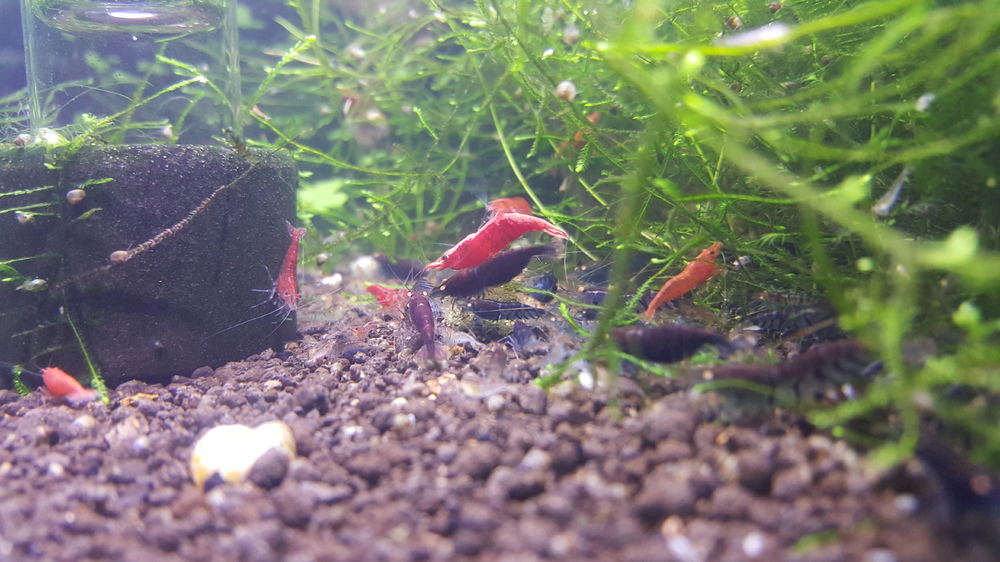
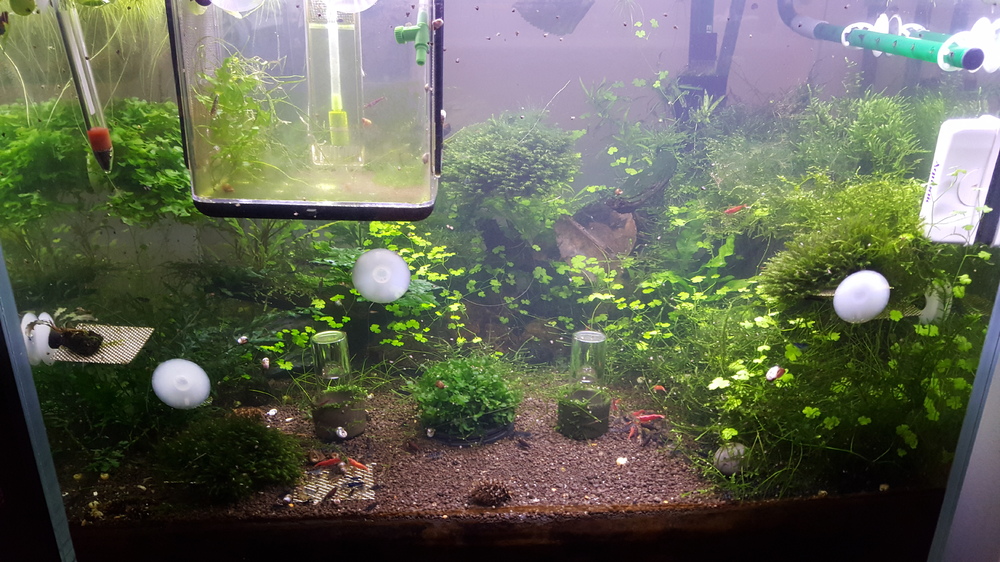
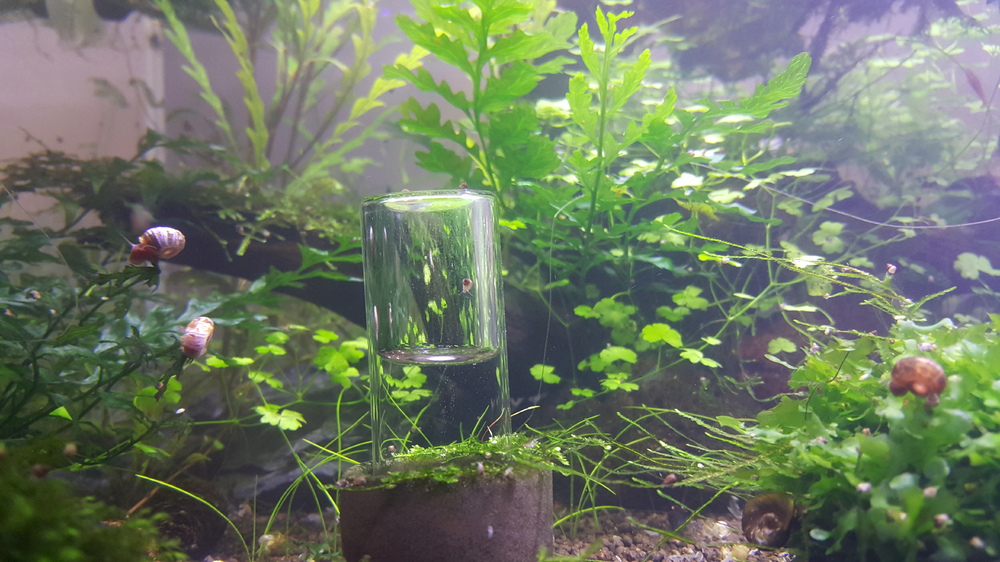
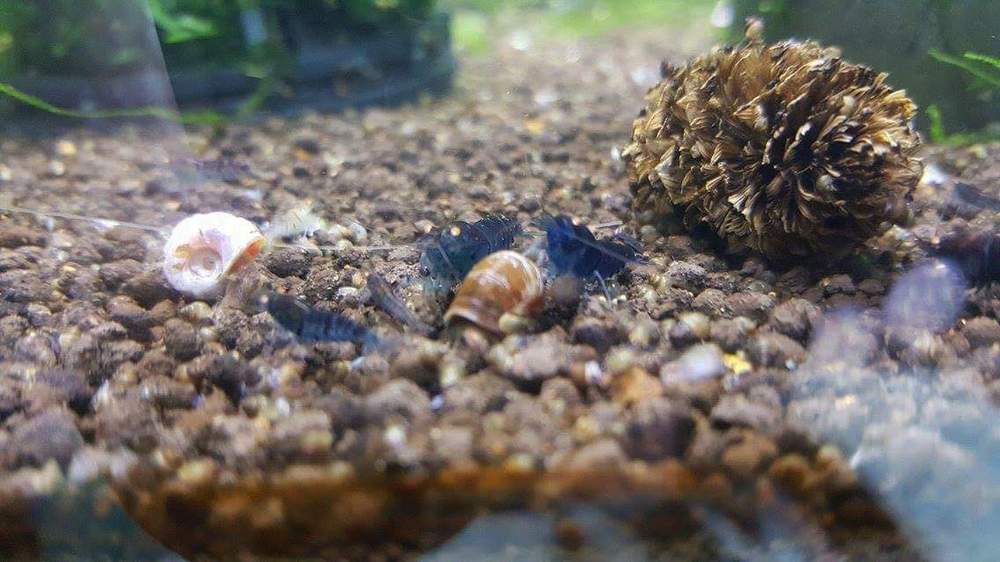
2 pointsIts been a couple of weeks since the last update. I have finally gotten my water parameters where i want them since coming back from my holidays. My fire/suraka reds have settled in. Its taken 6 weeks but they are looking great if i do say do myself. The oebt are doing great. A lot of shrimplets are becoming juvies. Feeding time is going to produce some epic shrimp balls in a month or so ehen they become adults. Never thought that I would say this but it seems the tank is getting full. I will have to let some of these babies go. Anyways i hope you enjoy the pics.


 2 points
 -
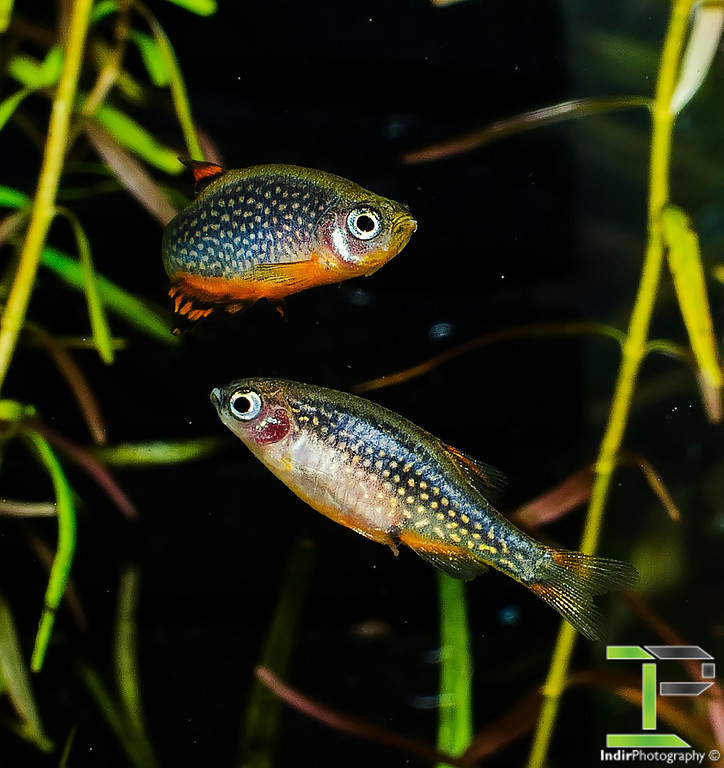 Breeding Celestial Pearl Danios (Also known as Galaxy Rasboras) Firstly I will start by saying that these are a fantastic little fish that show no aggression to any other species nor within their own species. Males will spar with each other sometimes and often display to females, no damage is ever done. They are shrimp friendly, but will take down shrimplets if they get hungry. So they can be added to a mature and established shrimp community tank to ensure maximum shrimp numbers surviving also. These fish prefer a nice planted tank with a dark substrate, this helps reduce skittishness and bring out their colour even better, it also gives refuge for fry that will pop up in the display tank! Feeding Celestial Pearl Danios will need to be fed small foods, due to their small mouth size. Though they are always excited to see live black worms (2-3 of these will make them VERY fat). Mine love grindal worms so they get this often, as well as baby brine shrimp and cyclops regularly. They will readily take dry foods of small size, I have had great success with Sera Vipagran Baby. To keep them in shape for breeding on a regular basis, I feed them twice a day with baby brine shrimp and a higher protein food like grindal worms, black worms, and so on. I find live high protein foods keep them in better shape and increase egg numbers. Sexing CPD Celestial Pearl Danios are fairly easy to sex, especially when they are of mature/breeding age. Females will have a much rounder body shape, when they are younger they will also have a taller body (older/more mature males develop this also, usually 6+ months old). Females also have a prominent black spot in front of the anal fin, the difference becomes more obvious as they mature more. Males are more slender in the body but will have much better colour in the body and fins, they develop a nice blue to purple colour to the body with nice orange fins and often the under belly too (the under belly colour can also be the case in females though, so isn’t a guarantee). In the below photos you will see the younger male has a slender body and orange under belly, as well as better colour than the female. However, as you can see in the older pair, the male has developed the deep body also and the female has a light orange hue to her under belly. The male in the second photo is a prime candidate for breeding as he is quite nicely coloured and has developed good body/fin shape and colour. Young Pair – Male on the bottom right and female on top left: Older/More Mature Pair – Male on top and female on bottom: Breeding Celestial Pearl Danios will start breeding from as young as 3 months old if fed well and have clean water throughout their short childhood. However, I find they are usually all mature by 4 months old. You will need at least one pair for breeding, however I have better experience breeding a trio as this gives females times to recover between breeding sessions as these fish are “constant” (usually daily) spawners. Spawning is induced by males, where they will hover over a specific area they like (moss, spawning mop, etc) and when a female is nearby they will begin to shake their bodies and flare their fins in hopes of attracting the female. They will do their dance and display, but the spawning comes when the male has his head pointed down and shakes, following the female behind closely. These fish will often spawn in a display tank and you will get fry popping up now and then in a well planted and mature tank. However, celestial pearl danios will readily eat their eggs and fry in my experience so this method will result in minimal fry numbers. There is another option which can work well if you have spare tanks, or enough room to rotate breeders. This method is basically using a bare tank with some java moss and keeping a trio in here for a 5 to 7 days, then moving them to another tank while the eggs hatch in the first tank. Then you keep repeating this process until you have enough fry or forever if you have the space… I have not tried this method myself, but have heard of others using this method with success. I personally don’t have the tank space for this method. The final method which has worked the best for me has been a dedicated breeding tank. In this tank all I have is a sponge filter and an acrylic yarn spawning mop (make sure it is 100% acrylic otherwise it will eventually rot in the tank). I keep a trio of my best fish in here, one male and two females. The male I use is the “older” pair from the photos above for his colour and body shape, as well as two nicely coloured and sized females. I call this the “permanent breeding factory”, because I am able to get on average 20 eggs per day with this method. To collect the eggs in the factory, I use a turkey baster purchased on eBay. I stop the sponge filter and after about 5 minutes or so when everything has settled down I slowly lift the spawning mop up and shake the mop, to make this easy I tied a long piece of yarn which comes out of the tank onto the lid for easy lifting without having to drop my arm into the tank. I then use a light on the front half of the tank, placing the light from the side helps in seeing the eggs easier as does a dark base (my tanks have black bottom panels). Using the turkey baster I suck the eggs up and collect them in a plastic cup for later use. With the eggs in the cup I then fill the cup most of the way and use an air stone on a very low bubble rate to keep circulation over the eggs to prevent fungus. Another option is to put the eggs in a fine meshed breeder box or poke some tiny holes into the cup and float it in the tank to keep fresh water circulating over the eggs. Eggs take about 3-4 days to hatch on average, and the fry will now be wrigglers which cannot really swim yet and are not ready to be fed. This wriggler stage will take about 3-5 days before they are free swimming. They will often be holding onto the side of the cup, or laying on the base. This is nothing to worry about. Once fry are free swimming they will be quite small and very thin in body thickness. You will need very small foods to have the best success, such as paramecium, spirulina powder, fry powder foods like sera micron and so on. I find that I get a MUCH better survival and growth rate when the fry are fed live foods so I only use paramecium for feeding them. The fry will need about 10-15 days before they can readily eat baby brine shrimp, I don’t bother with foods larger than paramecium until this stage mainly because micro worms and similar are a pain to keep going and requite too much maintenance. Once the fry are on baby brine shrimp, they will grow much quicker. Around the 5-6 week mark, I start introducing sera vipagran baby or similar small sized foods. I however prefer to give them live foods more than dry foods as I find the fry grow much quicker and are healthier and develop colour earlier. Fry will grow fairly quickly and at the 6 week mark will be around the 15mm mark and should be showing some slight purple/blue to the body and their golden spots should be readily visible. From this point on the fry will slow down their growth as they reach their adult size but colour will come in much quicker. By the 12 week mark the fish should be very close to looking like full grown adults, with the deep orange colour developing quickly after this point. Fish should also be reasonably easy to sex from this point on as the body shape has already developed and the colours are coming through quickly. Now I hope you enjoy the photos of the fry below, which should help you gauge age and so on of your fry! As a comparison, the first two photos are of fish the same age but the first shot is of a fry fed solely dry foods like spirulina powder and similar from hatch while the second photo is a fry fed on live foods from hatching. Young fry (most likely female) at 12 weeks old – Fed solely on dry foods from hatching. Young Female Fry at 12 weeks old – Fed on live foods, with dry food at the later stage in life Most likely a nice young female, but could be a male. Young pair of CPD, approximately 7-8 weeks old. Young female, approximately 7-8 weeks old Thank you for reading along and I hope you find the information useful, or at least enjoyed the article!1 point
 -
 1 pointlooking good D! how is it starting with culls? im going to have to do that because im broke. lol. any advise?1 point
 -
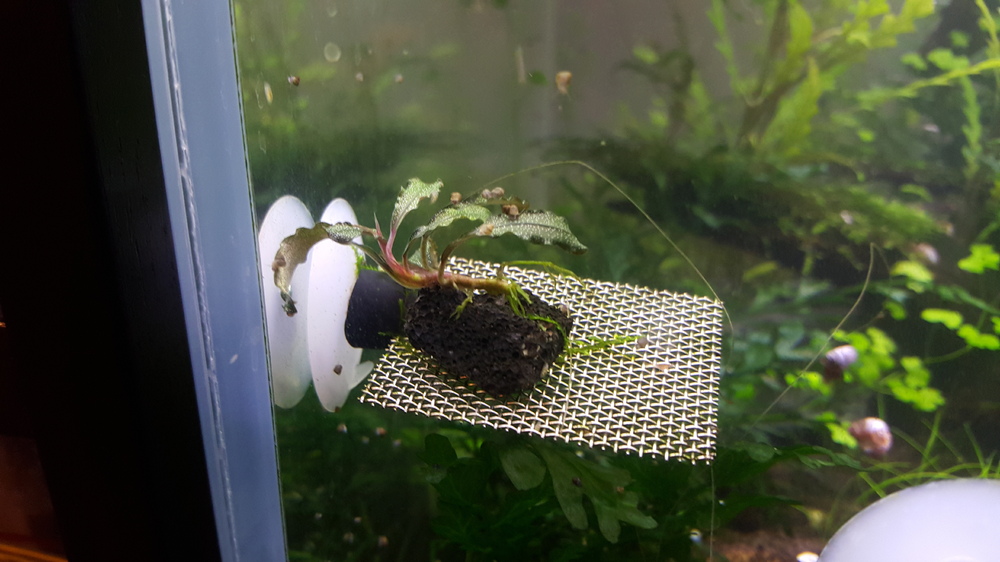
 1 pointthat's a nice little buce you have there what type is it? the fire reds look great dude!1 point
 -
1 pointMy daughter picked the new tank fish (blue/purple guppies). I picked purple rasbora and am hoping to get some coolie loaches in there as well. i popped a few cherries in but they spent the whole time hiding as the guppies are too active and nippy for them. The rasbora are fine. so I popped the cherries back in the other tank and am contemplating loaches as bottom feeders. Obligatory night shot.1 point