Leaderboard
-

2OFUS
Members4Points1886Posts -
Disciple
Platinum Members3Points2092Posts -

wot_fan
Members3Points194Posts -
JacksonL
Members2Points129Posts
Popular Content
Showing content with the highest reputation on 09/11/15 in all areas
-
 1 point
 -
 1 point
 -
1 point1 point
1 point
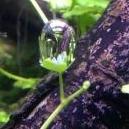
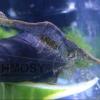
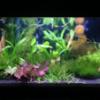
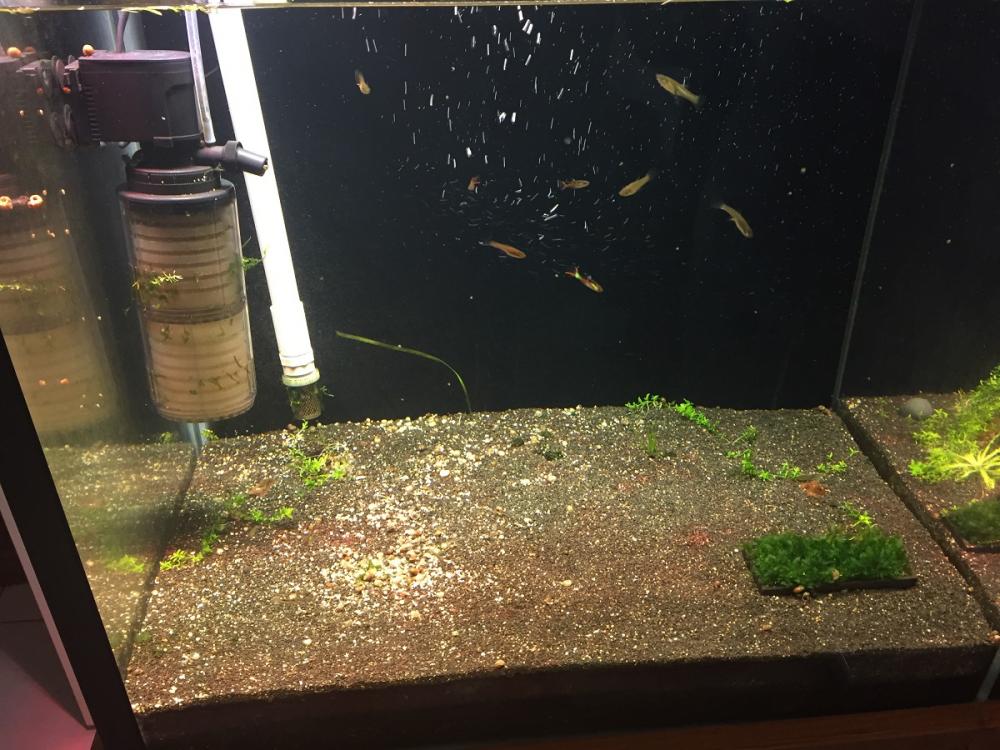
1 pointA new full tank shot, plants were starting to pearl so the bubbles make it difficult to photograph. and some fishy shots, they are a lot harder to photograph than shrimp!1 point
1 point
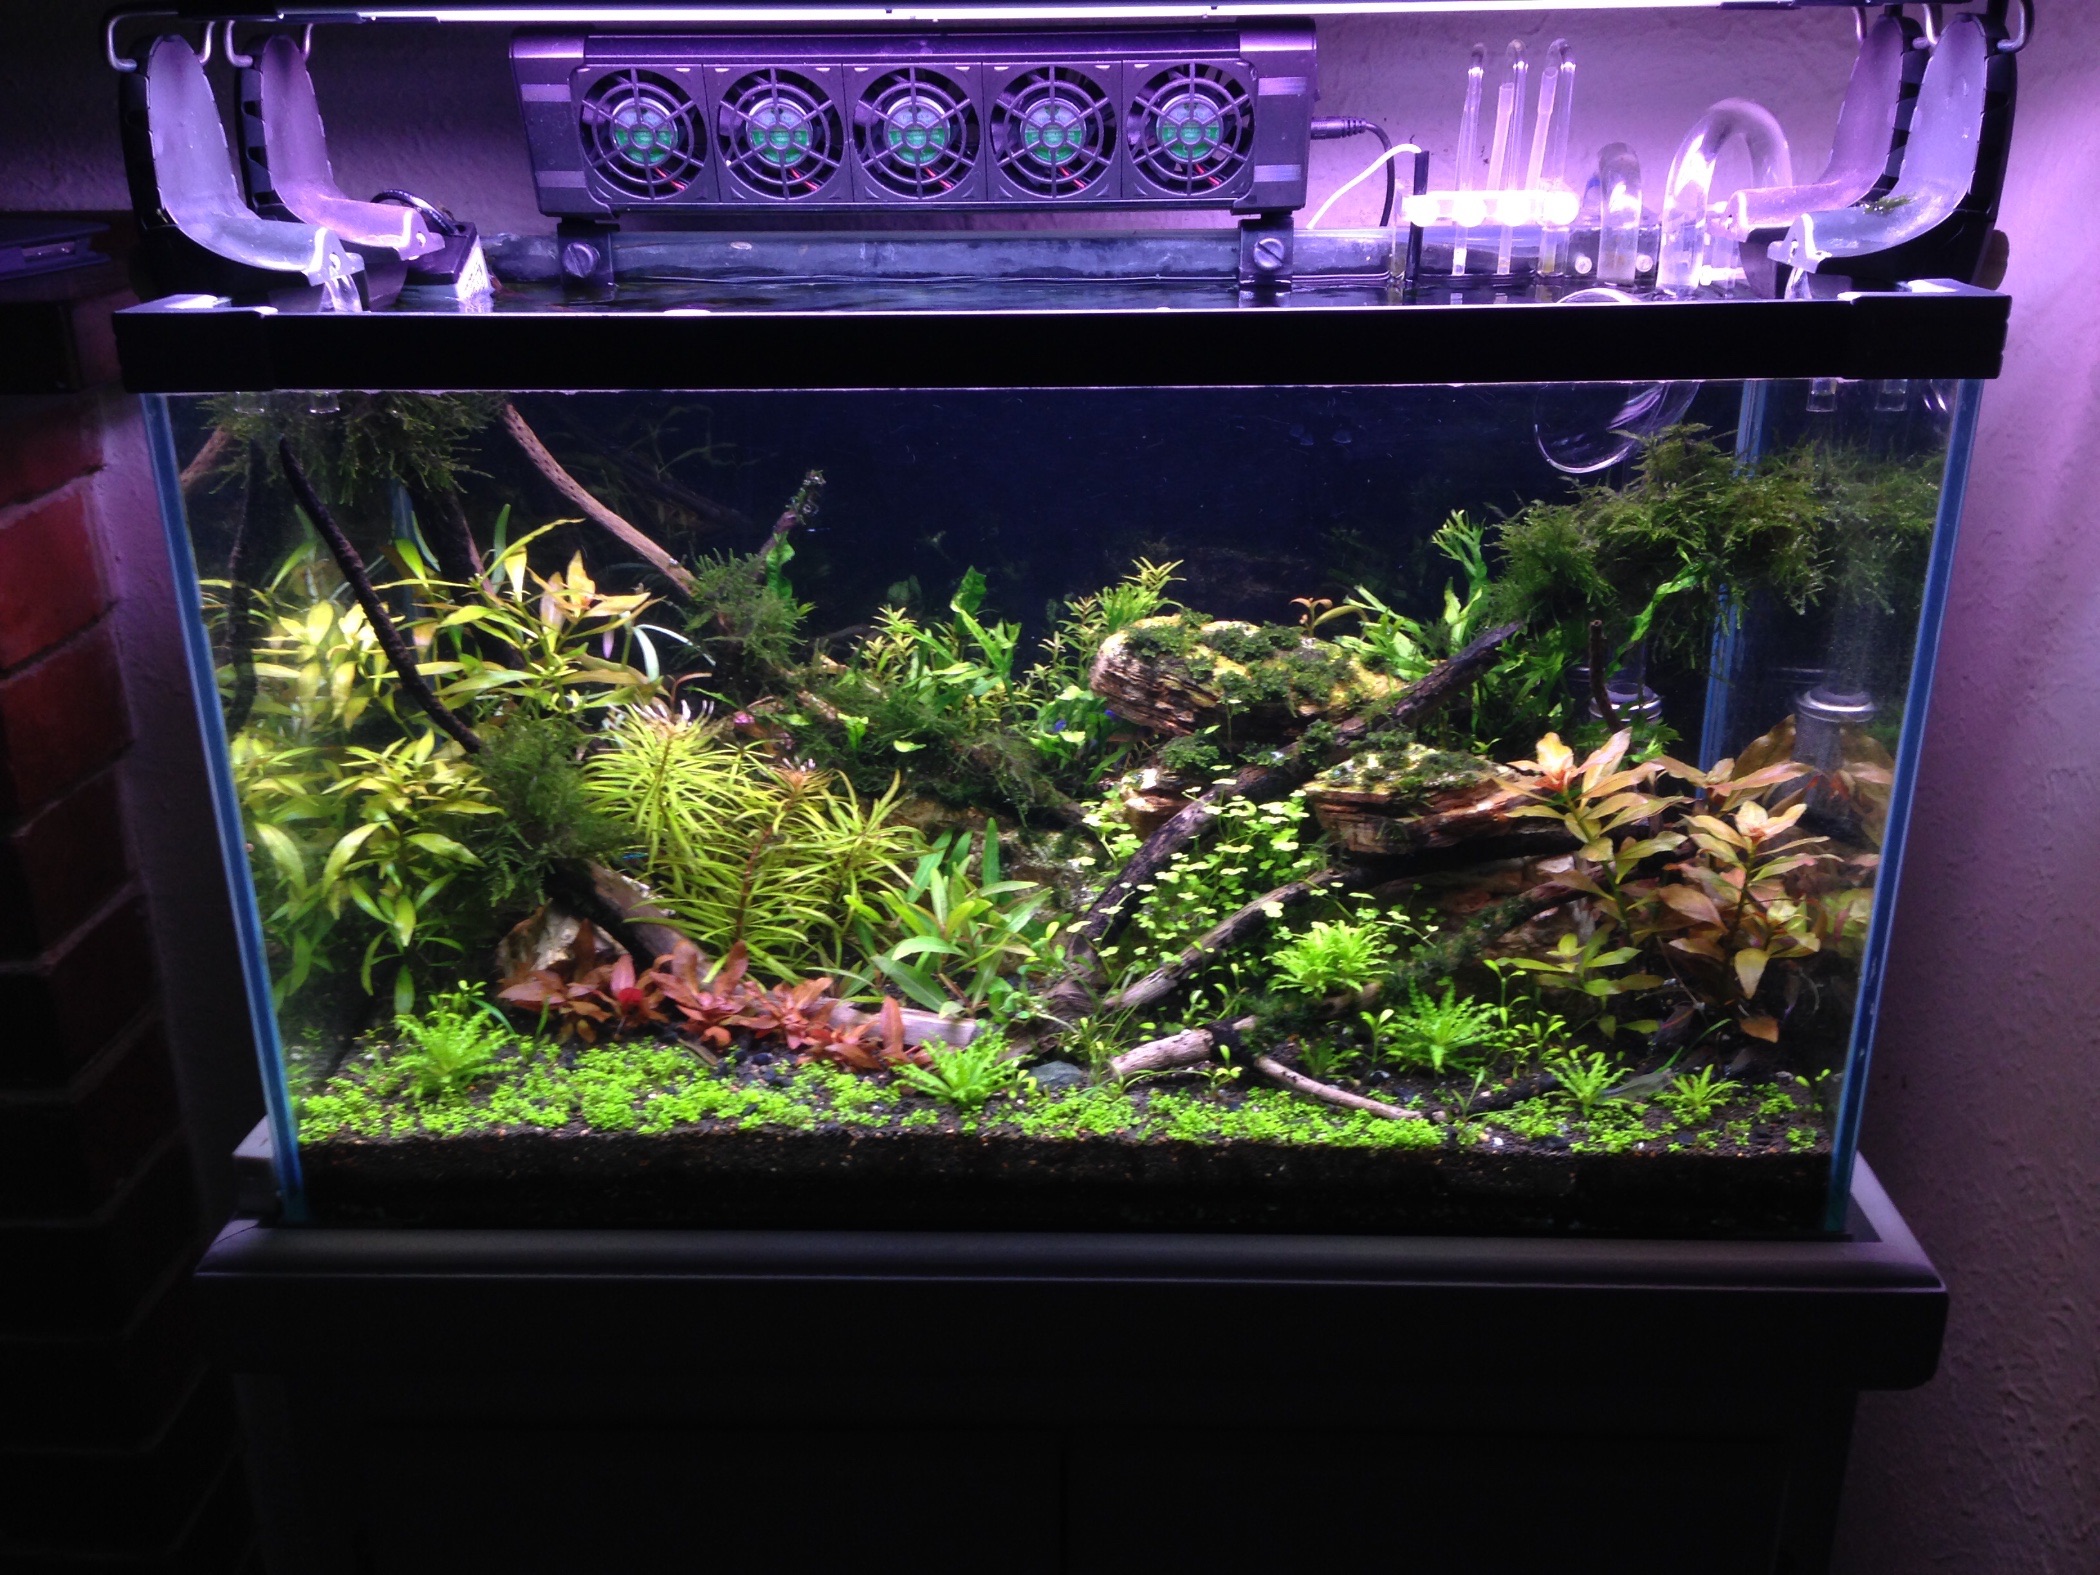
 It has been a while and I have been trying to work on this rack between other commitments. Probably a tad slow but I am thoroughly enjoying the build. I have completed 90% of the wiring for the LED strip lights and moved the tanks onto the top and middle tier. Current tank inhabitants are a few German White Tail Tuxedo guppies. The tanks are filled and running on sponge filters. The sponges have been seeding in the sump of the 4x2x2 for about 4 weeks. Here are some progress photos. Tanks in place with grey foam insulation. Tape measure fish was the first tank inhabitant but alas it was dead and not moving before I even fill the tanks. Complete wiring for the top and middle tier. Just need to tidy it up with some cable trunking. I find the LED strip a bit too bluish. I'll most likely swap them out at some point, perhaps with 5630 LED strips or Cree LED chips. That'll be for another day. Now for the shrimp tank. I used Cal Aqua Labs Black Earth Premium. Base layer around 1" with BEP normal and top off another 1" with BEP fine. Water is a bit cloudy as photo was taken right after I filled it. All tanks are currently only 3/4 filled as they are not connected to the sump yet. Some German White Tail Tuxedo guppies. One of my favourite fish and the only strain of guppies I keep and breed. They are only sub-adults at around 15 weeks old. Hopefully I'll be able to get the shrimp tank up and running soonish. Thanks for reading.1 point
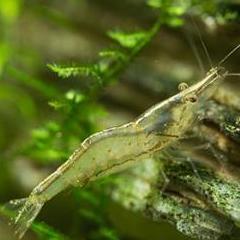 1 pointLHS cleared of all choc cherries now: RHS currently only housing natives, here are a few giving a wave
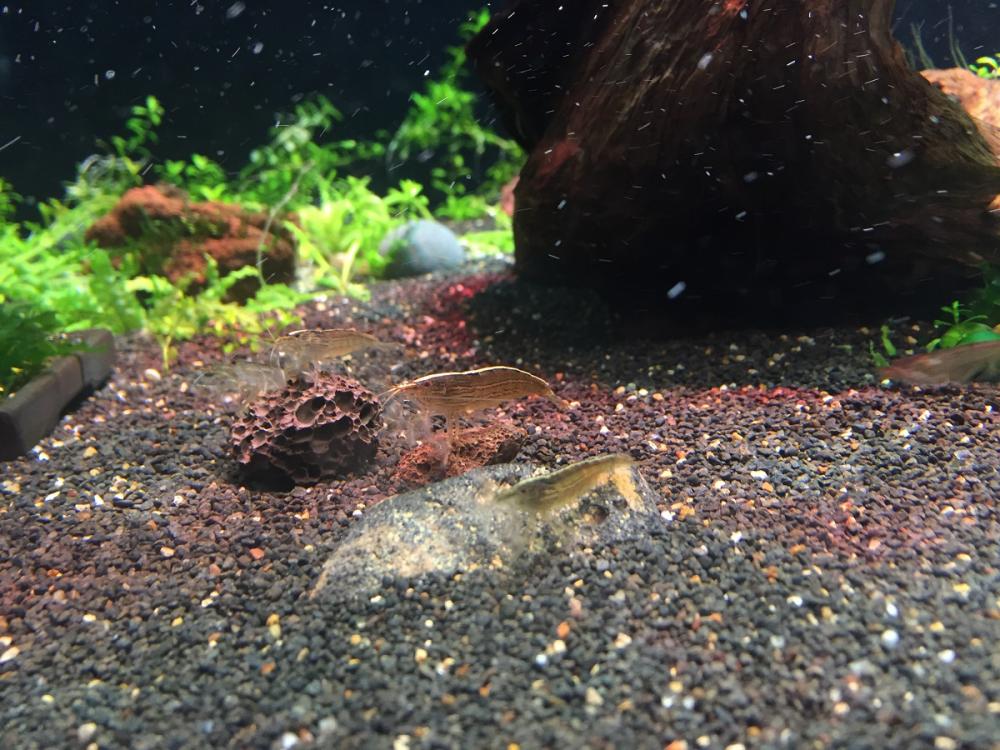
 1 point
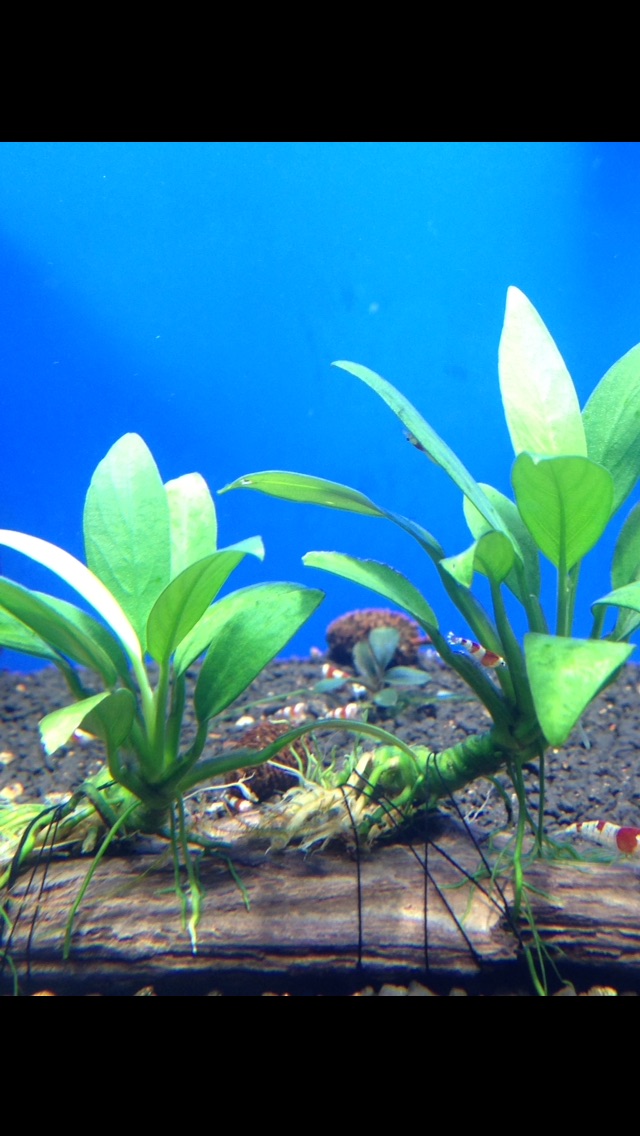
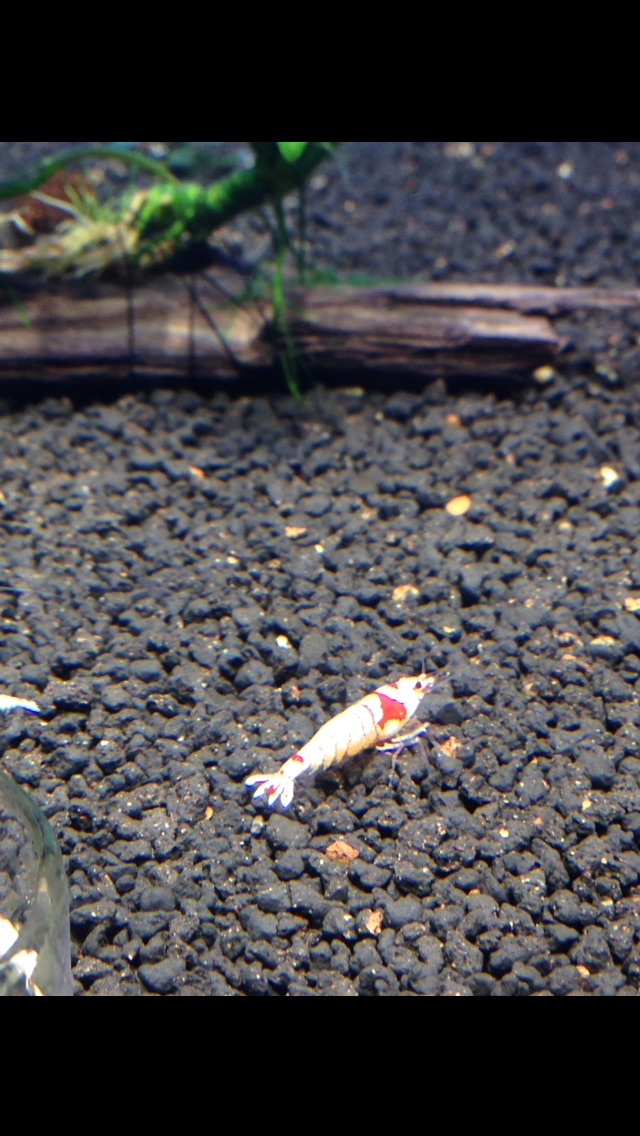
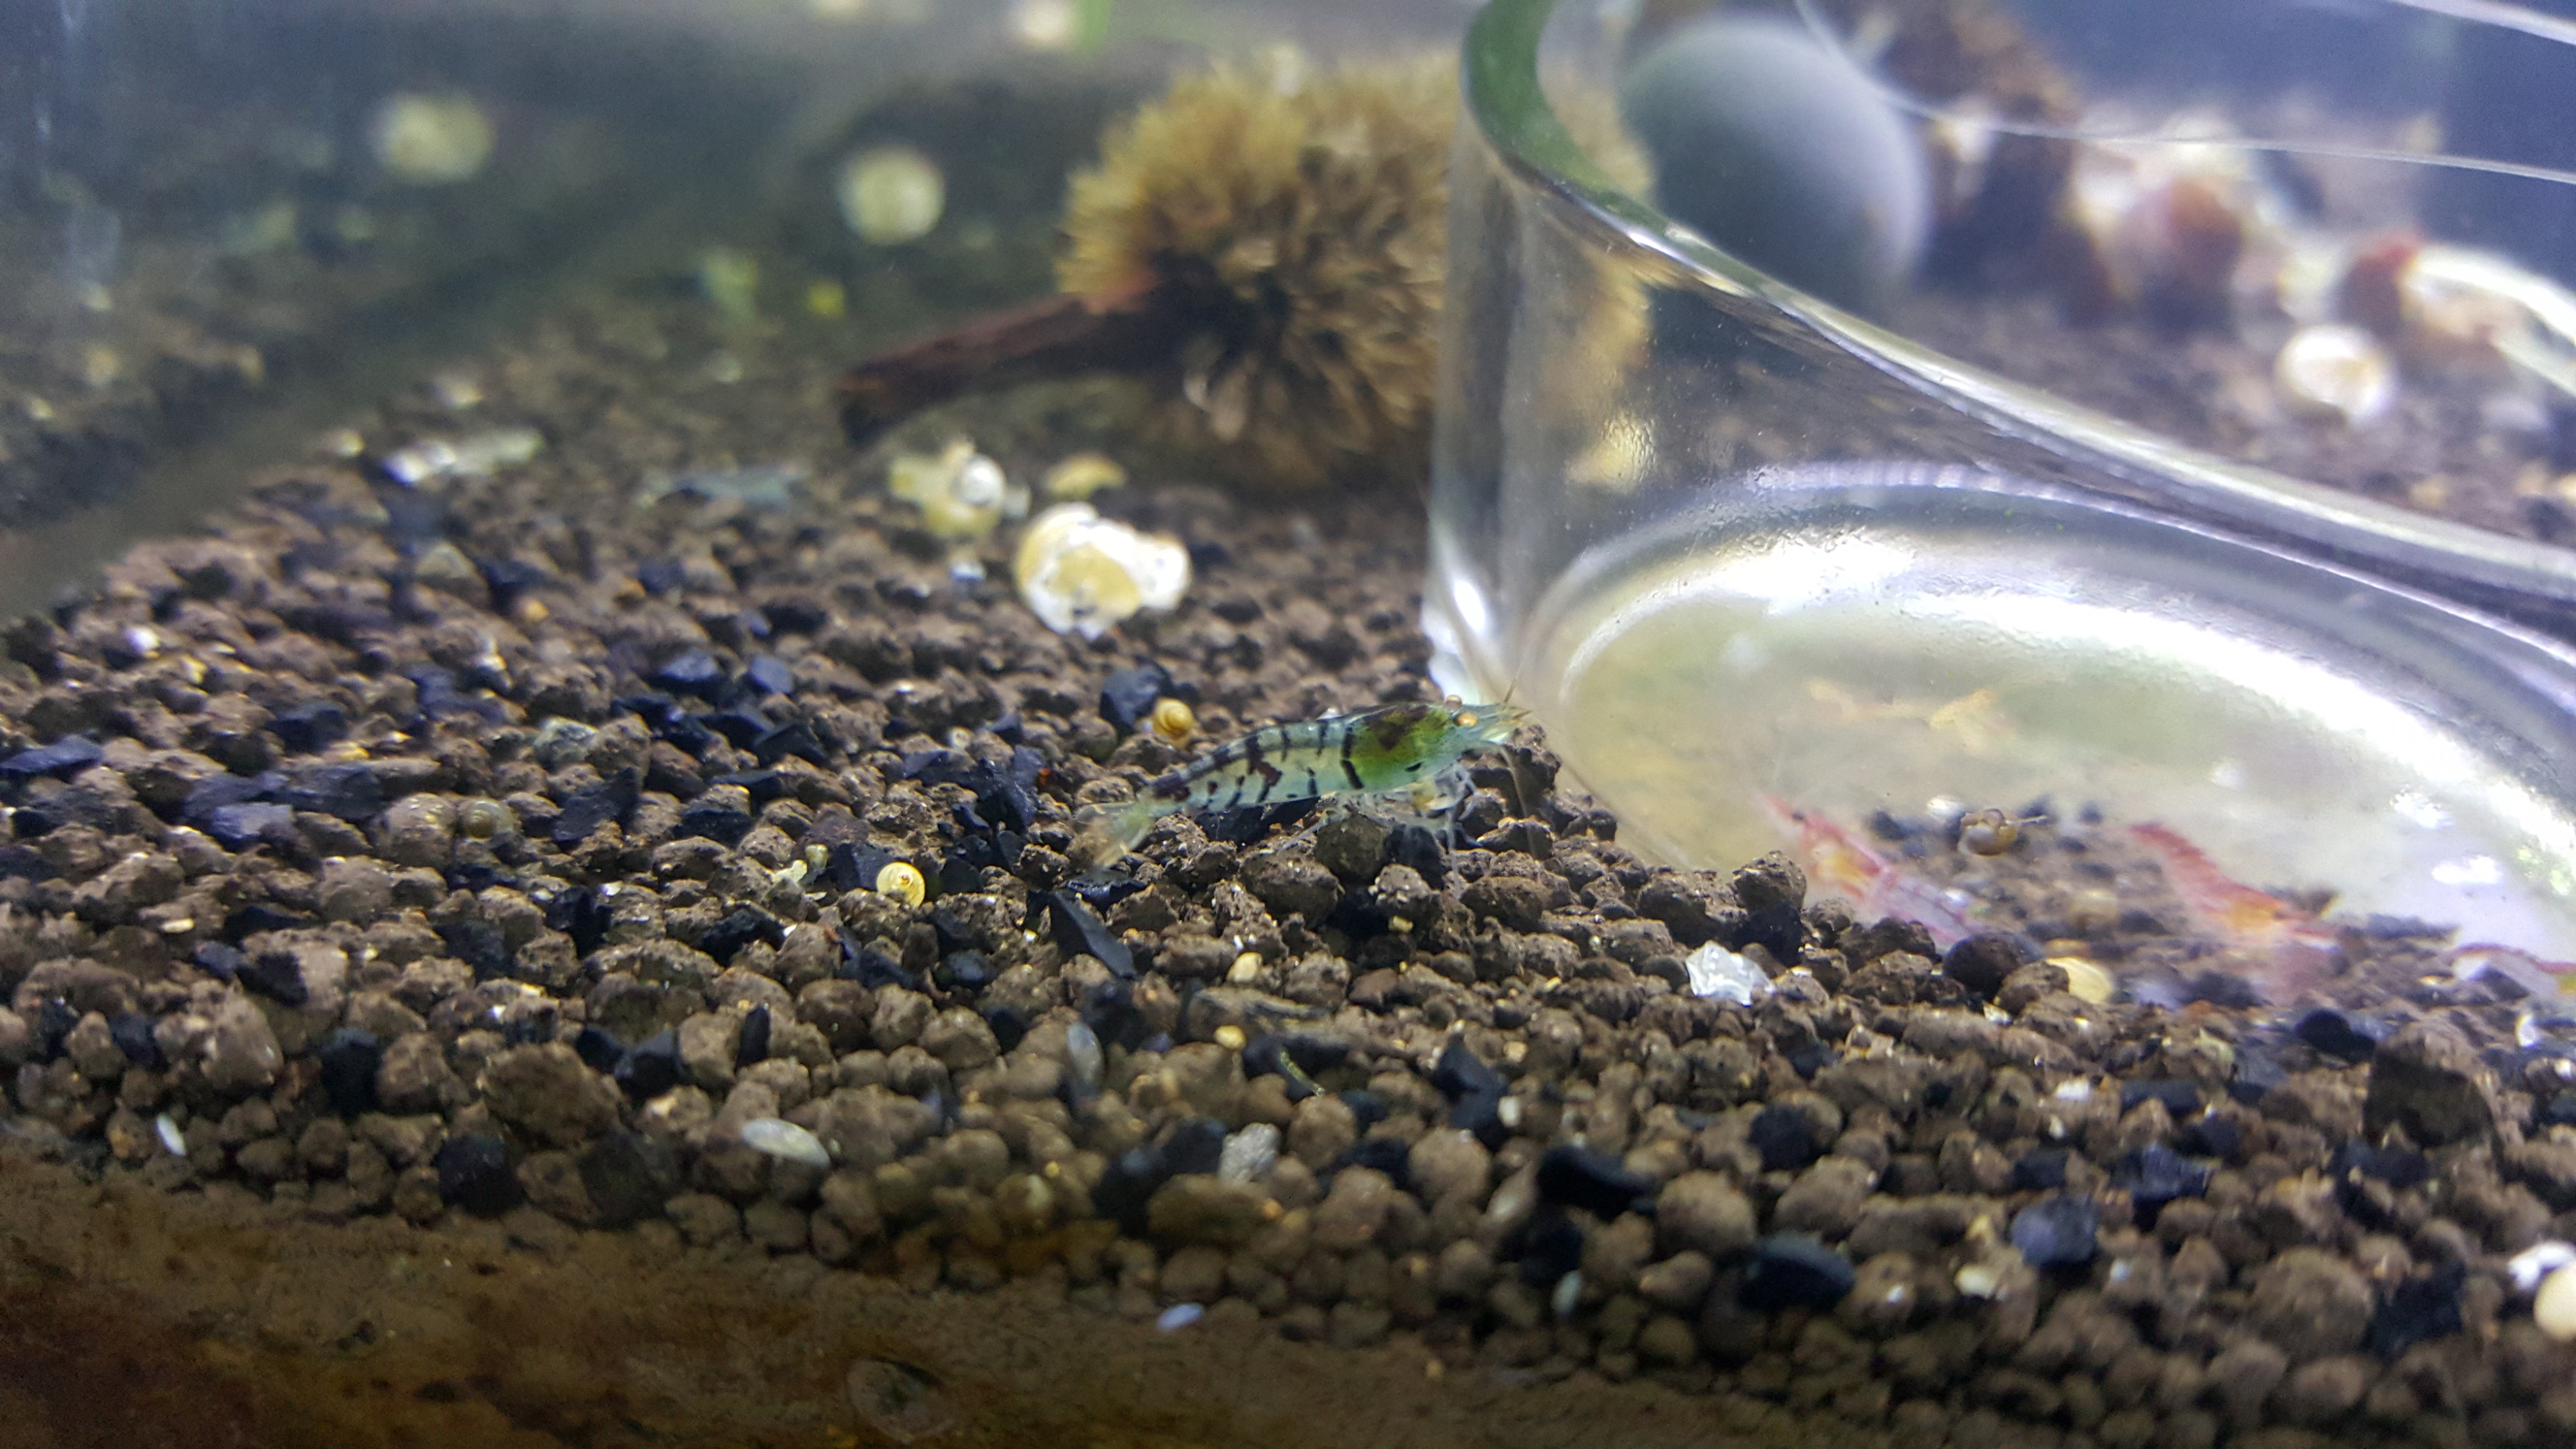
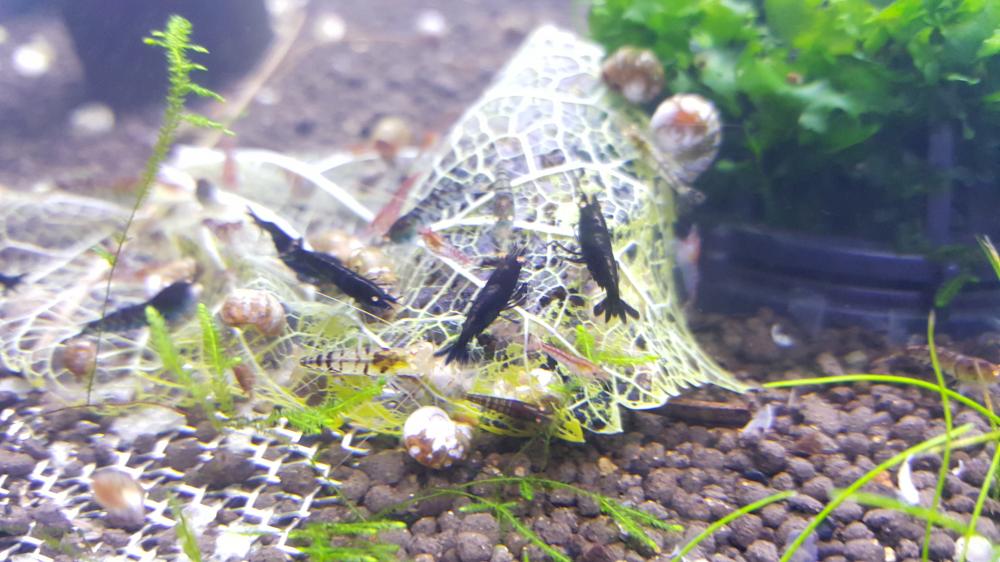
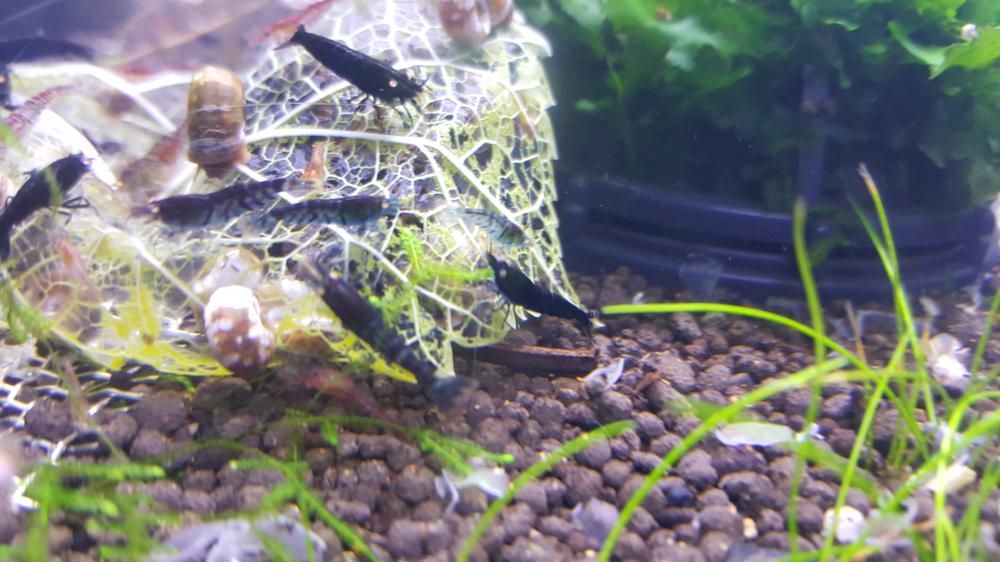
Sorry it has been so long since my last update. The tank has had its ups and downs in the last few months but I think I have everything on track again. The main issue I had was low pH. For some reason, every time I swapped out the Purigen in the tank for Purigen I had recharged, the pH would drop. When I started losing shrimp I checked the WP and found the pH was about 5.5. I used aragonite to slowly raise the pH. It has been stable for about 6 weeks at about 6.7. I lost my remaining adults but many of the juveniles and shrimplets survived. I would guess there are about 50 shrimp in the tank now. The good news is the oldest of these are starting to get berried. Two berried this weekend and there are at least half a dozen more with saddles forming. My colony should be growing again soon. Below are few pictures of my shrimp. Sorry, I forgot to clean the glass before taking them. Also, I recently fed powdered food so the water may look a little cloudy.1 point
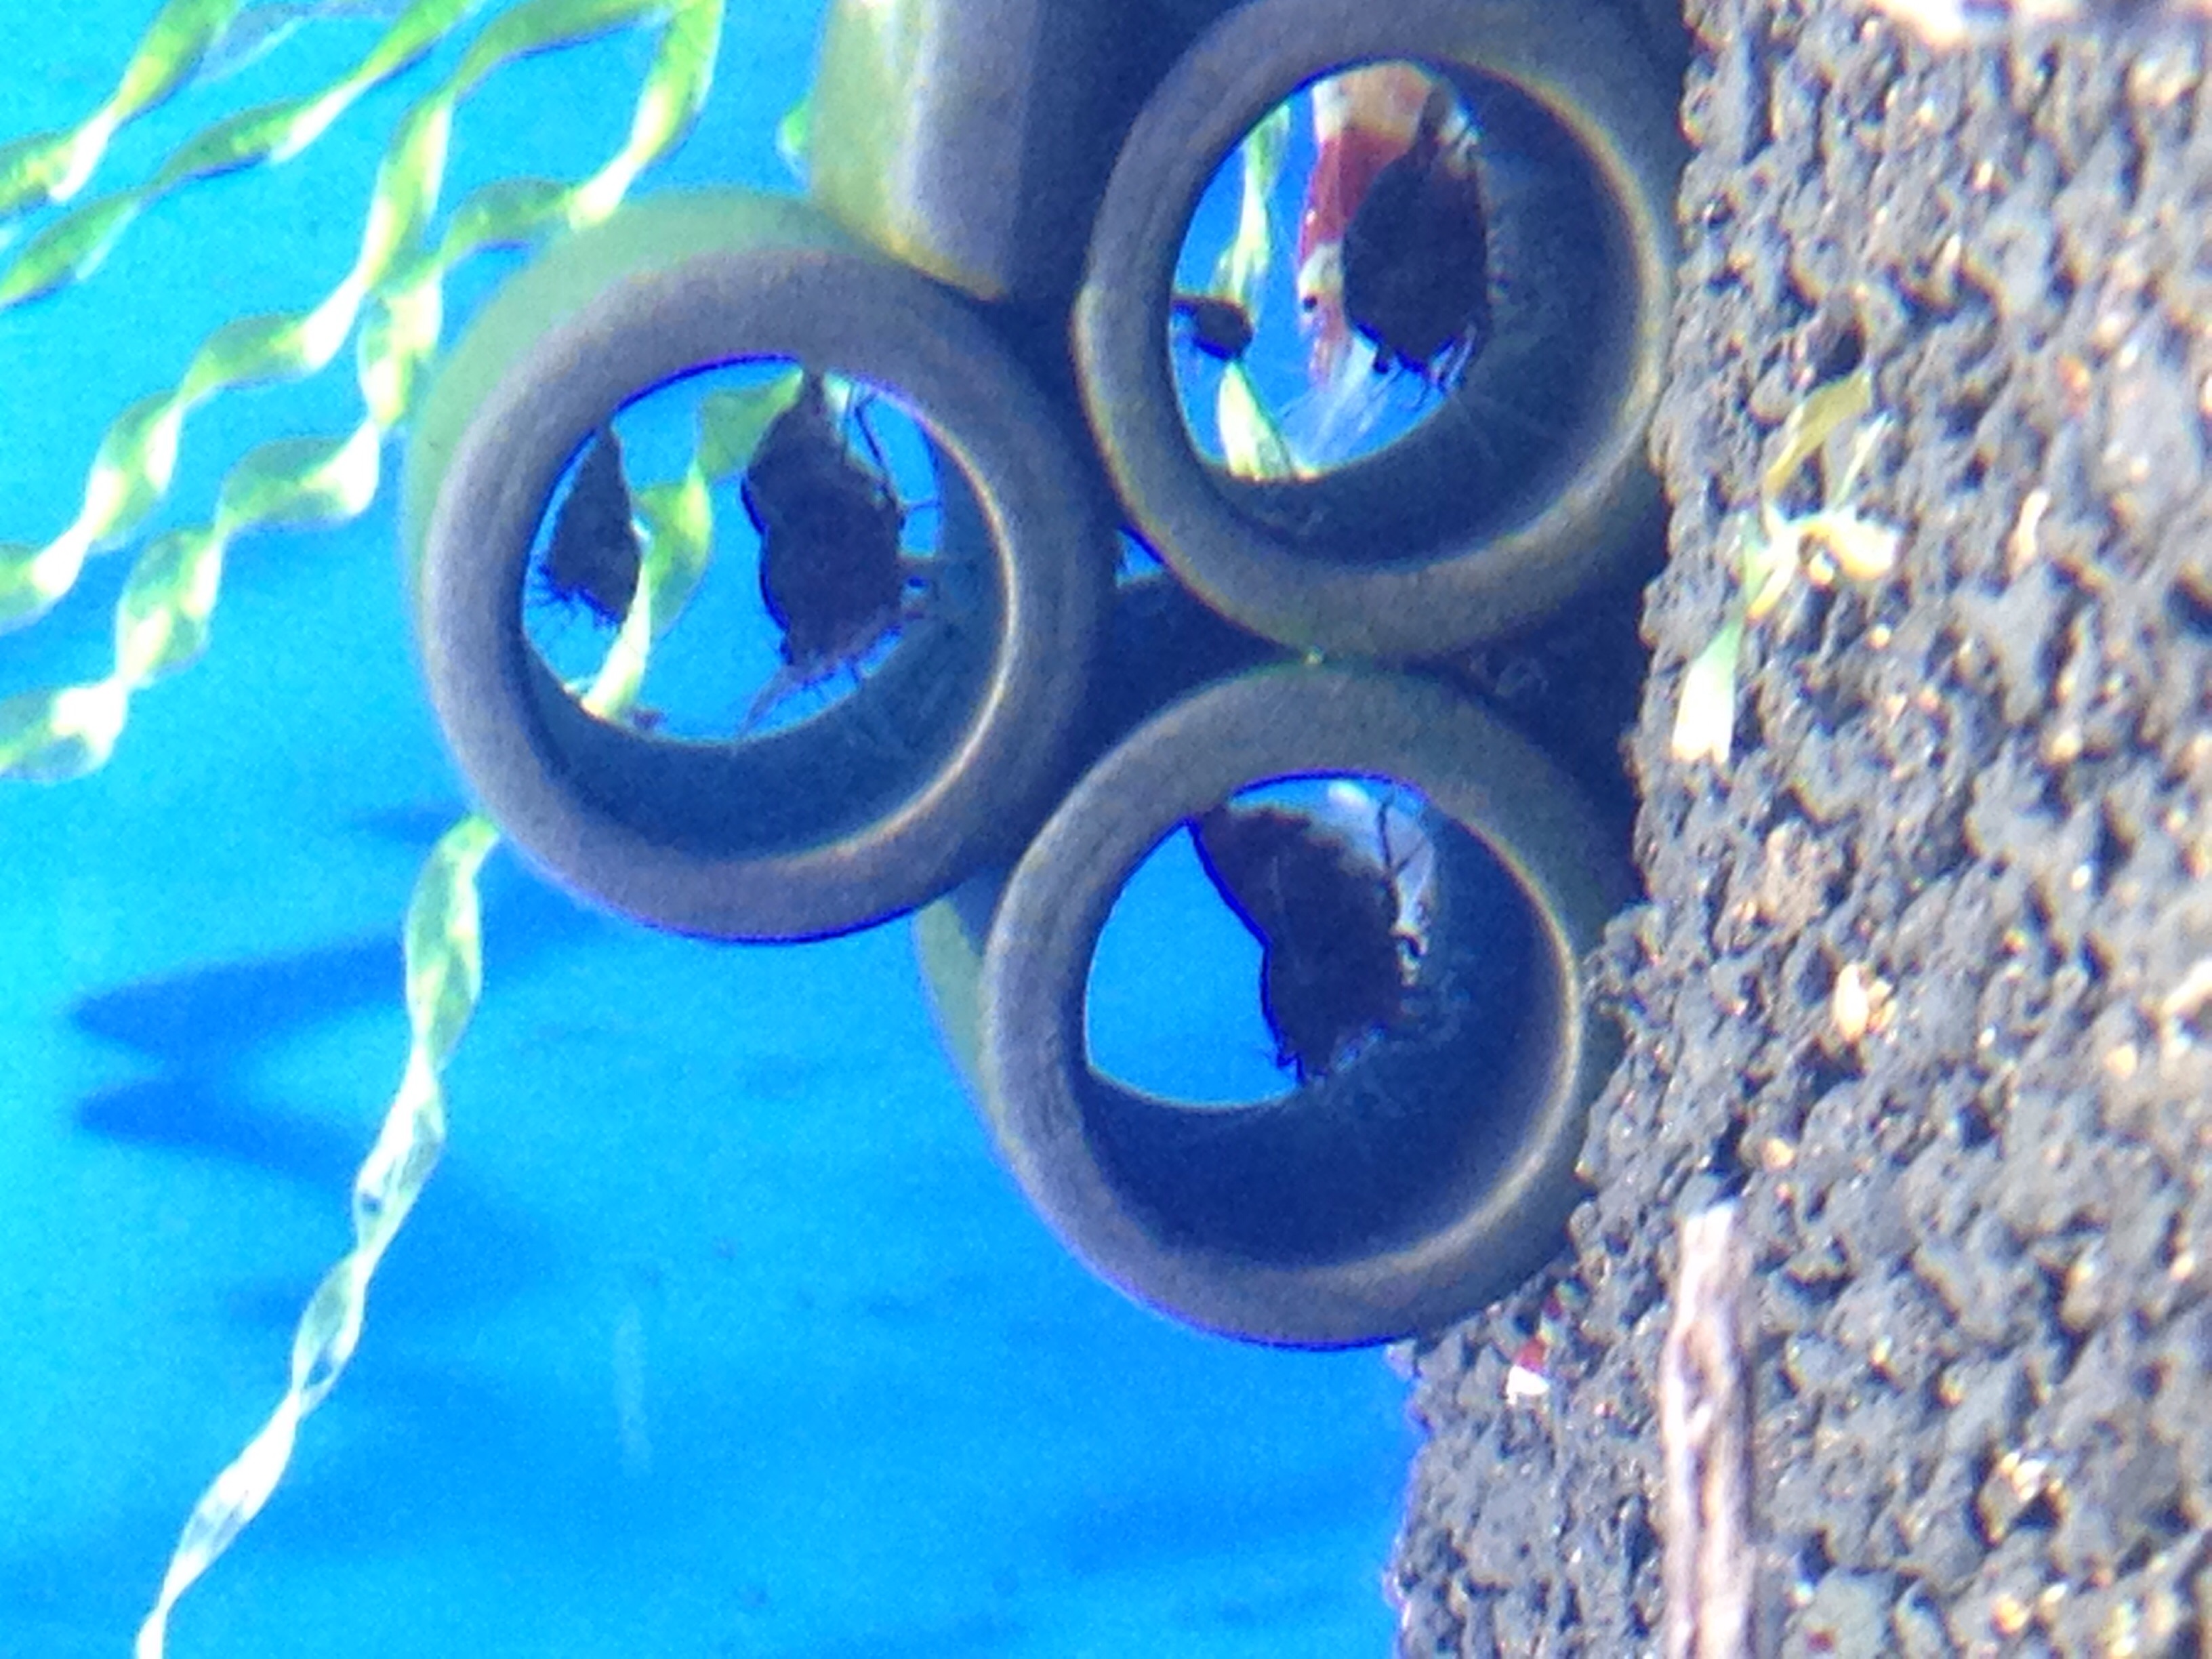
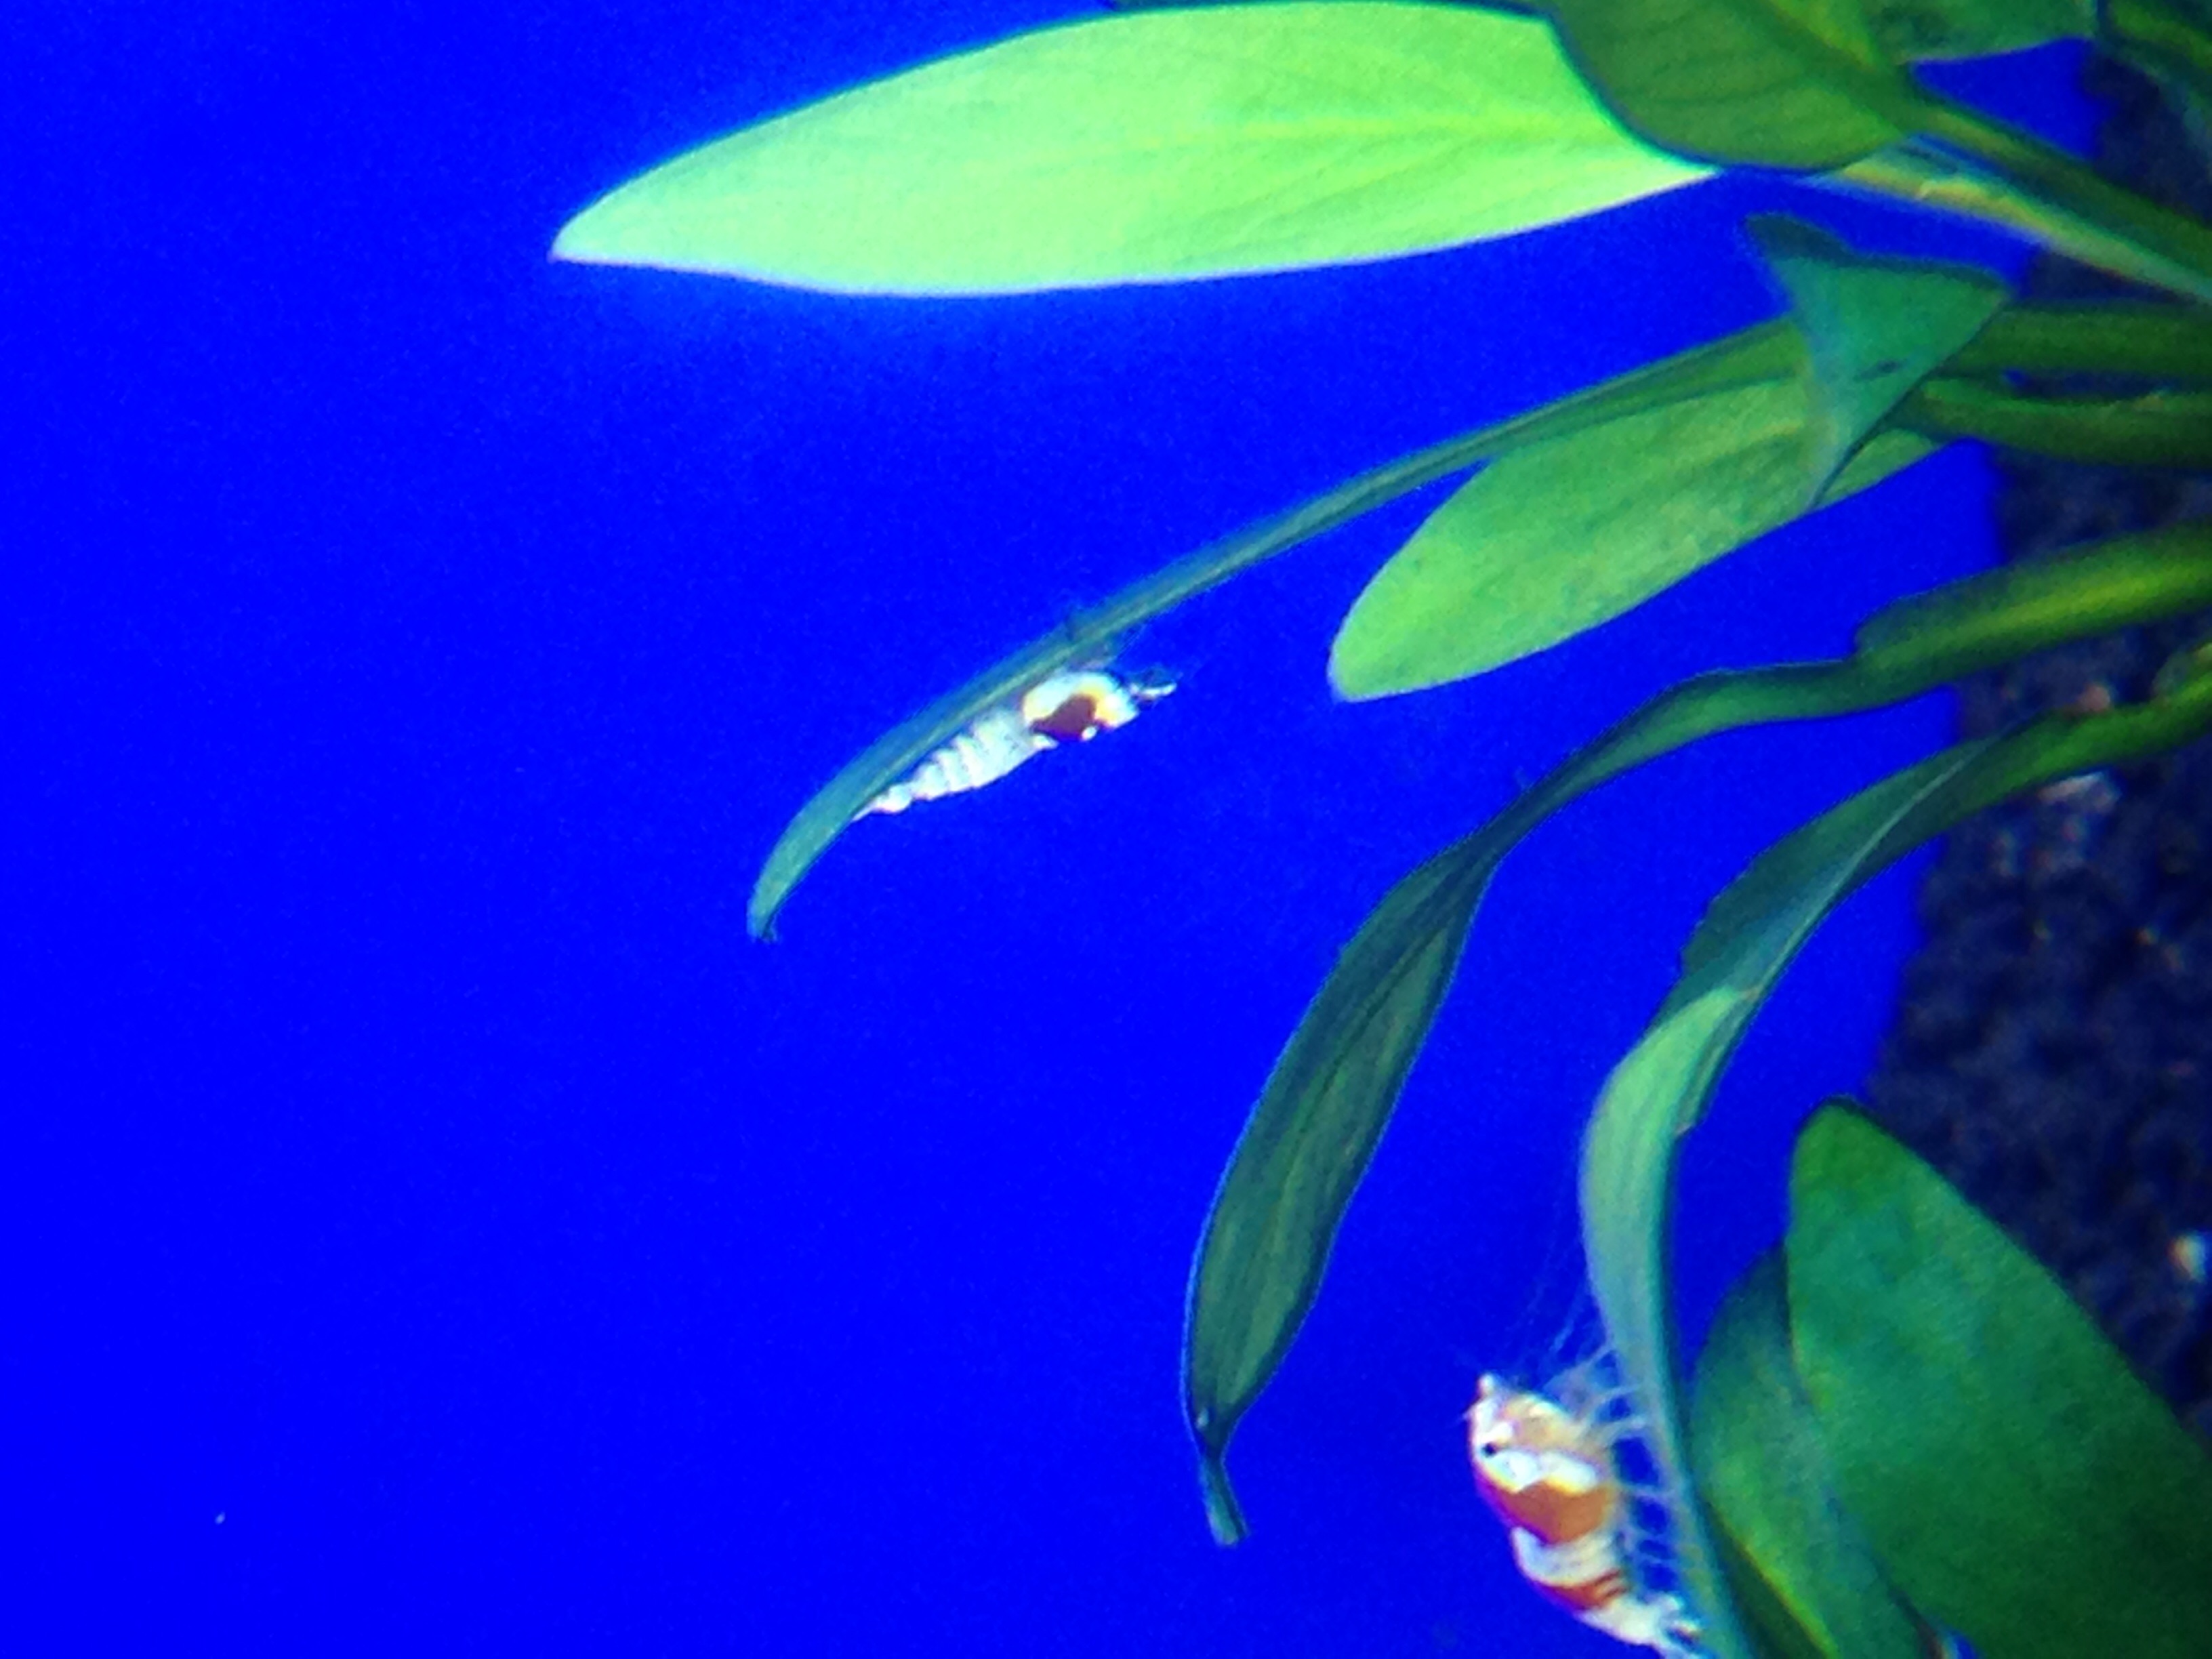
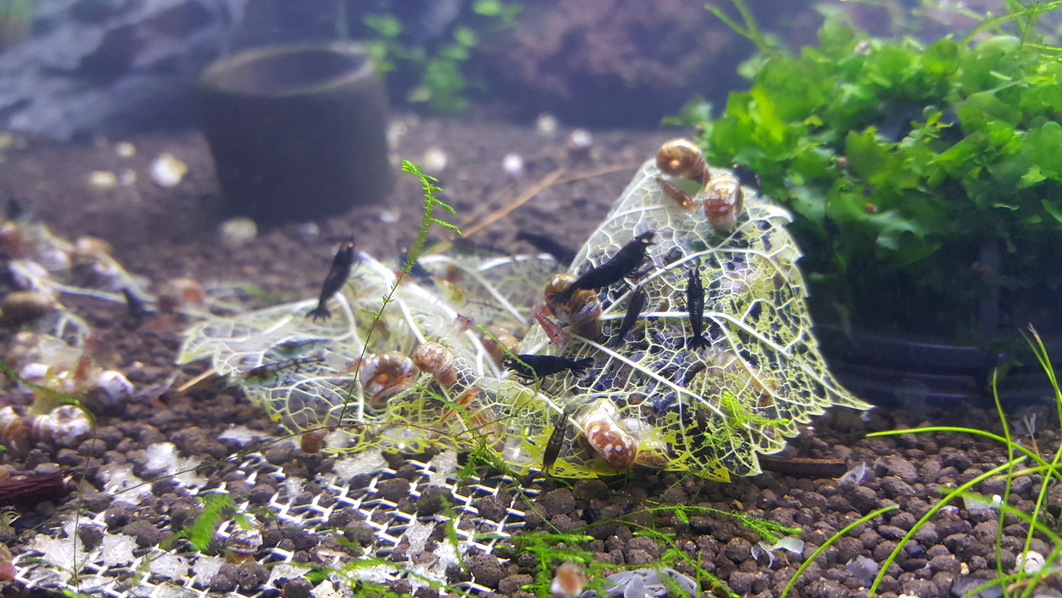
1 pointMy colony is finally starting to recover and grow. Many of the shrimplets have become juvies and young adults. Looking forward for them to start breeding. Is it just me or do OEBT'S seem to grow slower and take longer to mature? Anyways enjoy the pictures. Currently NFS.
1 point
1 pointSorry it has been so long since my last update. The tank has had its ups and downs in the last few months but I think I have everything on track again. The main issue I had was low pH. For some reason, every time I swapped out the Purigen in the tank for Purigen I had recharged, the pH would drop. When I started losing shrimp I checked the WP and found the pH was about 5.5. I used aragonite to slowly raise the pH. It has been stable for about 6 weeks at about 6.7. I lost my remaining adults but many of the juveniles and shrimplets survived. I would guess there are about 50 shrimp in the tank now. The good news is the oldest of these are starting to get berried. Two berried this weekend and there are at least half a dozen more with saddles forming. My colony should be growing again soon. Below are few pictures of my shrimp. Sorry, I forgot to clean the glass before taking them. Also, I recently fed powdered food so the water may look a little cloudy.1 point
1 pointMy colony is finally starting to recover and grow. Many of the shrimplets have become juvies and young adults. Looking forward for them to start breeding. Is it just me or do OEBT'S seem to grow slower and take longer to mature? Anyways enjoy the pictures. Currently NFS.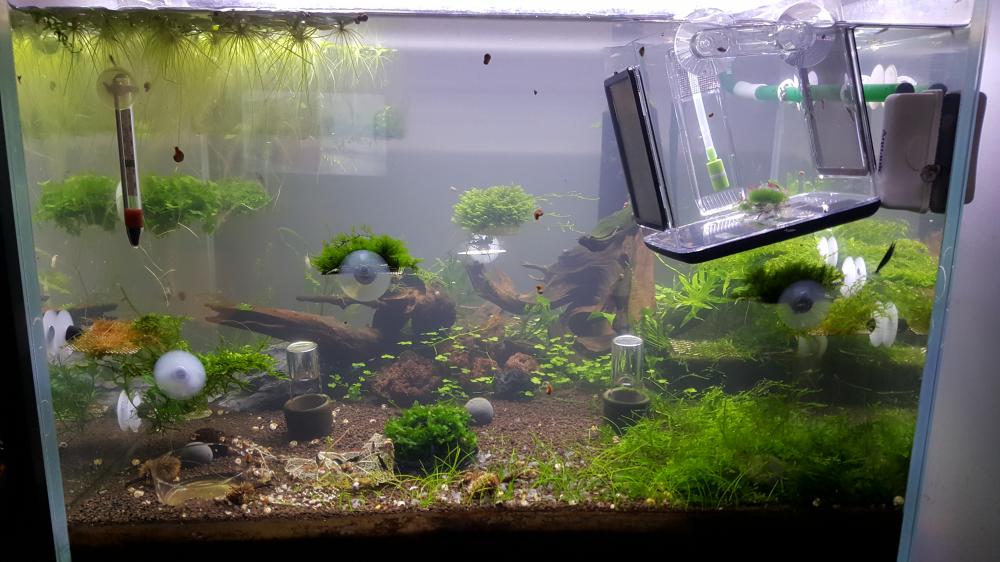


 1 point
 1 pointThe plot thickens..... After only seeing the one yellow/ golden notopala in the tank even after stripping the tank and moving everything into a new tank I could only find the one snail. I had thought that the other two must have either died, hitch hiked in the timber and that why I never saw them even after putting the log back into the new tank, or they had wondered off. personally I was betting on the wondered off option while hoping on the just hiding option. After getting the new dark shelled guy (name named Bolt, because of the way he "bolts" all over the tank) , I happened to spy in my tank gazing a small little notopala with a yellow gold shell. Since I could see all three snails at once I know that the little guy is definantly not the main gold one I had been seeing. Also the level of shell degradation is different. And this little guy has a rather helpful scratch on the side of his shell which makes it distinguishable for now. But now I am really confused since the first 3 snails I found alive and put in the tank where all pretty much the same size, where on earth has this little tacker come from? I doubt breeding, even if a pregnant snail had dropped its baby as soon as it was placed in the tank. I don't think in just a couple of short weeks any baby snail could have grown so quickly and its shell I am sure should be in better condition. This is the little guy in question, sadly I couldn't get a photo with all three snails in the same shot since they where scattered in different places in the tank and I prefer not to be picking them up and moving them all the time. New guy Bolt And Goldie who seems to have taken a real liking to this end section of the log, which of course is far from the front of the tank.1 point
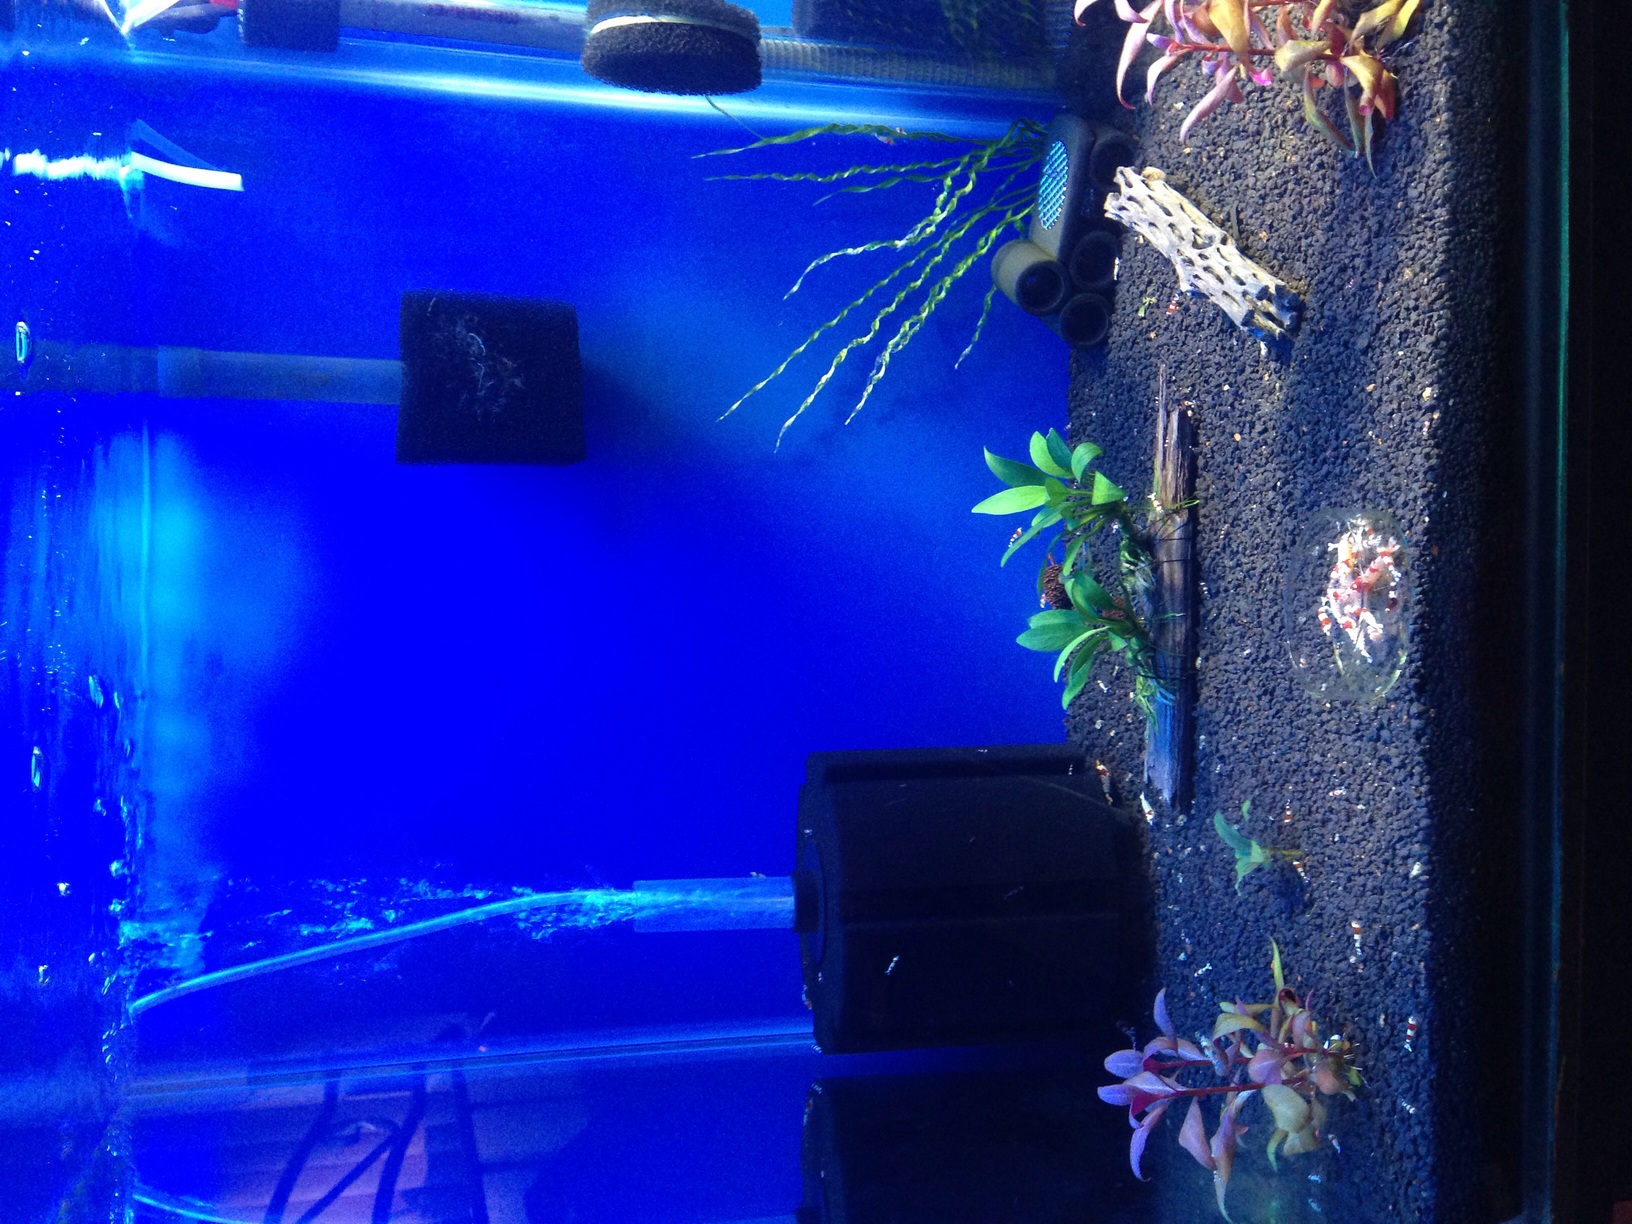
Barring any last minute changes, I would be picking up the 4ft sump this evening. Yay!!! Looking forward to it! Finally some progress had been made! The connectors for the LED strip arrived. I had to resist the urge to fill up any tanks all this time while I was patiently waiting for them. However, all this time has also allowed me to think through and try out different layouts, lengths, single or double rows, etc. for the LEDs and how I would like to wire them up. I prefer to use these LED connectors than try to solder the wires so that should any LEDs fail in the future, I could easily hot swap them out without too much hassle. $3.60 for 10 of these which I cut in half for my purpose. I used 1000 x 20 x 1mm flat aluminium bar bought from Bunnings for $3.10 each for the LED strip mount and double up as a heat sink. The LEDs do run hot... not burning hot but I would still cool them to prolong their lifespan nonetheless. I cut them in half as I plan to run 2 x 500mm for each 2ft tank. I will not bore you with how I attach the connectors to the LED strips. There are heaps of instructional videos on YouTube if you ask Mr Google. The LED strip comes with double sided sticky tape on the back. I used cable ties as well because I have read that the heat generated by the LEDs would cause the sticky tape to fail. For the layout, I used 2 x 200mm LED strip on a 500mm flat aluminium bar. From previous testing/trials, I think this lighting level would suit my purpose. *** This section is IMPORTANT for those using an aluminium (or any conductive material) bar as a mount/heat sink. *** @s1l3nt please read this bit. I don't want blood on my hands even though a little 12V jolt might do you some good and get you cracking faster on your rack. The double sided sticky tape when peeled off reveals two connecting nodes on the underside of the LED strip. These nodes are the designated points where you could cut the LED strip to size and are the positive and negative connection nodes. When you mount the strip to the bar, you are in effect shorting the LED strip and would cause the power to trip. Would anyone like to ask me how I found this out??? As with any other DIYers, from experience of course. Haha. Good thing I was using a pretty good power supply/adapter with an inbuilt circuit breaker which tripped when I got a small 12V jolt at the same time. This is also the reason I like working with 12V DC rather than 240V AC. Safety first! My solution? I was initially thinking of using wire heat shrink wraps to insulate the nodes but it felt too much of a hassle (yes... I am lazy!!! Haha.). After a few minutes of shrimp staring and brainstorming for the easiest (have I told you I am lazy???) and yet effective idea, I came up with this solution. I used 4mm diameter irrigation hose cut to size and spliced it down the length of it. You could use 4mm airlines as well. Let the photos do the talking. No more short circuits and works a treat. As I have mentioned earlier, I am running 2 x 500mm length for each 2ft tank. So after a visit to Jaycar to procure some components, this is what I came up with. Testing 1, 2, 3. Let there be light!!! Ok, why the inline switch you might ask? Mainly three reasons. My plan for the rack was mostly for viewing/breeding discus, rams, guppies and shrimps. However, (1) should I wish to indulge in a planted tank at some stage, I could switch off the LED strip for that tank and use a grow light on it instead. Also, (2) some medication for fish are light sensitive and requires total black out. In this way, I could isolate and turn off the lights for that specific tank should the need arise while still running all of them via a single power adapter/supply/plug. The third MOST IMPORTANT reason is I would not be running any excessive lights and consuming too much power... this point alone could be the (3) make or break factor to convince your other half to allow you to expand your fish/shrimp addiction. Inline switch was bought from local eBay camping store... 10 for $14.40. Some more photos if you have got this far and not bored crap by me yet. For comparison, the tank on the bottom tier is a 10W LED floodlight. I have a sulky discus currently in time out and just completed its metronidazole vacation. Noted that eBay items might not be of the highest quality, both lights were supposed to be cool white 6500K colour temperature. Go figure. Some random non-shrimp photos if you don't mind, hope these blue ram fry would grow out in this rack. Newly hatched few hours old blue ram wrigglers. 2-3 days old blue ram fry almost free swimming.1 point
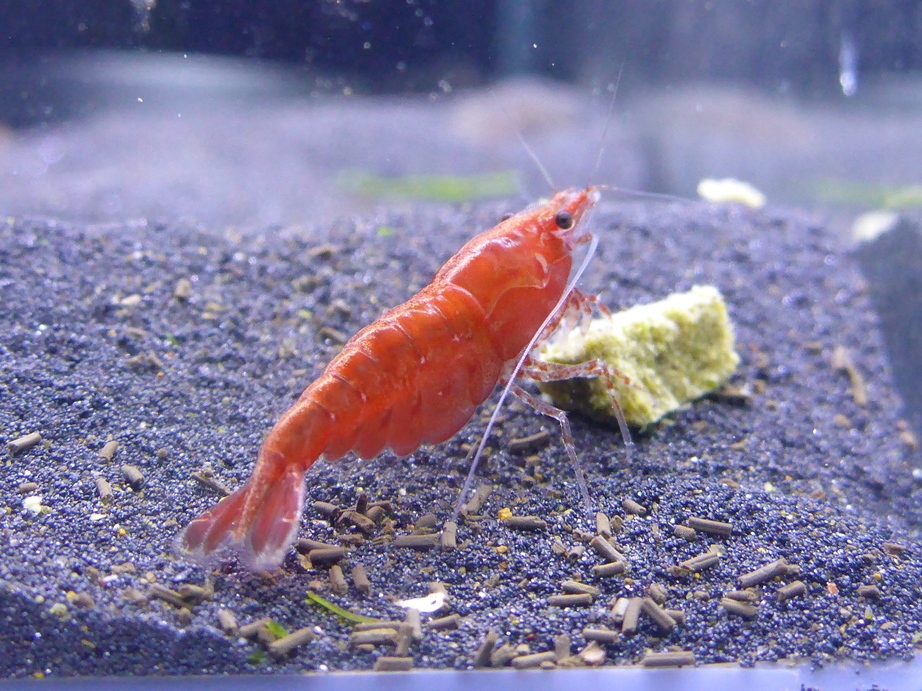
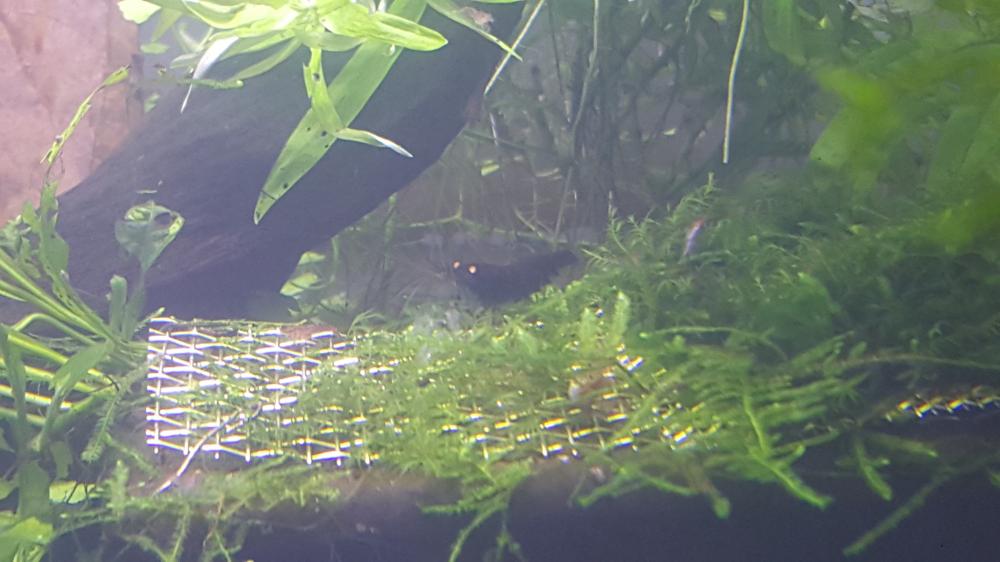
1 pointIt has been a month since my last update so I figured it was time for another. Everything is going good in the tank. My female has had another batch of shrimplets though it was much smaller than the first batch. From the first time I saw her berried she was only carrying 8-10 eggs. She has a nice saddle again so I expect her to be berried in the next week or so. I am interested to see how many eggs she carries this time. I now have shrimplets ranging from 1 week to almost 2 months. The tank is much more lively than it has ever been. Here are a couple shots of my favorite adult male Some of my shrimplets1 point
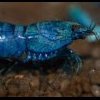
1 pointThank you . I managed to get a better shot of one my new shrimplets.1 point
1 pointThe plot thickens..... After only seeing the one yellow/ golden notopala in the tank even after stripping the tank and moving everything into a new tank I could only find the one snail. I had thought that the other two must have either died, hitch hiked in the timber and that why I never saw them even after putting the log back into the new tank, or they had wondered off. personally I was betting on the wondered off option while hoping on the just hiding option. After getting the new dark shelled guy (name named Bolt, because of the way he "bolts" all over the tank) , I happened to spy in my tank gazing a small little notopala with a yellow gold shell. Since I could see all three snails at once I know that the little guy is definantly not the main gold one I had been seeing. Also the level of shell degradation is different. And this little guy has a rather helpful scratch on the side of his shell which makes it distinguishable for now. But now I am really confused since the first 3 snails I found alive and put in the tank where all pretty much the same size, where on earth has this little tacker come from? I doubt breeding, even if a pregnant snail had dropped its baby as soon as it was placed in the tank. I don't think in just a couple of short weeks any baby snail could have grown so quickly and its shell I am sure should be in better condition. This is the little guy in question, sadly I couldn't get a photo with all three snails in the same shot since they where scattered in different places in the tank and I prefer not to be picking them up and moving them all the time. New guy Bolt And Goldie who seems to have taken a real liking to this end section of the log, which of course is far from the front of the tank.1 point
Barring any last minute changes, I would be picking up the 4ft sump this evening. Yay!!! Looking forward to it! Finally some progress had been made! The connectors for the LED strip arrived. I had to resist the urge to fill up any tanks all this time while I was patiently waiting for them. However, all this time has also allowed me to think through and try out different layouts, lengths, single or double rows, etc. for the LEDs and how I would like to wire them up. I prefer to use these LED connectors than try to solder the wires so that should any LEDs fail in the future, I could easily hot swap them out without too much hassle. $3.60 for 10 of these which I cut in half for my purpose. I used 1000 x 20 x 1mm flat aluminium bar bought from Bunnings for $3.10 each for the LED strip mount and double up as a heat sink. The LEDs do run hot... not burning hot but I would still cool them to prolong their lifespan nonetheless. I cut them in half as I plan to run 2 x 500mm for each 2ft tank. I will not bore you with how I attach the connectors to the LED strips. There are heaps of instructional videos on YouTube if you ask Mr Google. The LED strip comes with double sided sticky tape on the back. I used cable ties as well because I have read that the heat generated by the LEDs would cause the sticky tape to fail. For the layout, I used 2 x 200mm LED strip on a 500mm flat aluminium bar. From previous testing/trials, I think this lighting level would suit my purpose. *** This section is IMPORTANT for those using an aluminium (or any conductive material) bar as a mount/heat sink. *** @s1l3nt please read this bit. I don't want blood on my hands even though a little 12V jolt might do you some good and get you cracking faster on your rack. The double sided sticky tape when peeled off reveals two connecting nodes on the underside of the LED strip. These nodes are the designated points where you could cut the LED strip to size and are the positive and negative connection nodes. When you mount the strip to the bar, you are in effect shorting the LED strip and would cause the power to trip. Would anyone like to ask me how I found this out??? As with any other DIYers, from experience of course. Haha. Good thing I was using a pretty good power supply/adapter with an inbuilt circuit breaker which tripped when I got a small 12V jolt at the same time. This is also the reason I like working with 12V DC rather than 240V AC. Safety first! My solution? I was initially thinking of using wire heat shrink wraps to insulate the nodes but it felt too much of a hassle (yes... I am lazy!!! Haha.). After a few minutes of shrimp staring and brainstorming for the easiest (have I told you I am lazy???) and yet effective idea, I came up with this solution. I used 4mm diameter irrigation hose cut to size and spliced it down the length of it. You could use 4mm airlines as well. Let the photos do the talking. No more short circuits and works a treat. As I have mentioned earlier, I am running 2 x 500mm length for each 2ft tank. So after a visit to Jaycar to procure some components, this is what I came up with. Testing 1, 2, 3. Let there be light!!! Ok, why the inline switch you might ask? Mainly three reasons. My plan for the rack was mostly for viewing/breeding discus, rams, guppies and shrimps. However, (1) should I wish to indulge in a planted tank at some stage, I could switch off the LED strip for that tank and use a grow light on it instead. Also, (2) some medication for fish are light sensitive and requires total black out. In this way, I could isolate and turn off the lights for that specific tank should the need arise while still running all of them via a single power adapter/supply/plug. The third MOST IMPORTANT reason is I would not be running any excessive lights and consuming too much power... this point alone could be the (3) make or break factor to convince your other half to allow you to expand your fish/shrimp addiction. Inline switch was bought from local eBay camping store... 10 for $14.40. Some more photos if you have got this far and not bored crap by me yet. For comparison, the tank on the bottom tier is a 10W LED floodlight. I have a sulky discus currently in time out and just completed its metronidazole vacation. Noted that eBay items might not be of the highest quality, both lights were supposed to be cool white 6500K colour temperature. Go figure. Some random non-shrimp photos if you don't mind, hope these blue ram fry would grow out in this rack. Newly hatched few hours old blue ram wrigglers. 2-3 days old blue ram fry almost free swimming.1 point
1 pointIt has been a month since my last update so I figured it was time for another. Everything is going good in the tank. My female has had another batch of shrimplets though it was much smaller than the first batch. From the first time I saw her berried she was only carrying 8-10 eggs. She has a nice saddle again so I expect her to be berried in the next week or so. I am interested to see how many eggs she carries this time. I now have shrimplets ranging from 1 week to almost 2 months. The tank is much more lively than it has ever been. Here are a couple shots of my favorite adult male Some of my shrimplets1 point
1 pointThank you . I managed to get a better shot of one my new shrimplets.1 point