Leaderboard
-

GotCrabs
Members7Points1430Posts -

OzShrimp
Members5Points4102Posts -

Ronskitz
Members3Points694Posts -

NoGi
HOF Member3Points5858Posts
Popular Content
Showing content with the highest reputation on 08/31/15 in all areas
-
Congratulations you found treasure! Boss baby powder and boss booster are yours please pm me your details or @newbreed. If you pm newbreed just let me know 1 prize left everyone!4 points
-
2 points
-
 Barring any last minute changes, I would be picking up the 4ft sump this evening. Yay!!! Looking forward to it! Finally some progress had been made! The connectors for the LED strip arrived. I had to resist the urge to fill up any tanks all this time while I was patiently waiting for them. However, all this time has also allowed me to think through and try out different layouts, lengths, single or double rows, etc. for the LEDs and how I would like to wire them up. I prefer to use these LED connectors than try to solder the wires so that should any LEDs fail in the future, I could easily hot swap them out without too much hassle. $3.60 for 10 of these which I cut in half for my purpose. I used 1000 x 20 x 1mm flat aluminium bar bought from Bunnings for $3.10 each for the LED strip mount and double up as a heat sink. The LEDs do run hot... not burning hot but I would still cool them to prolong their lifespan nonetheless. I cut them in half as I plan to run 2 x 500mm for each 2ft tank. I will not bore you with how I attach the connectors to the LED strips. There are heaps of instructional videos on YouTube if you ask Mr Google. The LED strip comes with double sided sticky tape on the back. I used cable ties as well because I have read that the heat generated by the LEDs would cause the sticky tape to fail. For the layout, I used 2 x 200mm LED strip on a 500mm flat aluminium bar. From previous testing/trials, I think this lighting level would suit my purpose. *** This section is IMPORTANT for those using an aluminium (or any conductive material) bar as a mount/heat sink. *** @s1l3nt please read this bit. I don't want blood on my hands even though a little 12V jolt might do you some good and get you cracking faster on your rack. The double sided sticky tape when peeled off reveals two connecting nodes on the underside of the LED strip. These nodes are the designated points where you could cut the LED strip to size and are the positive and negative connection nodes. When you mount the strip to the bar, you are in effect shorting the LED strip and would cause the power to trip. Would anyone like to ask me how I found this out??? As with any other DIYers, from experience of course. Haha. Good thing I was using a pretty good power supply/adapter with an inbuilt circuit breaker which tripped when I got a small 12V jolt at the same time. This is also the reason I like working with 12V DC rather than 240V AC. Safety first! My solution? I was initially thinking of using wire heat shrink wraps to insulate the nodes but it felt too much of a hassle (yes... I am lazy!!! Haha.). After a few minutes of shrimp staring and brainstorming for the easiest (have I told you I am lazy???) and yet effective idea, I came up with this solution. I used 4mm diameter irrigation hose cut to size and spliced it down the length of it. You could use 4mm airlines as well. Let the photos do the talking. No more short circuits and works a treat. As I have mentioned earlier, I am running 2 x 500mm length for each 2ft tank. So after a visit to Jaycar to procure some components, this is what I came up with. Testing 1, 2, 3. Let there be light!!! Ok, why the inline switch you might ask? Mainly three reasons. My plan for the rack was mostly for viewing/breeding discus, rams, guppies and shrimps. However, (1) should I wish to indulge in a planted tank at some stage, I could switch off the LED strip for that tank and use a grow light on it instead. Also, (2) some medication for fish are light sensitive and requires total black out. In this way, I could isolate and turn off the lights for that specific tank should the need arise while still running all of them via a single power adapter/supply/plug. The third MOST IMPORTANT reason is I would not be running any excessive lights and consuming too much power... this point alone could be the (3) make or break factor to convince your other half to allow you to expand your fish/shrimp addiction. Inline switch was bought from local eBay camping store... 10 for $14.40. Some more photos if you have got this far and not bored crap by me yet. For comparison, the tank on the bottom tier is a 10W LED floodlight. I have a sulky discus currently in time out and just completed its metronidazole vacation. Noted that eBay items might not be of the highest quality, both lights were supposed to be cool white 6500K colour temperature. Go figure. Some random non-shrimp photos if you don't mind, hope these blue ram fry would grow out in this rack. Newly hatched few hours old blue ram wrigglers. 2-3 days old blue ram fry almost free swimming.2 points
 -
1 point
-
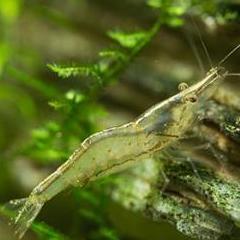
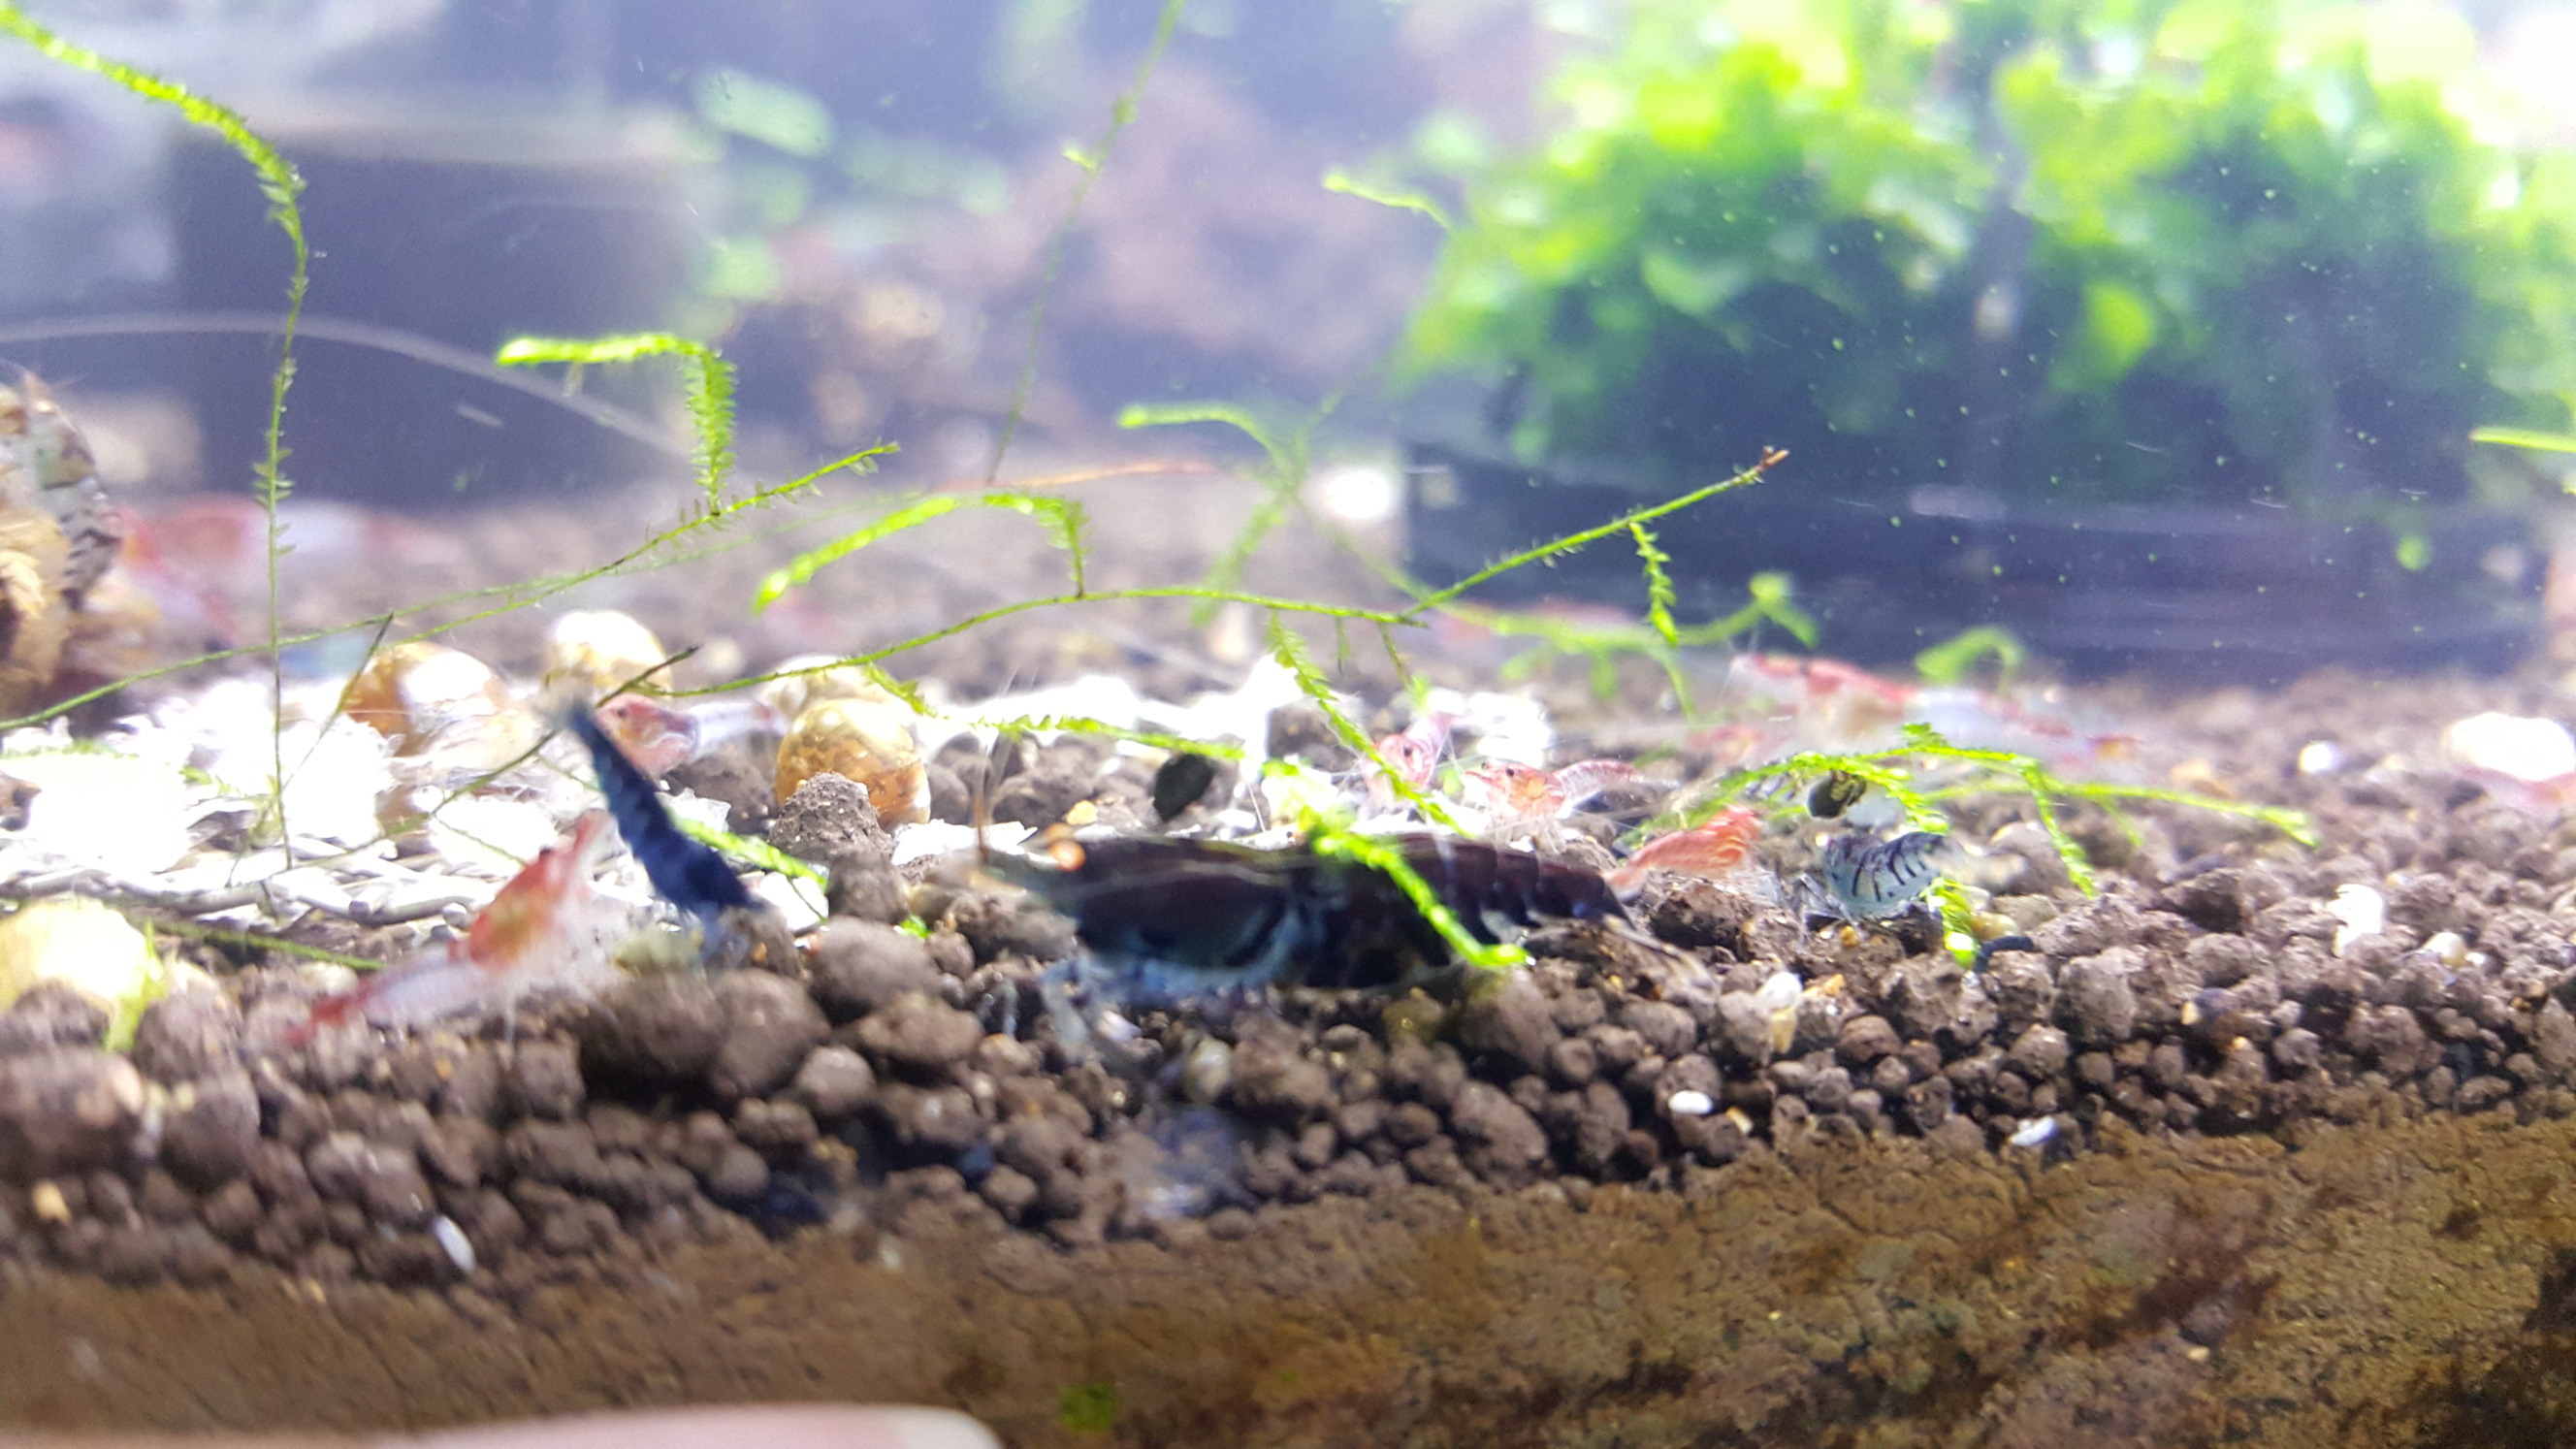
 1 pointThanks bud! It's real easy looking after this tank as long as you keep everything trimmed lol. Doing abit more maintenance on it, HC needs a trim. Still trying to figure out what went wrong because I'm missing LOTS of shrimp. I think someone sprayed something in my room or did something silly and won't own up to it lol. I did notice one of the DAS' body looked more white than normal and on closer inspection his insides looked really white-ish. Hmm. Anyway, it looks back on track now. Shrimp are out and about and eating. Small nano isn't amazing but I'll upload a picture in a sec.1 point
 -
1 pointStill easily one of my fave tanks on the forum, simple set up, not high tech, just looked after.1 point
-
 1 point1 point
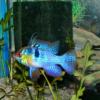
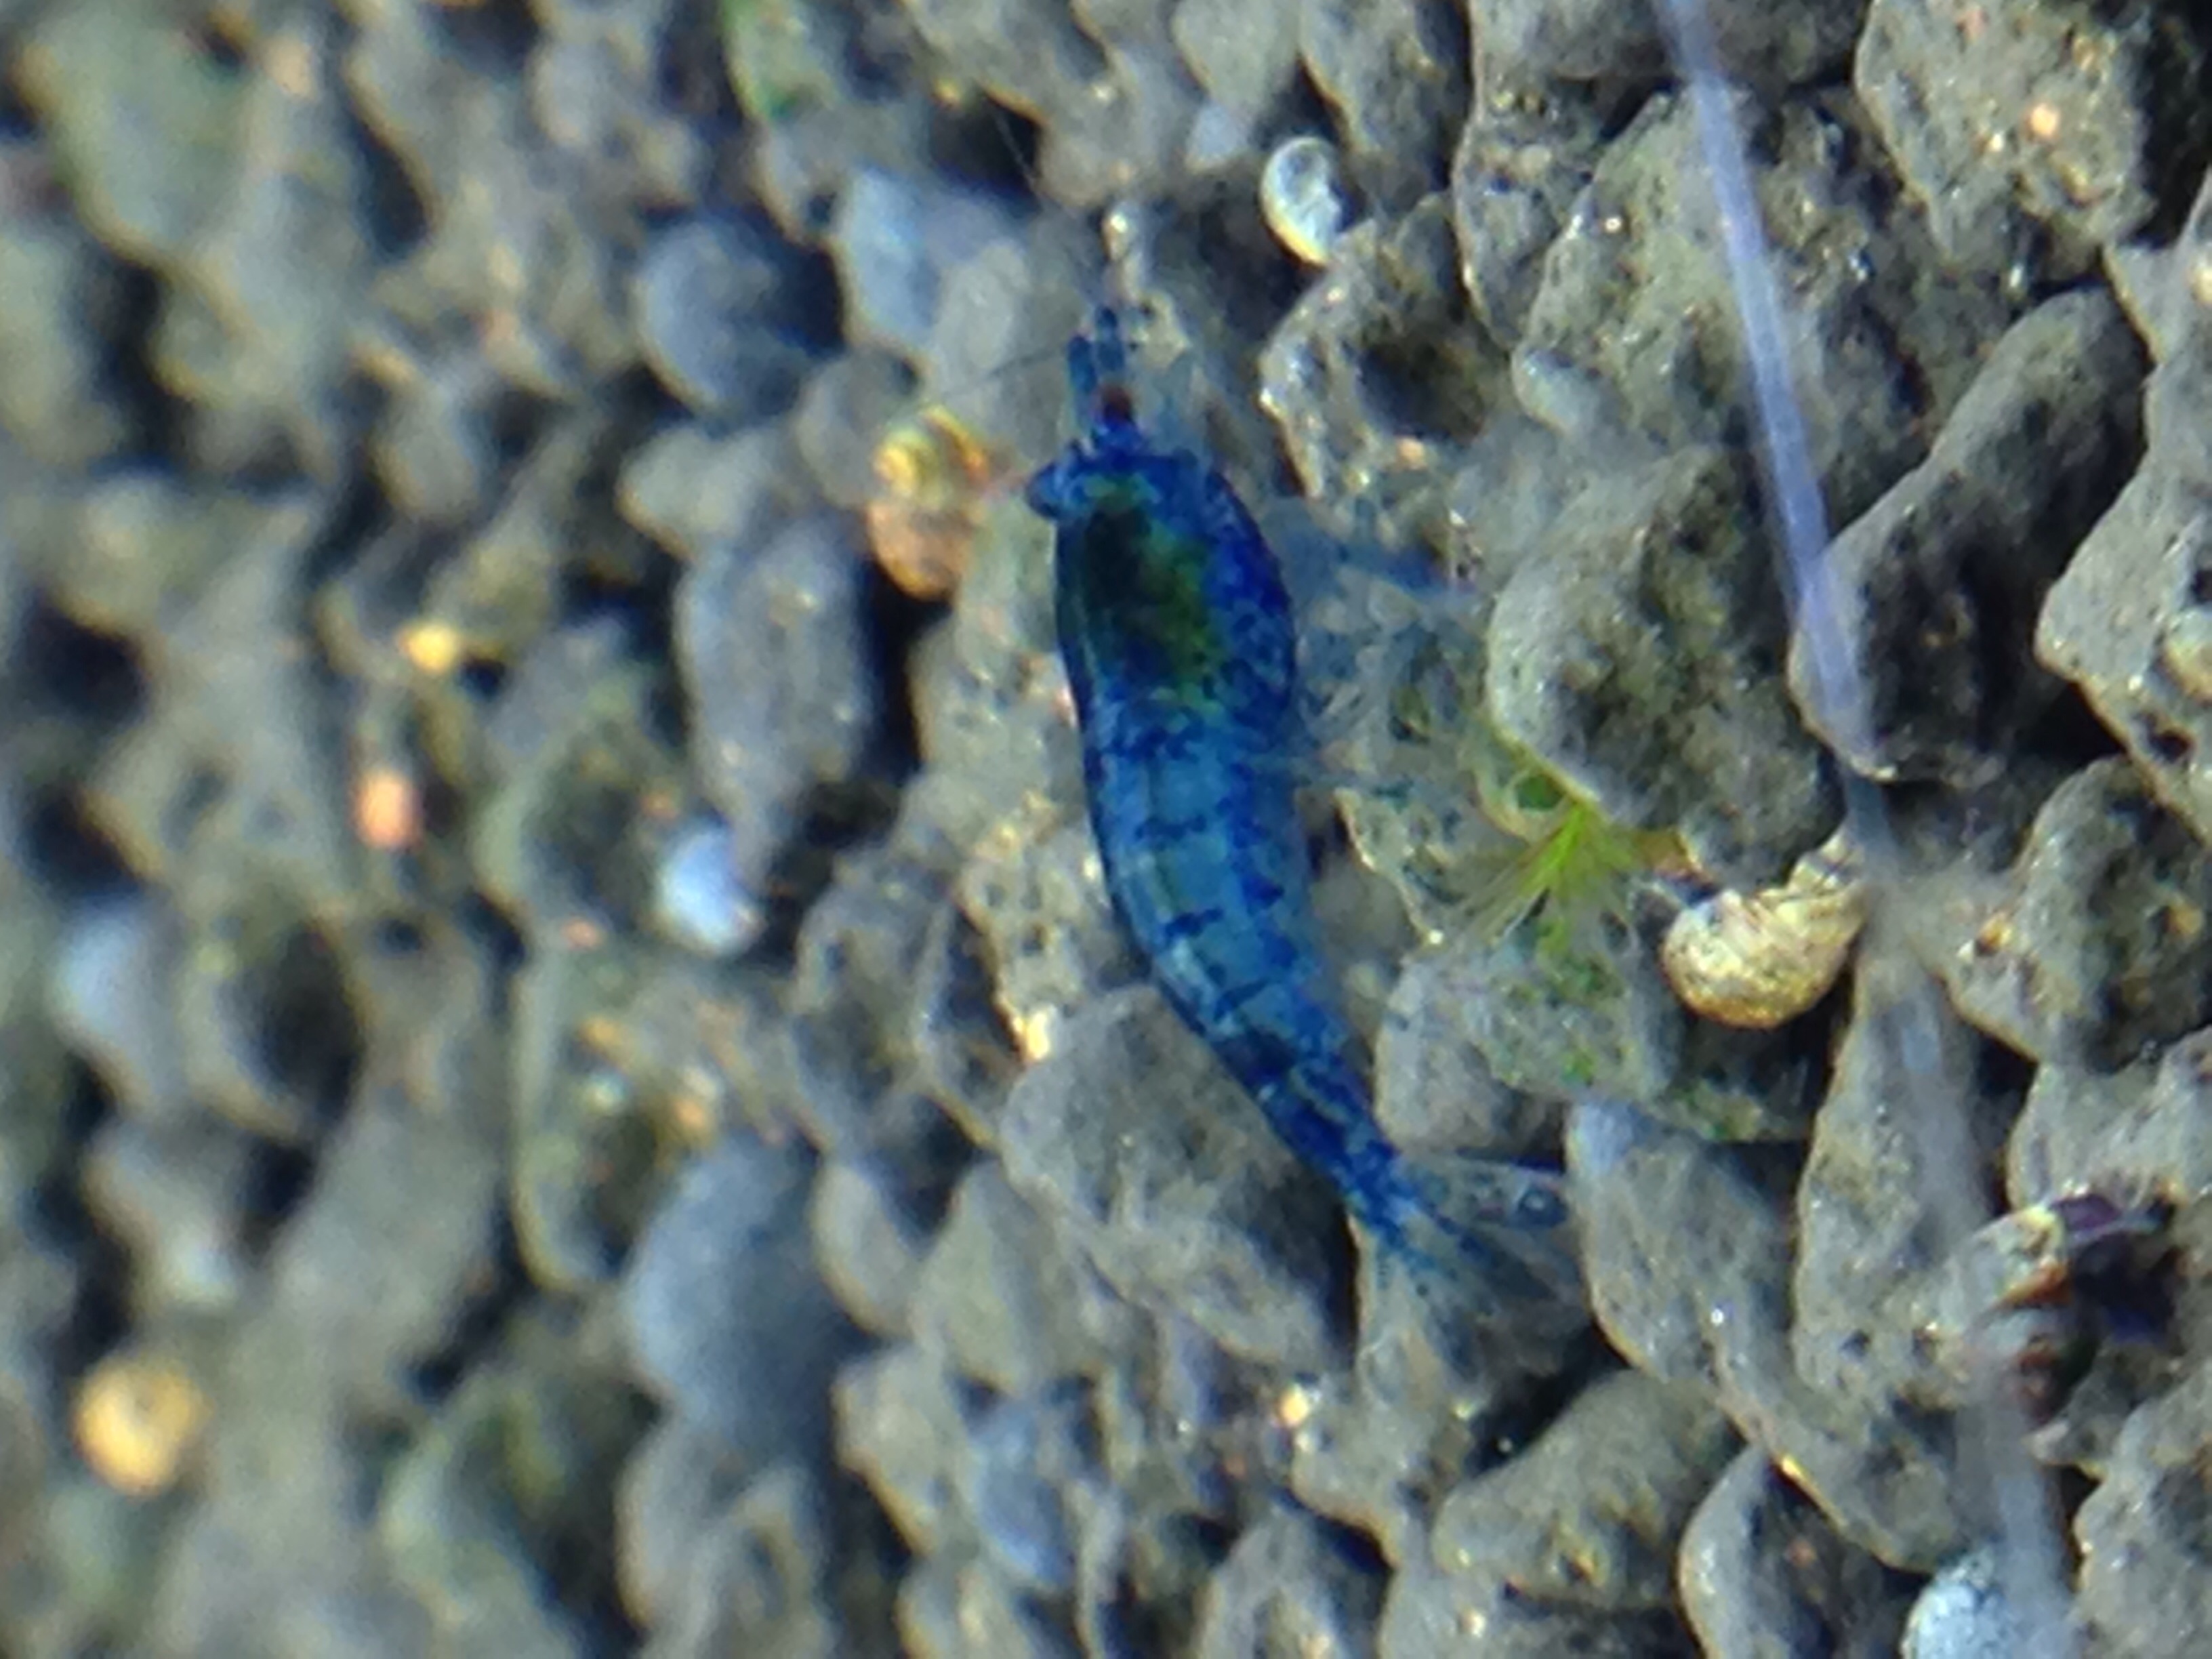
 1 pointnot very blue i know but she will be the mother of my first generation heading towards blue body orange rili so shes special to me :-)1 point
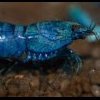 1 point
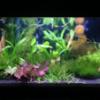
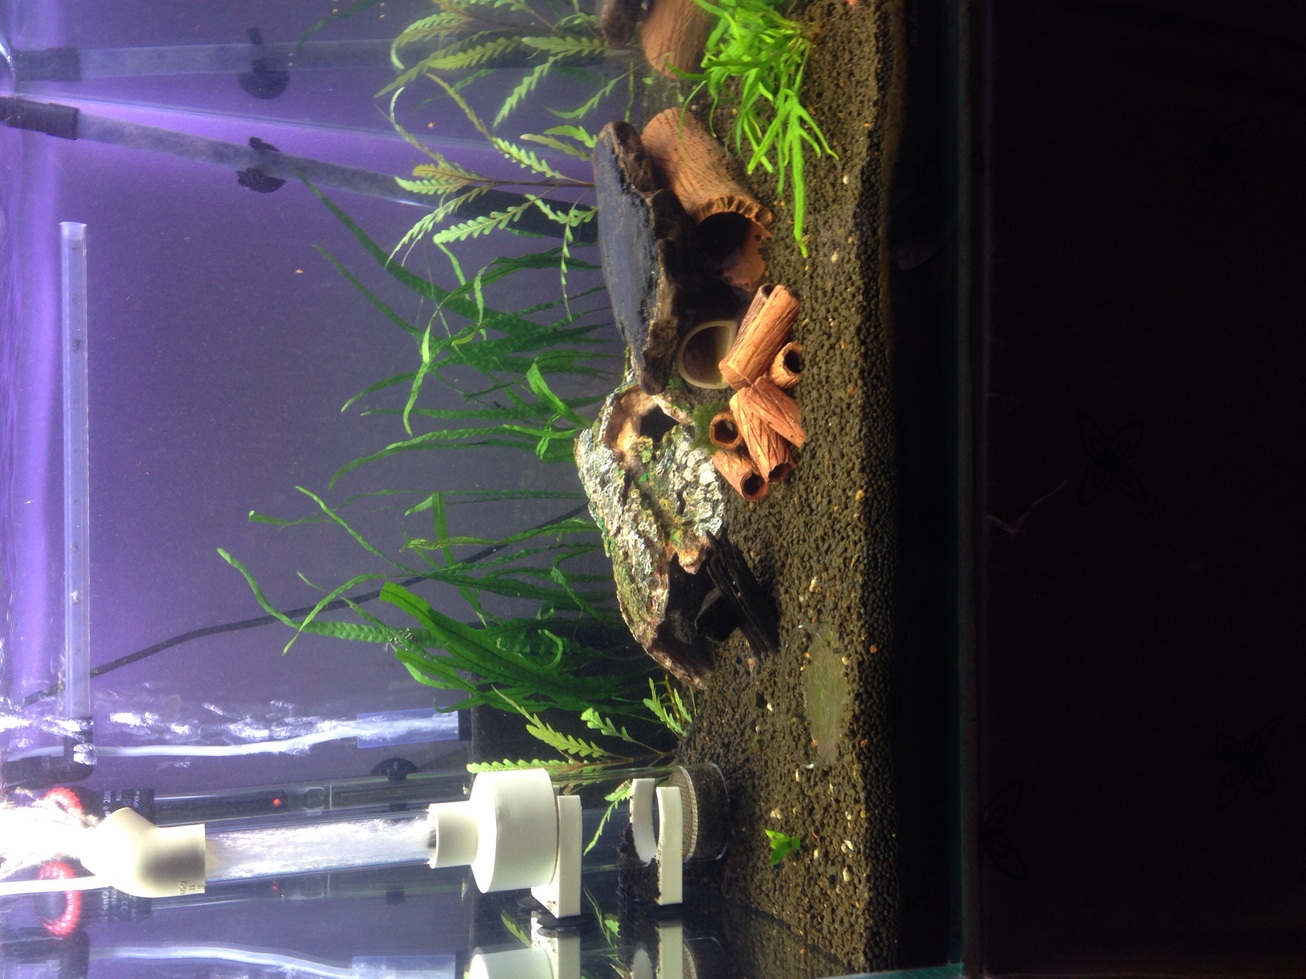
Should work. Also, the lighting and depth. Mine is 30cm but with a decent bottom layer so it's actually like 25cm with my soil taking it up. Up Aqua Z light. Works well!1 point
1 point
1 pointShould work. Also, the lighting and depth. Mine is 30cm but with a decent bottom layer so it's actually like 25cm with my soil taking it up. Up Aqua Z light. Works well!1 point 1 point@fishmosy i struggle for good quality males too. I would love a real cracker in my tank.1 point
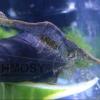 1 point1 point
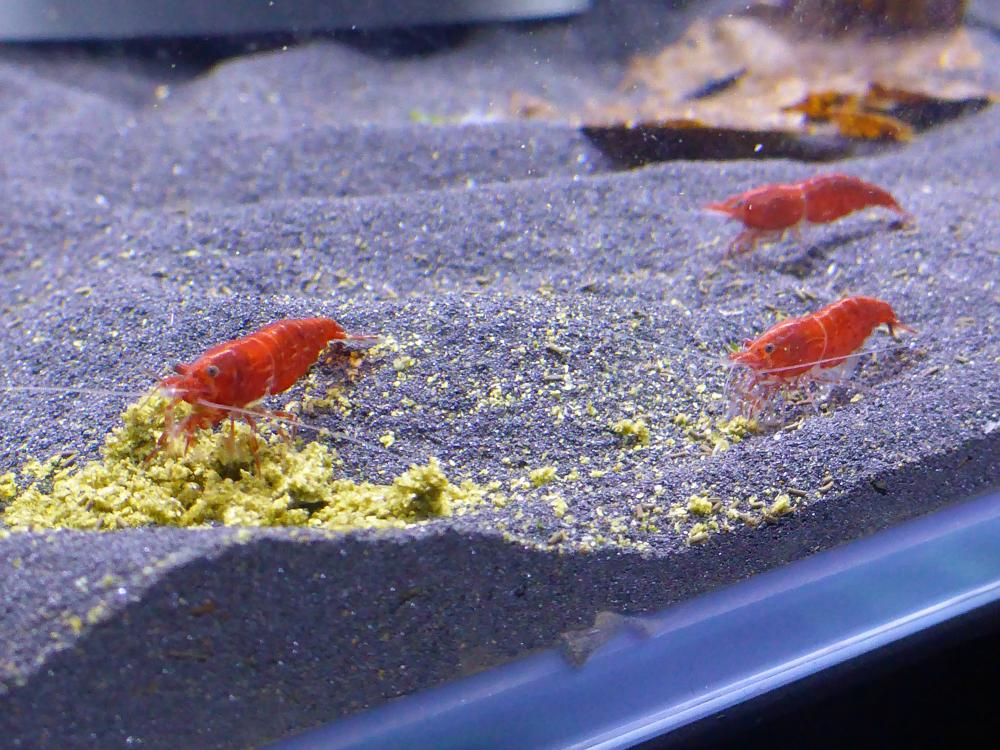
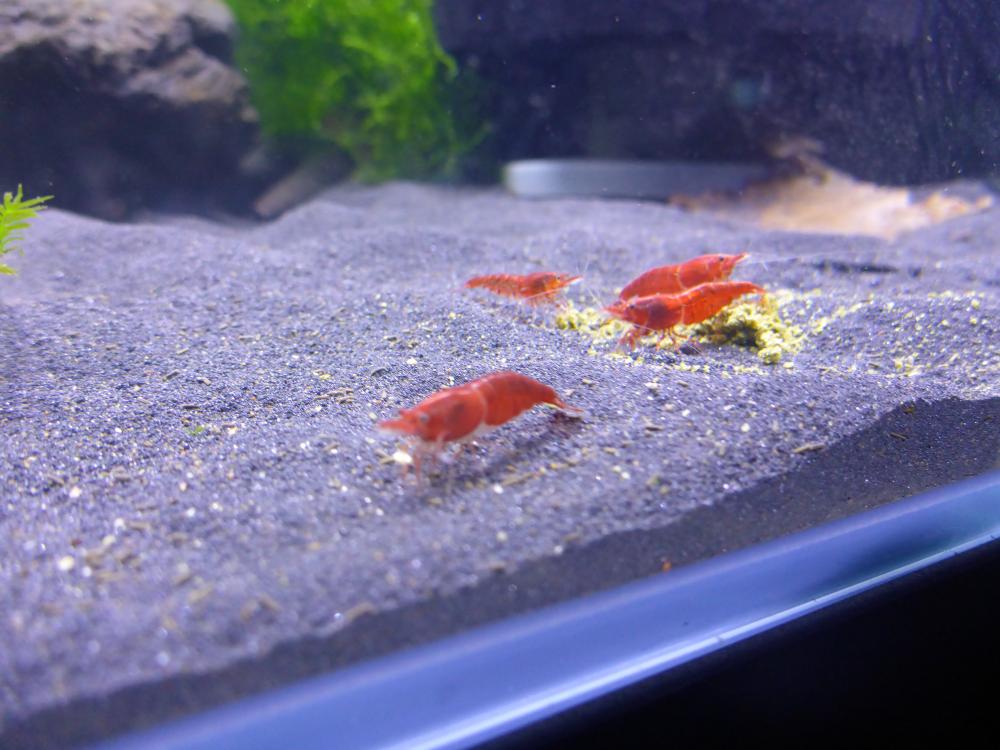
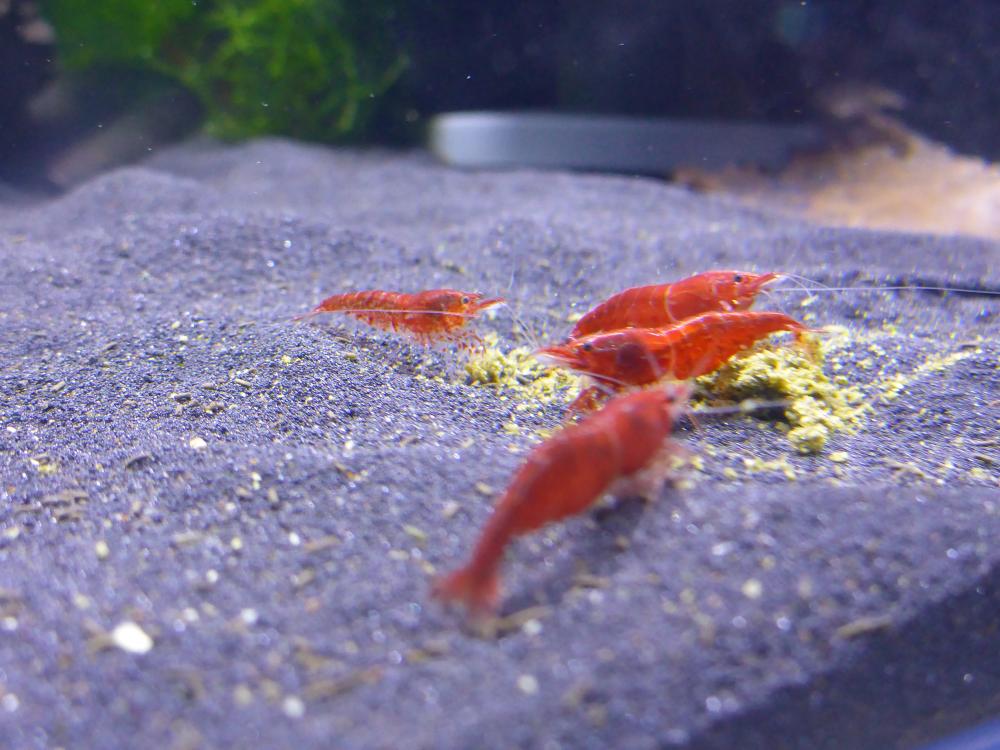
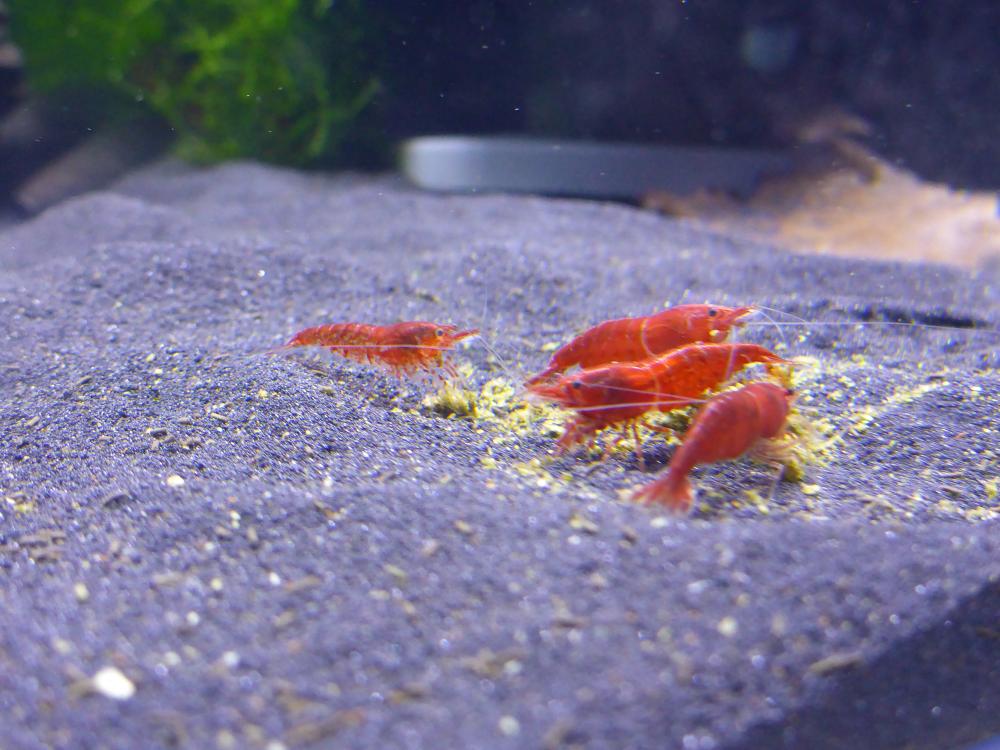
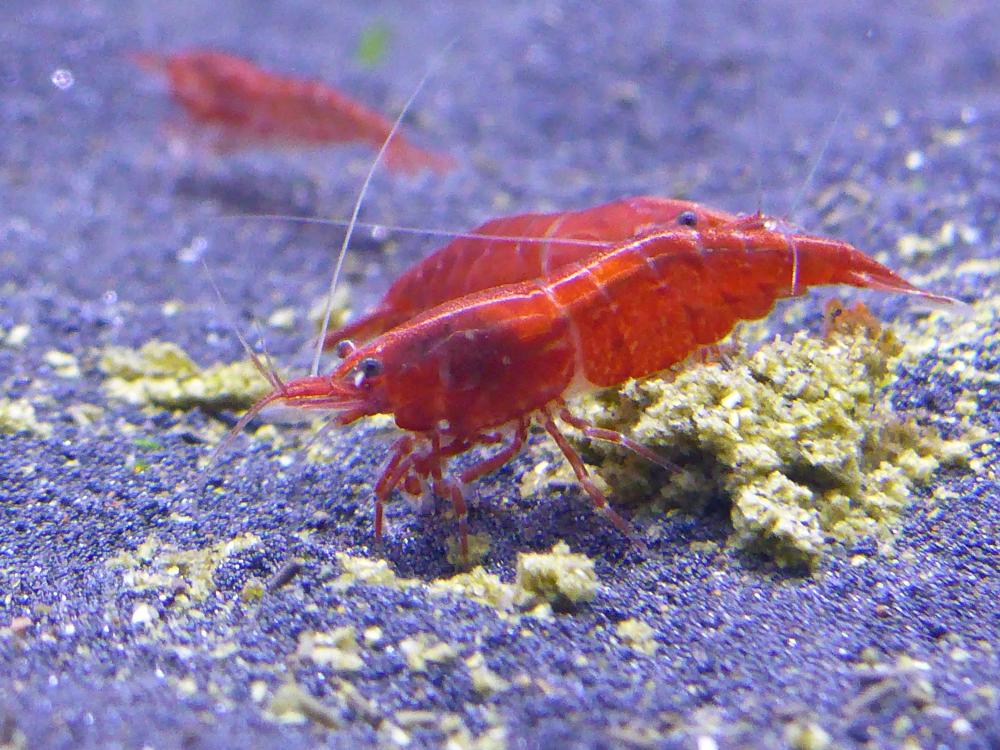
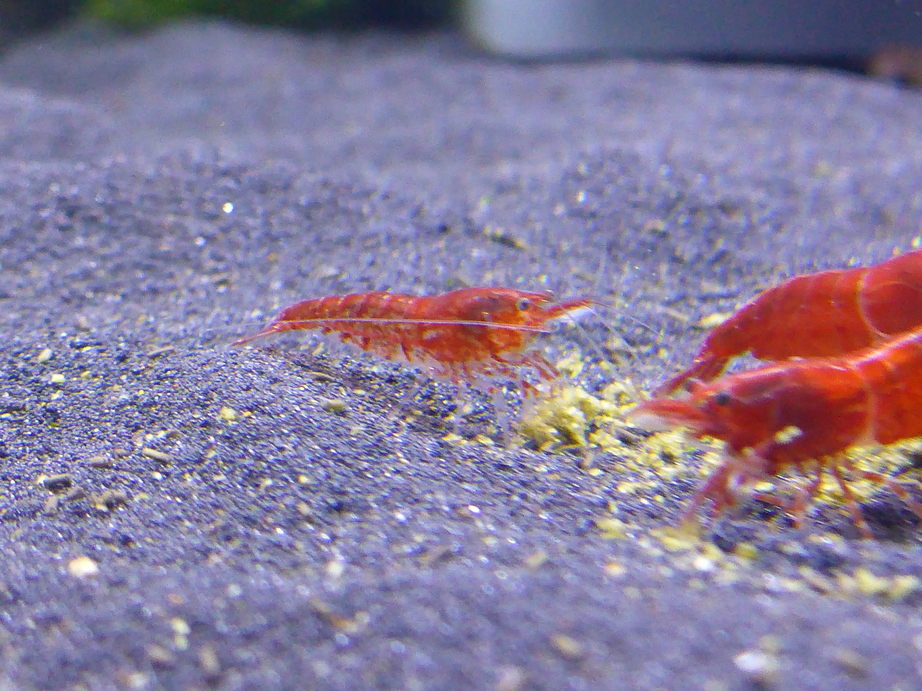
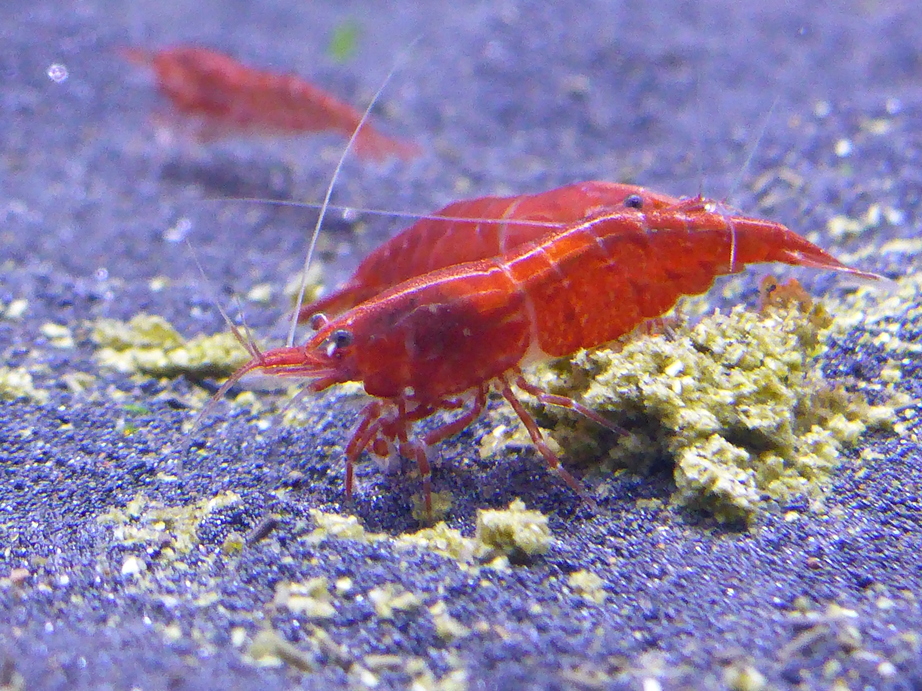
1 pointFinally got some pictures of the male. As you can see, he isn't the greatest quality in terms of % cover but has the right 'red' colouration and is the best sexually mature male I currently have.
1 point1 point
1 pointFinally got some pictures of the male. As you can see, he isn't the greatest quality in terms of % cover but has the right 'red' colouration and is the best sexually mature male I currently have.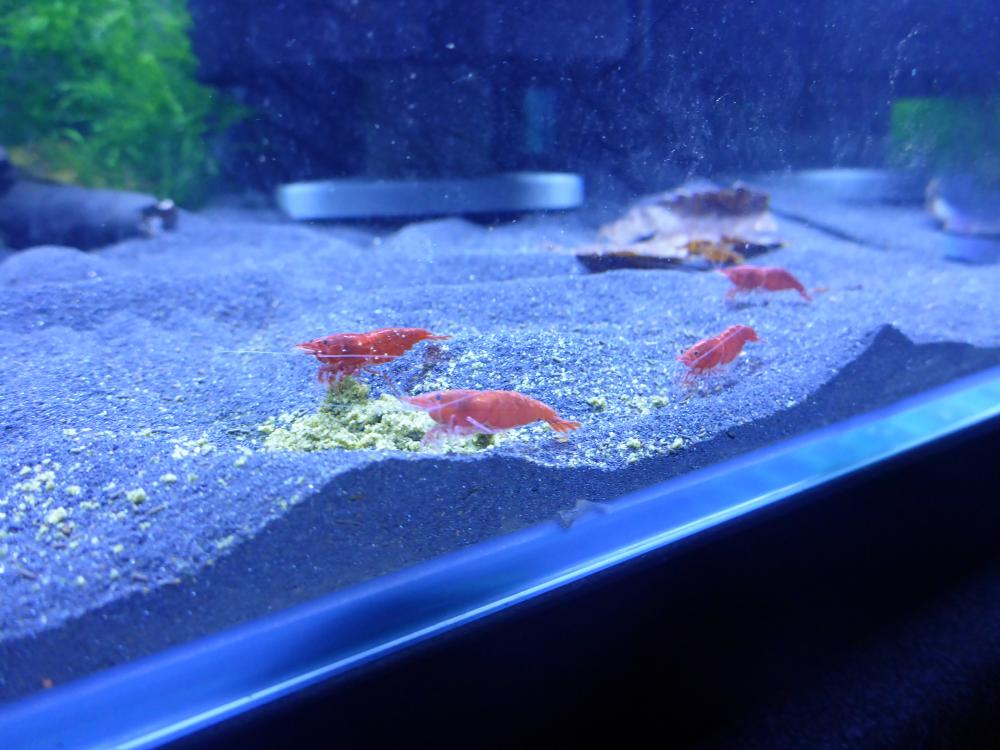

 1 point
What is your most popular product for shrimpkeepers? what is one product that you would reccomend to shrimpkeepers that is in your opinion under-rated or under-utilised?1 point
1 point
1 pointWhat is your most popular product for shrimpkeepers? what is one product that you would reccomend to shrimpkeepers that is in your opinion under-rated or under-utilised?1 point 1 pointThanks for the tips Neo. I'll try that. Yeah, I did plant them a bit one by one. I used ADA Amazonia. It's amazing how your HC is now without CO2.1 point
1 point1 point
1 pointThanks for the tips Neo. I'll try that. Yeah, I did plant them a bit one by one. I used ADA Amazonia. It's amazing how your HC is now without CO2.1 point
1 point1 point Congrats to current winners!! Good luck everyone!!1 point
Sorry i missed this, The spanish say Hola but at SKF we say CHOLLLLLLLLLLLLLLLLA You have found some treasure consisting of Six pieces of Cholla Wood (12-15cm lengths) Please pm me your details and i will pass them on to @newbreed Still remaining ' Boss baby powder and boss booster Ten pack of Tantora Catappa Leaves and a pack of Benibachi Kale Tablets1 point
Congrats to current winners!! Good luck everyone!!1 point
Sorry i missed this, The spanish say Hola but at SKF we say CHOLLLLLLLLLLLLLLLLA You have found some treasure consisting of Six pieces of Cholla Wood (12-15cm lengths) Please pm me your details and i will pass them on to @newbreed Still remaining ' Boss baby powder and boss booster Ten pack of Tantora Catappa Leaves and a pack of Benibachi Kale Tablets1 point


Account
Navigation
Search
Configure browser push notifications
Chrome (Android)
- Tap the lock icon next to the address bar.
- Tap Permissions → Notifications.
- Adjust your preference.
Chrome (Desktop)
- Click the padlock icon in the address bar.
- Select Site settings.
- Find Notifications and adjust your preference.
Safari (iOS 16.4+)
- Ensure the site is installed via Add to Home Screen.
- Open Settings App → Notifications.
- Find your app name and adjust your preference.
Safari (macOS)
- Go to Safari → Preferences.
- Click the Websites tab.
- Select Notifications in the sidebar.
- Find this website and adjust your preference.
Edge (Android)
- Tap the lock icon next to the address bar.
- Tap Permissions.
- Find Notifications and adjust your preference.
Edge (Desktop)
- Click the padlock icon in the address bar.
- Click Permissions for this site.
- Find Notifications and adjust your preference.
Firefox (Android)
- Go to Settings → Site permissions.
- Tap Notifications.
- Find this site in the list and adjust your preference.
Firefox (Desktop)
- Open Firefox Settings.
- Search for Notifications.
- Find this site in the list and adjust your preference.