Leaderboard
-
fishmosy
Members2Points4594Posts -

BlueBolts
Members1Points5650Posts -
inverted
Members1Points605Posts -

Squiggle
Members1Points10433Posts
Popular Content
Showing content with the highest reputation on 02/06/15 in all areas
-
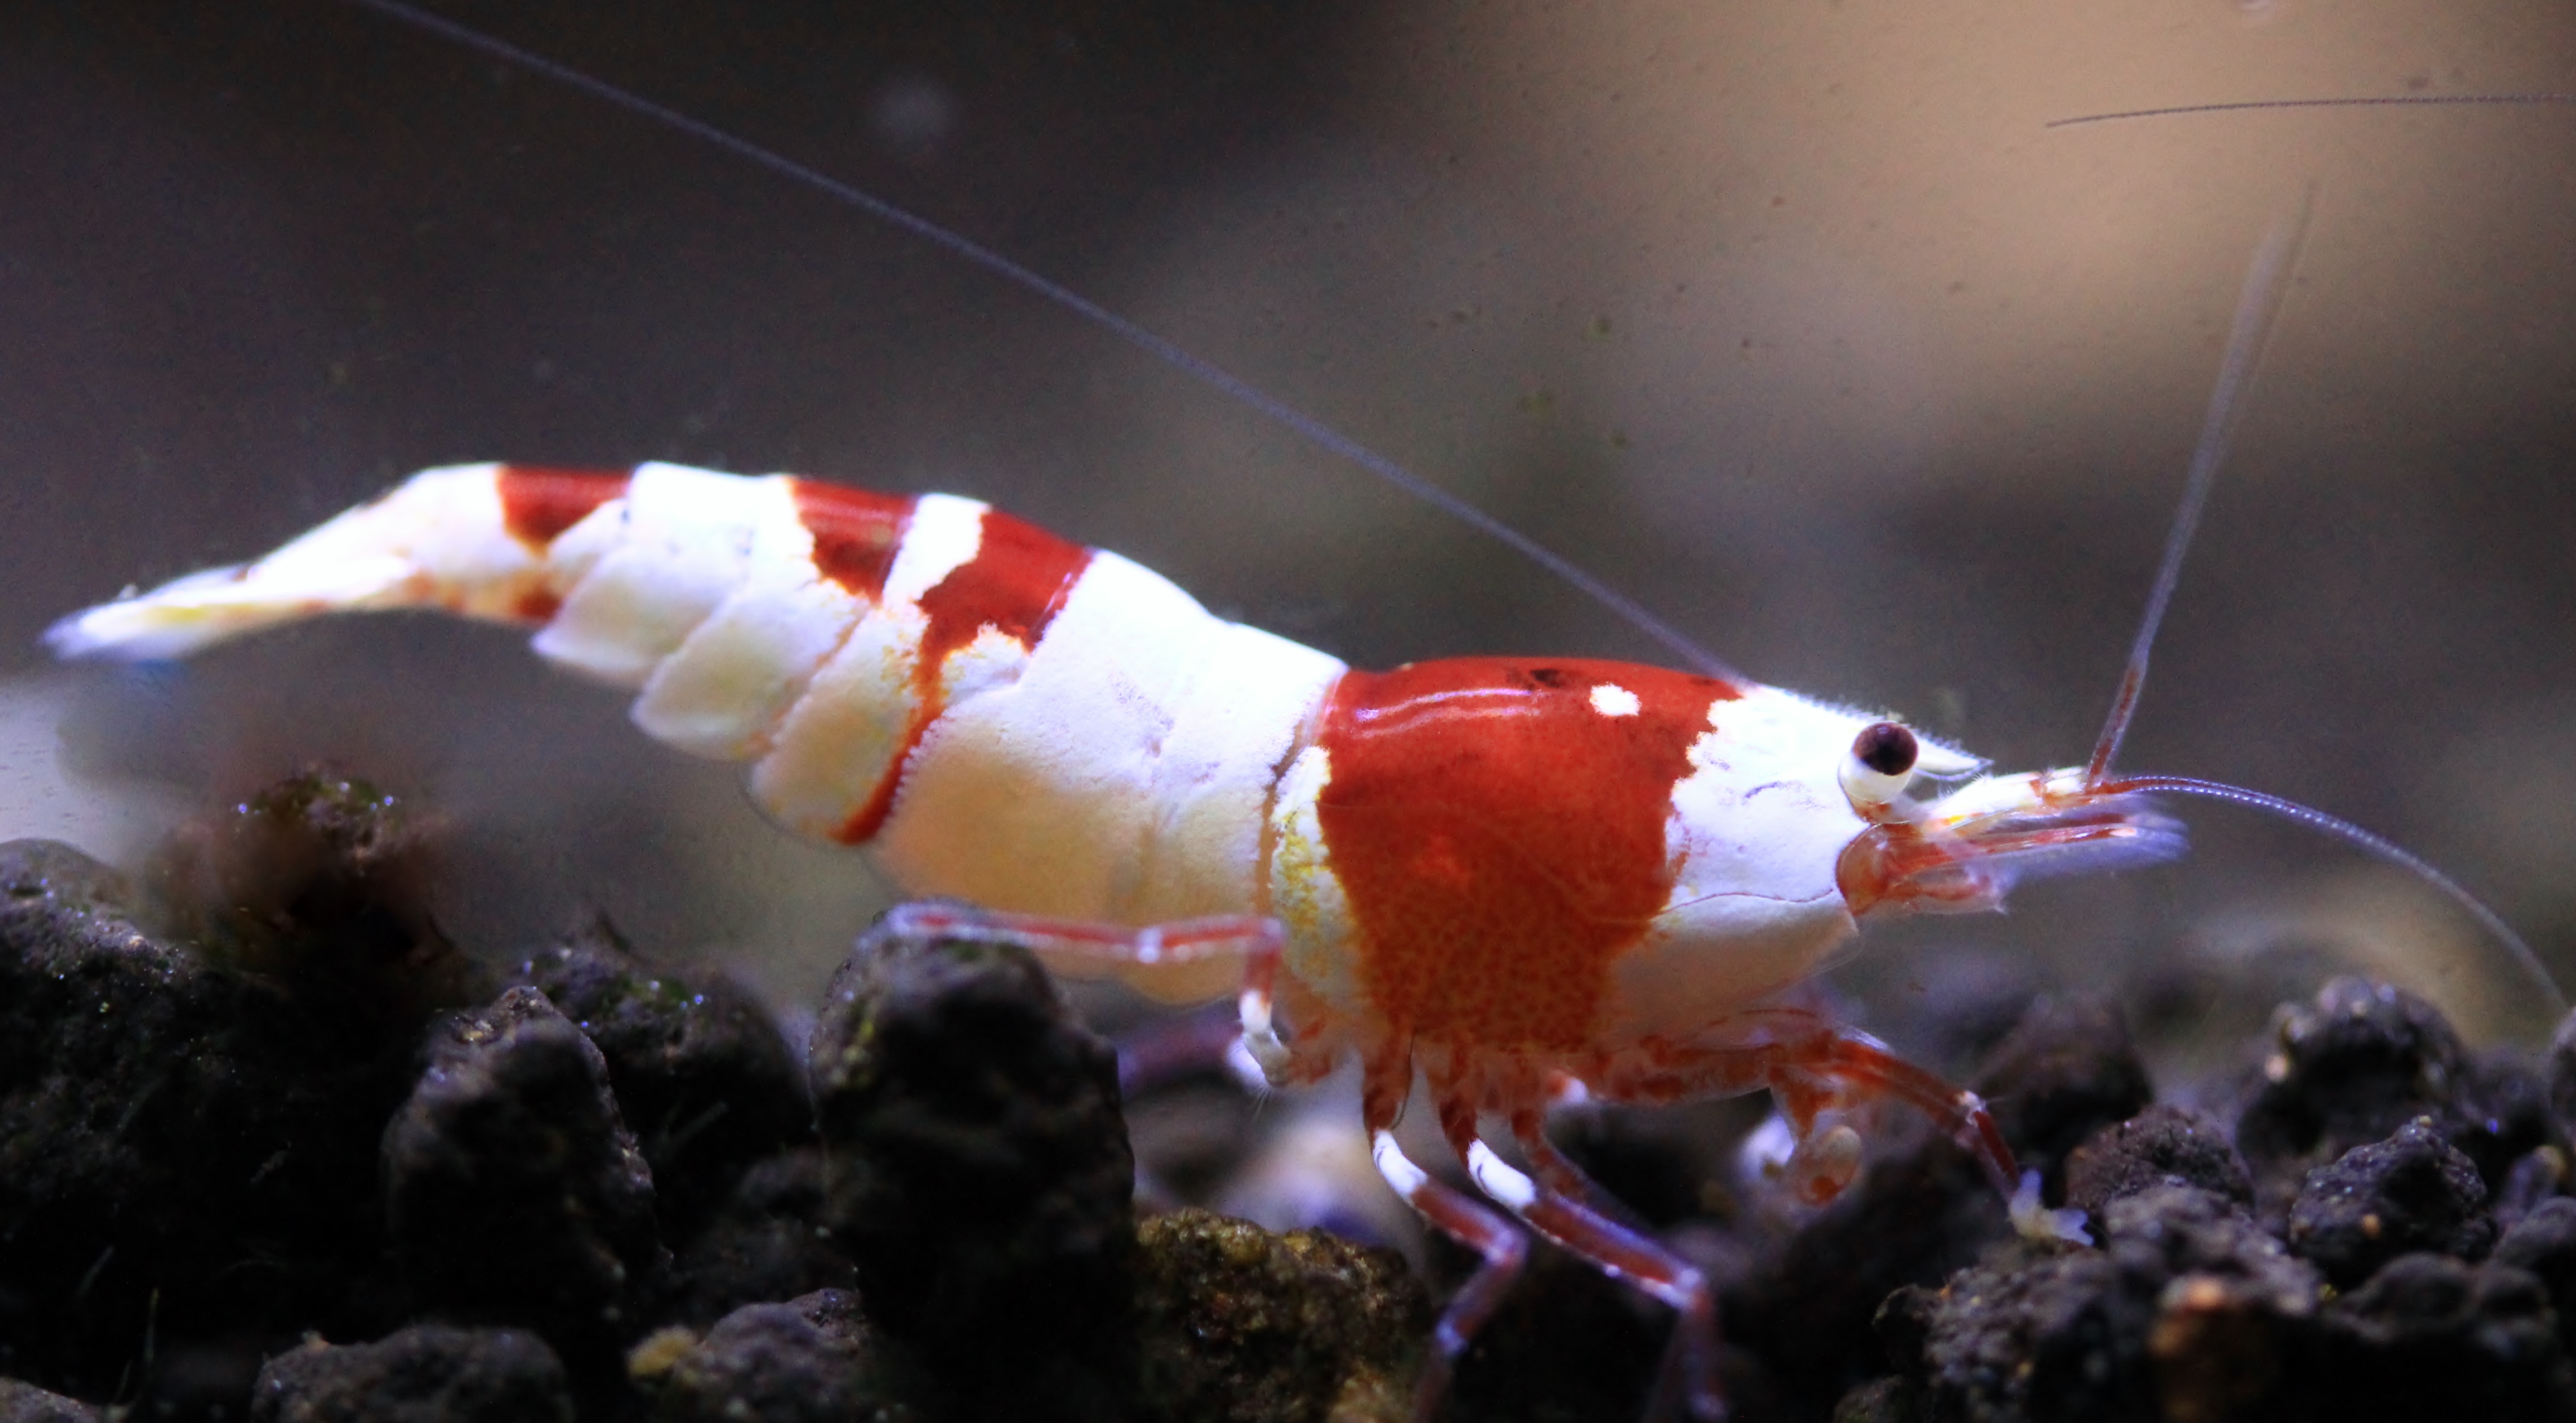
I have a similar one here as well, possibly the same one. I dont like the submersed growth so haven't done anything else with it. As a side note, when emerse under low light conditions it grows in a similar manner to the submerse form. I wonder if very high light is the key to keeping it compact?2 points
-
 1 pointOver the past month or two I have been gathering information and parts to construct a few cooling fans for my tanks as they house delicate shrimp. This build cost $40 per fan although it could certainly be done for less. Anyway here is how it was put together. 1. Draw up plans so materials can be cut to size later on. Here I used a good quality 80mm fan (Noctua Redux NF-R8 1800rpm). This fan cost $14 although you can get cheaper ones which would probably do a similar job for about half the price. 2. Out of the four wires supplied, the only ones needed were the black and yellow. This meant we had to buy a jack plug which connected to the fan and then an AC/DC 12 volt adaptor. 3. Get some clear acrylic cut to size. Once again you can save money here, we had a plastics company do it for us and it cost $57 just for the pieces shown. So if budget is a problem it would be best to buy your own acrylic and cut it yourself. 4. Drill holes so that the screws supplied with the fan can be used to hold the fan to the acrylic. Then, make an adjustable clamp to hold on the side of aquarium using wing nuts and screws. 5. Attach to aquarium, plug in and your done! A Couple of Things to Remember - When looking for a fan make sure you get one with low decibels ( under 20 is good ), low RPM ( so it doesn't disturb the water to much and high air flow ( measured in m³/h, mine is 53m³/h to give you an idea - Pricing per Fan Fan $14 (MSY) Acrylic $20 (cut to size) Wing nuts and Screws $2 (Bunnings) Adaptors $2 (eBay) - Overall the fan does the job nicely and consistently brings the temperature down for those hot days. Thanks for reading, Louis1 point
 -
1 pointIf you like a clean look in the tank inline is good I use a hydor in my display tank. You need a heater .... Stable water parameters are important for success with crs .1 point
-
Welcome to the forum, hope you have as much fun here as we do!1 point
-
 It is very common up here in the right spots, I had photos, looks like and excuse to go creek hiking, like I need an excuse. I have seen mats of it 2mts square and it has under water growth, will have a look properly, always in the heavy shade in the wild. Bob1 point
 -
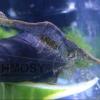
 Just in case anyone would like to know about how these photos were taken, below are the list of my gears, setup and configuration. Equipment List Camera: Fujifilm X-T1 Lens: Carl Zeiss Touit 2.8/50M Tripod/ Ballhead: Gitzo Traveler Series 1 6x Carbon tripod and Really Right Stuff BH-40 ballhead Remote Shutter Release: None. Using camera built-in shutter release. Flash Light: 2 x Fujifilm EF-42 Flashlight Remote Flash Release: 2 x wireless flash release receiver and 1 x wireless flash transmitter Flash Clamp: 2 x Manfrotto clamp + Joby Flash clamp combo Equipment Configuration Camera/ Lens: ISO: 200 Shutter Speed: 1/125s Aperture: F3.6 to 5.0 Flash: Power: 1/32 Diffuser: Double diffuser (built in diffuser and small bounce diffuser). This will minimise hotspot and light piercing through the shell of shrimp. Equipment Setup Camera Placement: 50 to 70cm from camera sensor to subject (to achieve DoF that could cover half to whole shrimp) Flash Placement: Have a nice weekend. ^^ Shrimpy Daddy1 point